


How to Do a Chest of Drawers Makeover With Scrap Wood
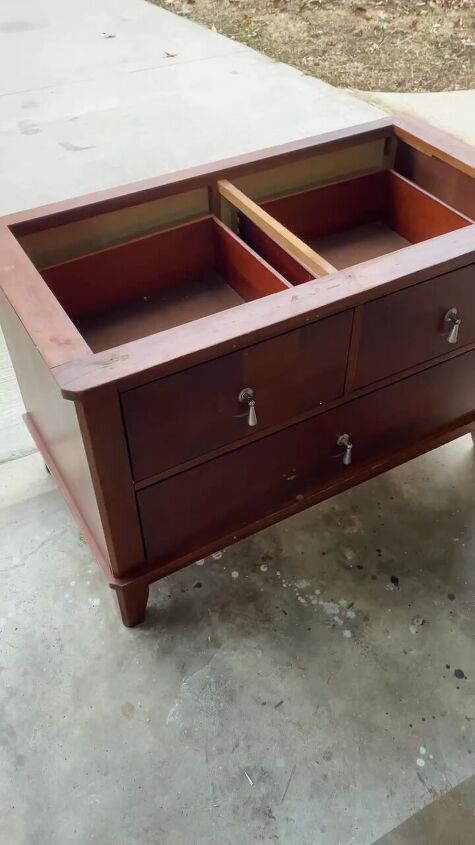
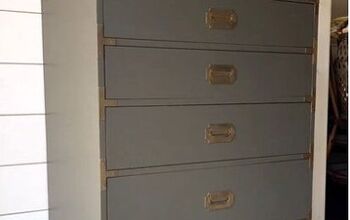
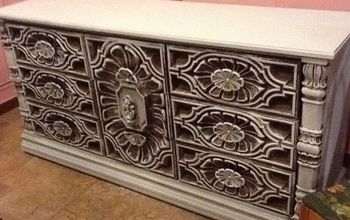
I purchased this old chest of drawers from Goodwill for $10! It made the perfect DIY chest of drawers makeover project. It didn’t come with a top, but I made one for it out of scrap wood.
Then I planned out some makeover ideas in my head using scrap wood. Let me show you what I did to make this chest of drawers stunning!
Tools and materials
- Old chest of drawers
- Scrap wood for top
- Scrap wood for embellishment
- 150 and 200-grit sandpaper
- Kilz primer
- Paint roller
- Paint sprayer
- Tricorn Black spray paint from Sherwin-Williams
- Measuring tape
- Circular saw
- Safety gear (gloves, goggles)
Chest of drawers makeover
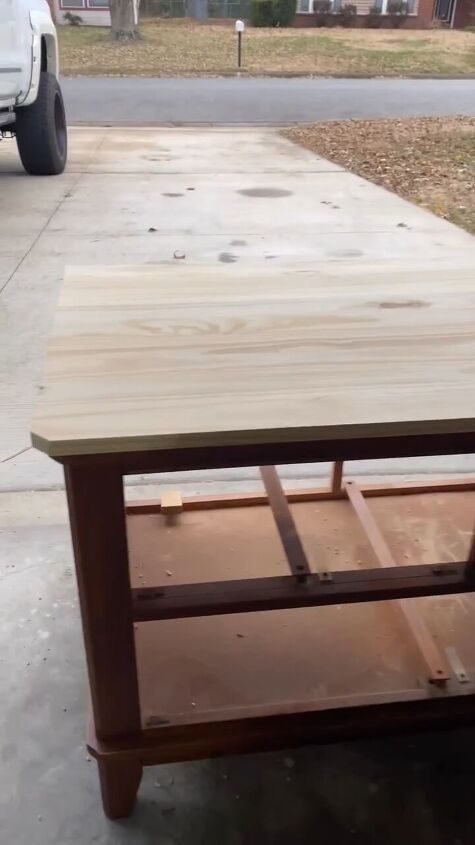
Step 1: Add a top
I measured a top for the chest of drawers made out of scrap wood.
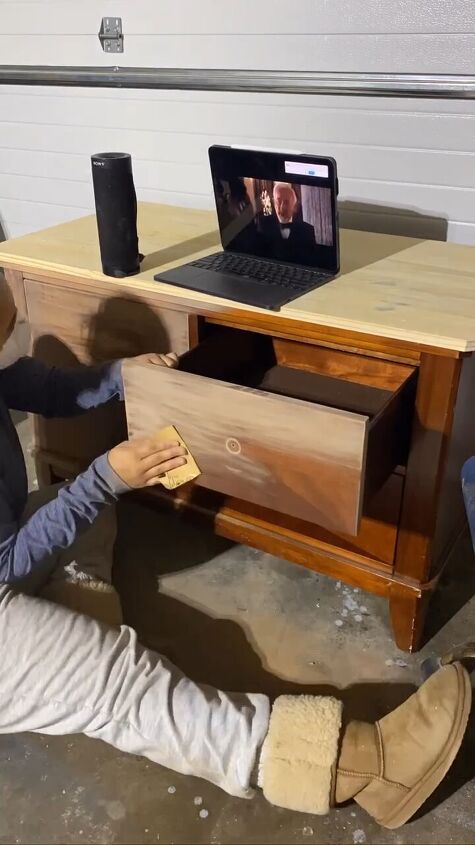
Step 2: Prepare the Surface
I used 150-grit sandpaper to smooth out the surfaces. I gradually moved to 200-grit sandpaper for a finer finish.
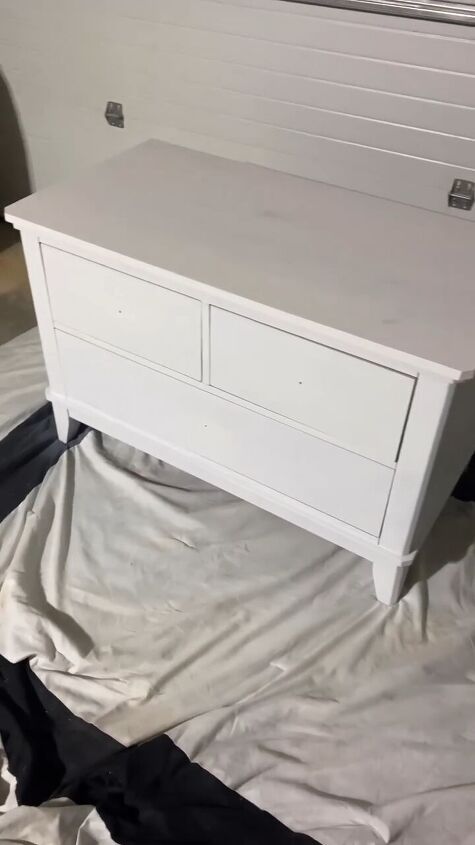
Step 3: Prime the surface
I applied a couple of coats of Kilz primer to prepare the furniture for painting. This primer is known for its adhesion and stain-blocking properties, ensuring a smooth and durable finish.
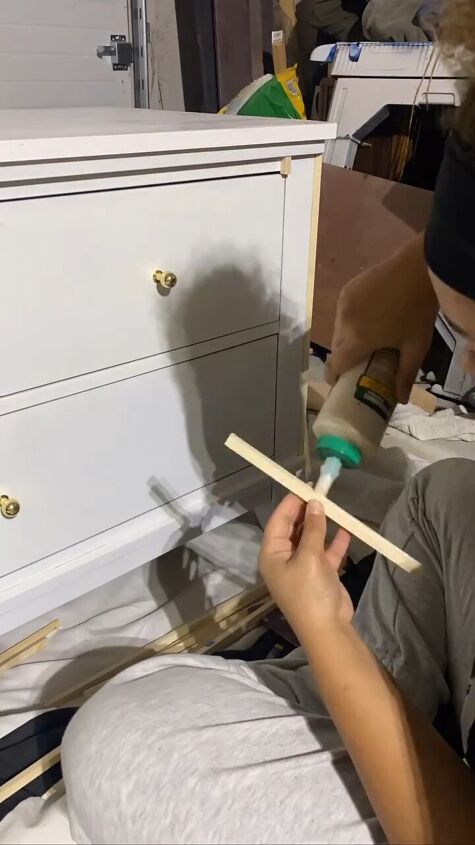
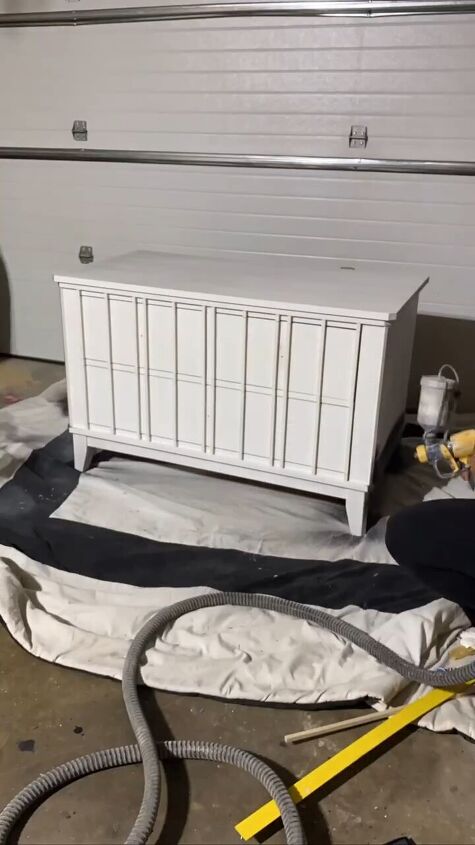
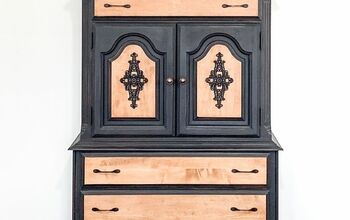
Step 4: Add the strips of wood
I cut strips of wood and glued them to the front in a design I created. However, the design evolved during the process. Then I primed the entire front again.
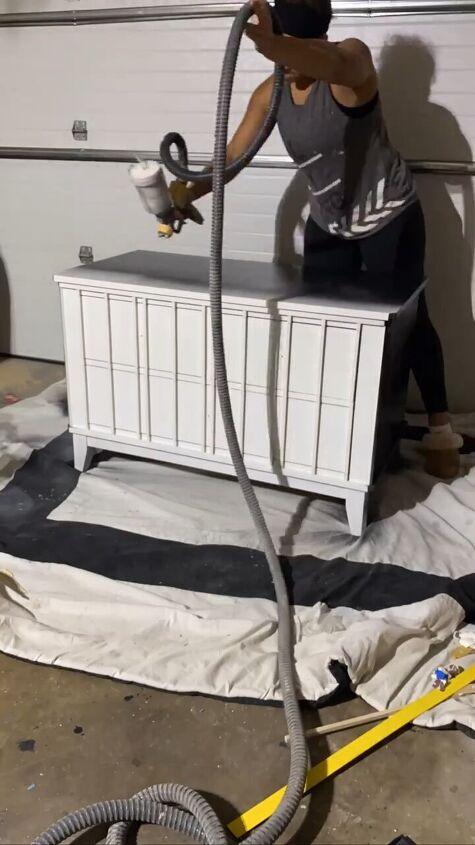
Step 5: Paint the bureau
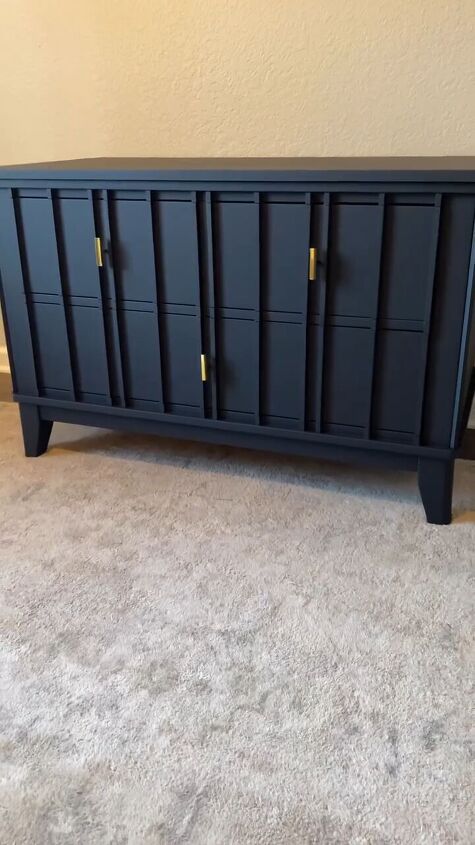
I spray-painted the entire chest of drawers in Tricorn Black. When it was dry, I added new hardware.
Chest of drawers makeover
Isn’t this an amazing chest of drawers makeover? With a little sandpaper, primer, and paint, I successfully transformed a $10 Goodwill find into a unique and stylish piece of furniture. Let me know what you think in the comments!
Follow @flippedbyfaith_ on Instagram for more DIY ideas.
Comments
Join the conversation
-
Beautiful. The wood strips give a mid century modern look. Great job.


Frequently asked questions
Have a question about this project?