


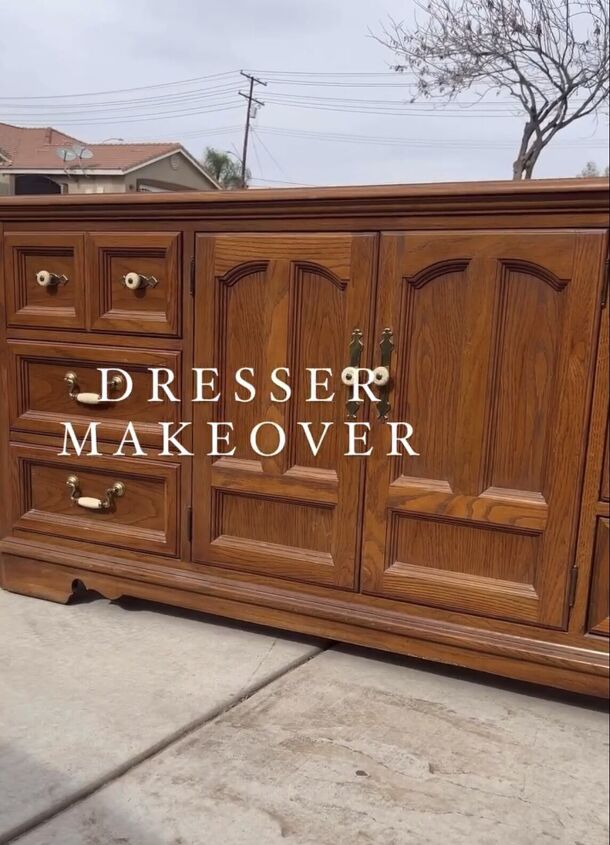
DIY Dresser Makeover: How to Give an Old Dresser a Fresh Look
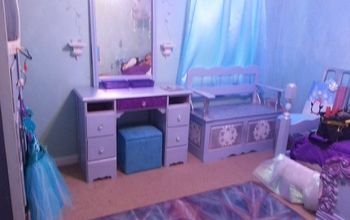
Today, I'm going to take you through the step-by-step process of a DIY dresser makeover. I’m giving a dated dresser a modern facelift. Get ready for a fun and rewarding DIY dresser makeover adventure!
Tools and materials
- Thomasville dresser
- Gel stripper
- Sandpaper
- Filler for holes
- Paint sprayer
- Primer
- Paint in your chosen color
- Stain in medium oak
- New hardware
- Level
- Hole drilling tool
- Protective covering for the dresser top
DIY dresser makeover
Step 1: Prep Work
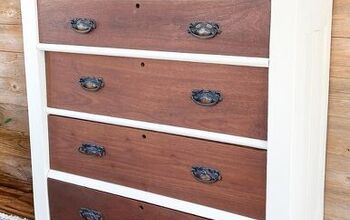
Start by removing the bottom trim piece and the drawer pulls. This will give you a clean canvas to work with.
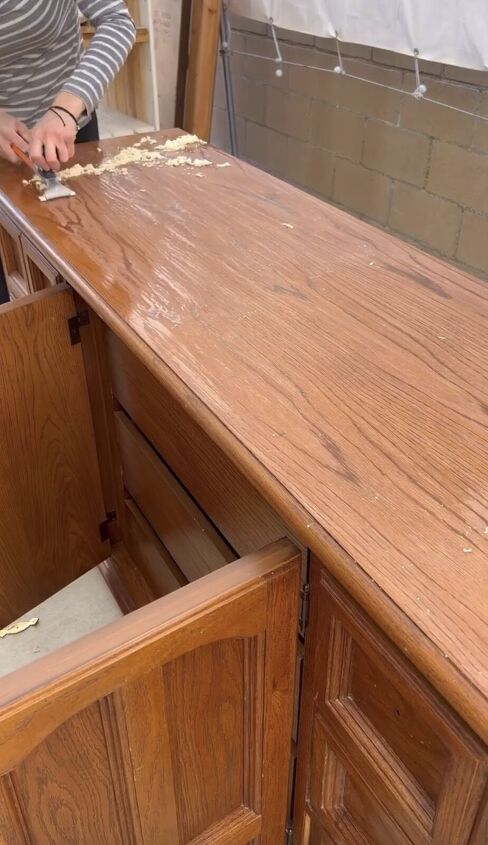
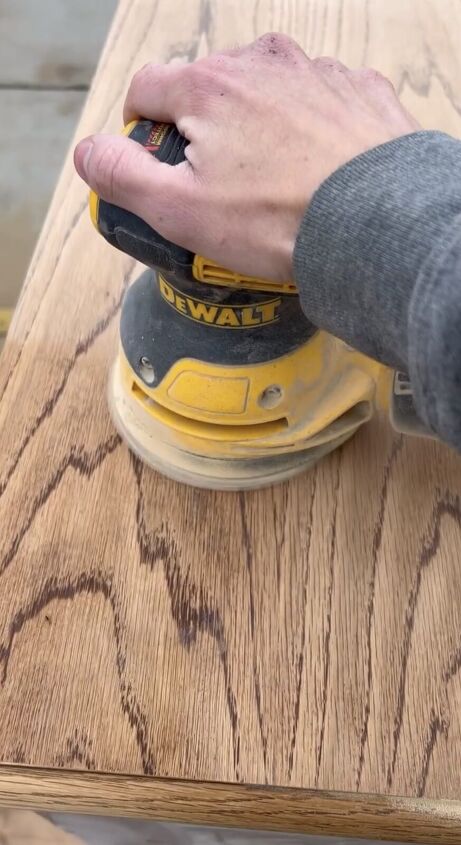
Step 2: Stripping and Sanding
Use a gel stripper to remove the old finish from the dresser. Once that's done, give the entire dresser a good sanding to ensure the paint will adhere properly.
Step 3: Hole Filling
Fill in any holes left behind from the old drawer pulls. This will give your dresser a seamless and polished look.
Step 4: Protect the Top
Cover the top of the dresser with a protective material. This will save you from the headache of trying to remove paint later on.
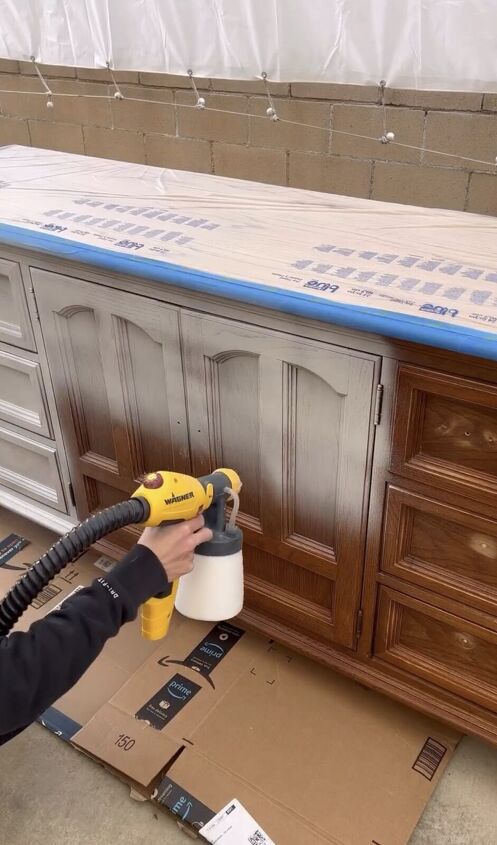
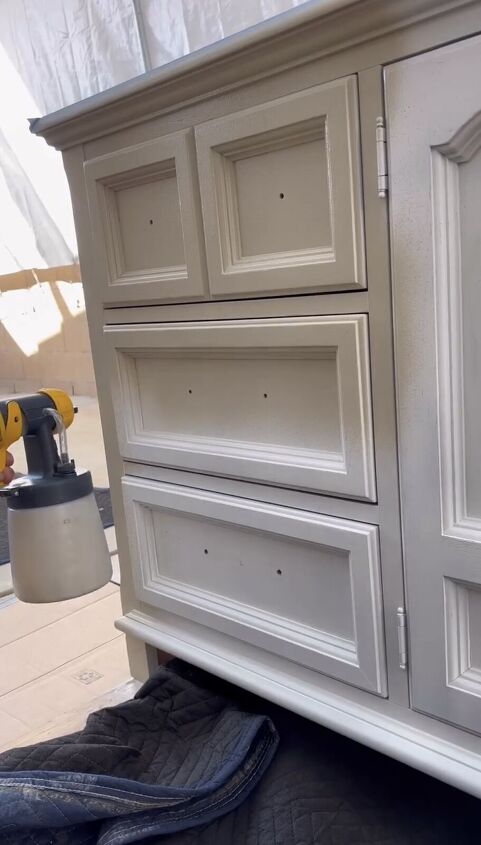
Step 5: Primer Application
Use a paint sprayer to apply a layer of primer to the front and sides of the dresser. Ensure your strokes are even for a professional finish.
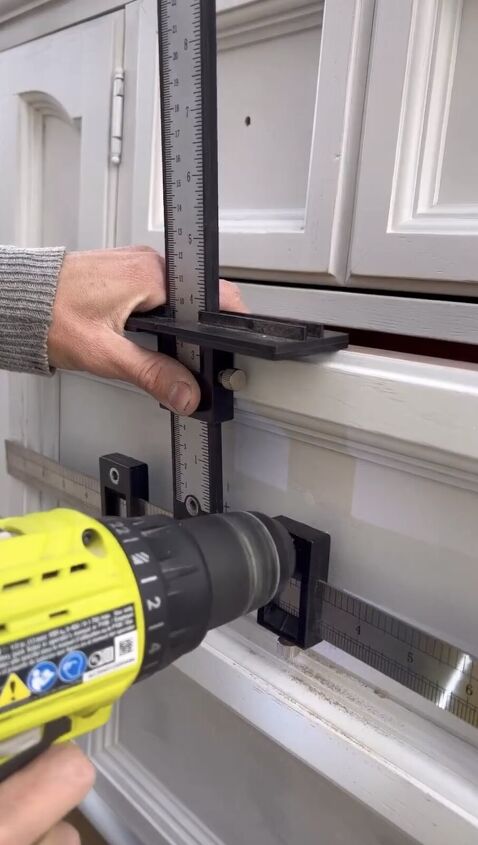
Step 6: Creating New Holes
With a level and a hole drilling tool, create new holes in each drawer front. This step is essential if you're planning to add new hardware.
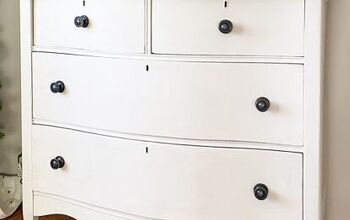
Step 7: Painting Time
Once the primer is dry, it's time to bring in the color! Use the paint sprayer again to apply your chosen paint color in smooth, even strokes.
Step 8: Stain the Top
For a touch of elegance, stain the top of the dresser in a medium oak shade. This adds a beautiful contrast to the painted surfaces.
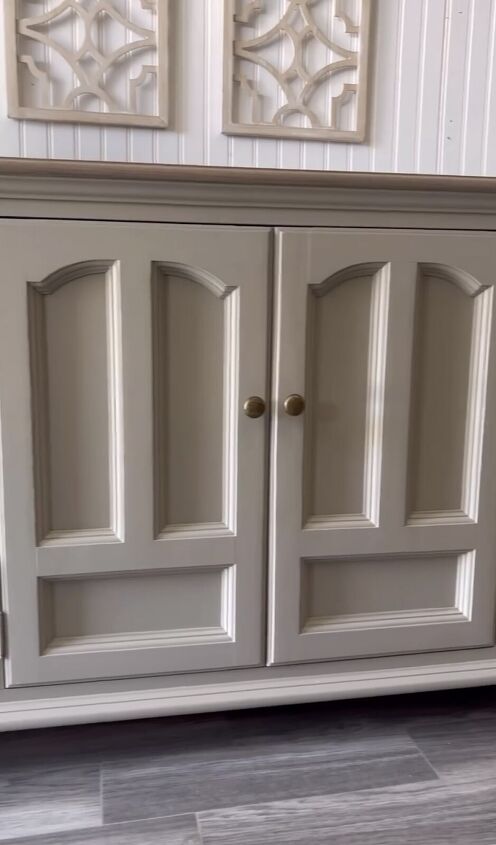
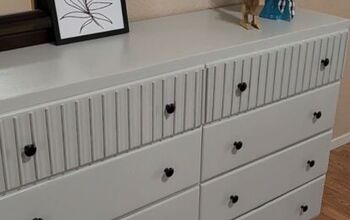
Step 9: New Hardware Addition
Now that your dresser is taking shape, add the new hardware. This is a great way to elevate the overall look and feel of the piece.
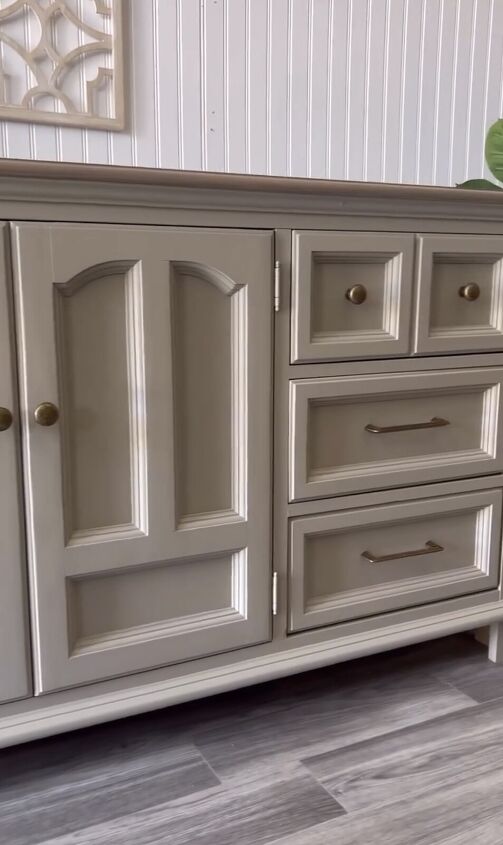
DIY dresser makeover
Ensure everything is dry and in place before considering your DIY dresser makeover complete.
This project not only breathes new life into old furniture but also gives you the satisfaction of creating something unique with your own hands. Share your furniture makeovers in the comments below.
Follow @moderntouchbyjanette on Instagram for more DIY ideas.
Comments
Join the conversation
-
Good thing there is a way to update an old item!


Frequently asked questions
Have a question about this project?