


8-Step Furniture Makeover: Giving a Dated Dresser New Life
Looking to give old furniture a modern makeover? In this step-by-step tutorial, we'll guide you through the process of transforming a dated dresser into a contemporary masterpiece.
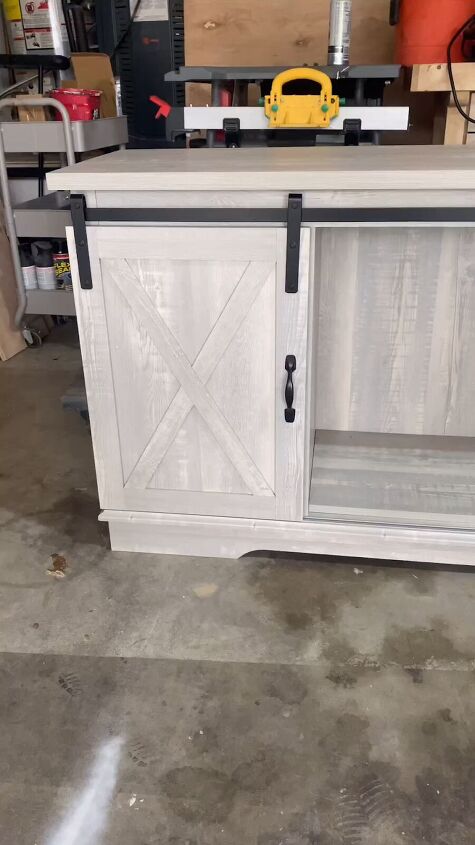
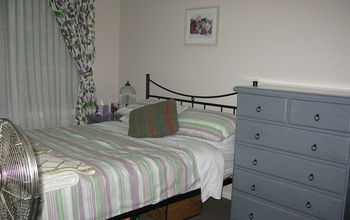
Inspired by a farmhouse-style piece that needed a modern makeover, I’ll take you through the journey of redesigning and refurbishing. With a few simple steps and some creative ideas, you can achieve stunning results. Let's get started!
Tools and materials
- Old dresser or furniture piece
- Screwdriver
- Sandpaper (medium and fine grit)
- Gold spray paint
- Paint sprayer gun or paintbrush
- Black paint
- Painter's tape
- Fluted trim (optional)
- Wood glue (if using fluted trim)
- Paint primer (if necessary)
- Drop cloths or newspapers
- Protective gear (gloves, safety glasses, mask)
- Paper towels or rags

Step 1: Remove Hardware and Doors
Start by removing any hardware and doors from the dresser using a screwdriver. Place the removed items in a safe, well-ventilated area for later use.

Step 2: Reshape the Base
To give the dresser a more modern touch, consider reshaping the base by cutting off any decorative curves. Use a saw or a suitable cutting tool to achieve the desired shape.
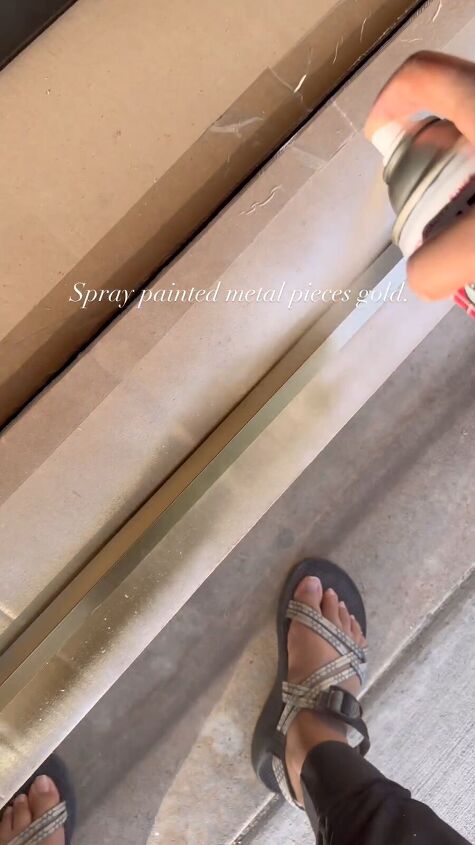
Step 3: Update the Hardware
Spray paint all the metal hardware pieces with gold spray paint to add a touch of elegance. Ensure you apply even coats and allow ample drying time between each coat.
Step 4: Create a Fluted Look (Optional)
If you wish to add a fluted look to the doors, you can apply fluted trim. Measure and cut the trim to fit the door panels, then secure it using wood glue. Allow the glue to dry completely.
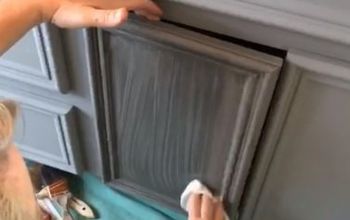
Step 5: Prep for Painting
Prepare the dresser for painting by sanding the entire piece. If the dresser has an existing finish, you may need to apply a paint primer before moving on to the next step. Clean off any dust or debris using a damp cloth or paper towel.
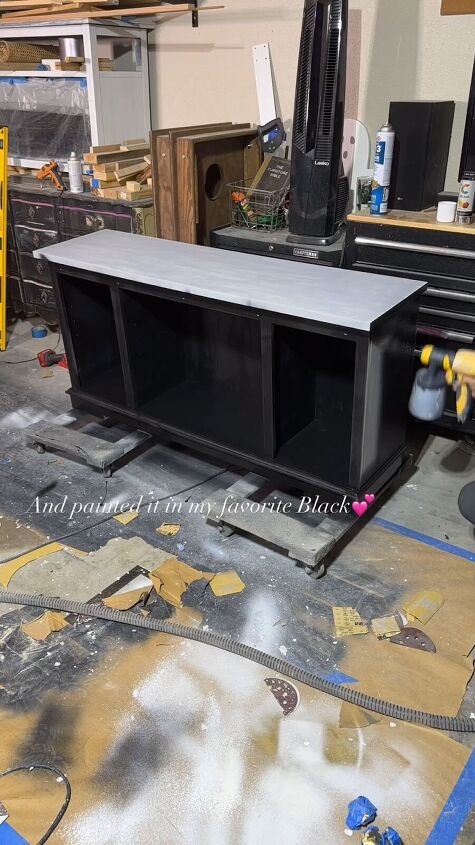
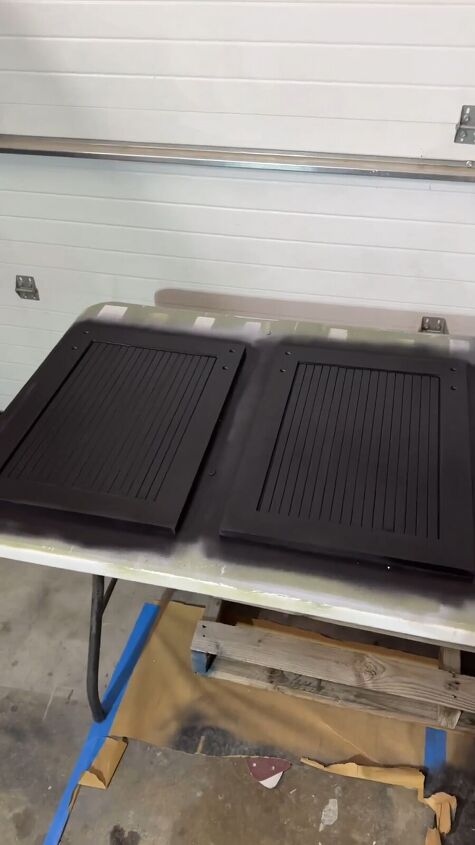
Step 6: Apply Black Paint
Using a paint sprayer gun or a paintbrush, apply a coat of black paint to the entire dresser to give it a modern aesthetic. Ensure that the paint is applied evenly and smoothly, covering all surfaces.
Allow the first coat to dry completely, and then apply additional coats as needed for full coverage. Be patient and allow each coat to dry before adding another.
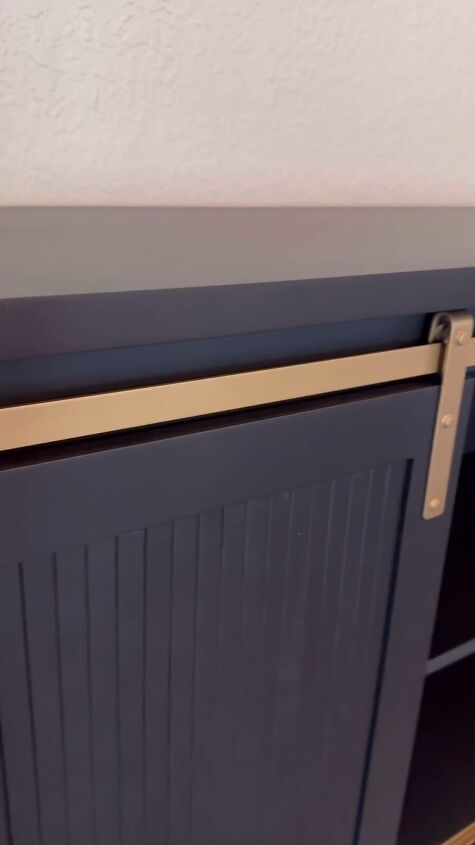
Step 7: Reassemble
Once the paint has dried completely and you're satisfied with the finish, reattach the doors and hardware to the dresser.
Step 8: Final Touches
Perform any final touch-ups as needed. Remove any painter's tape, clean the piece, and inspect it for any imperfections.
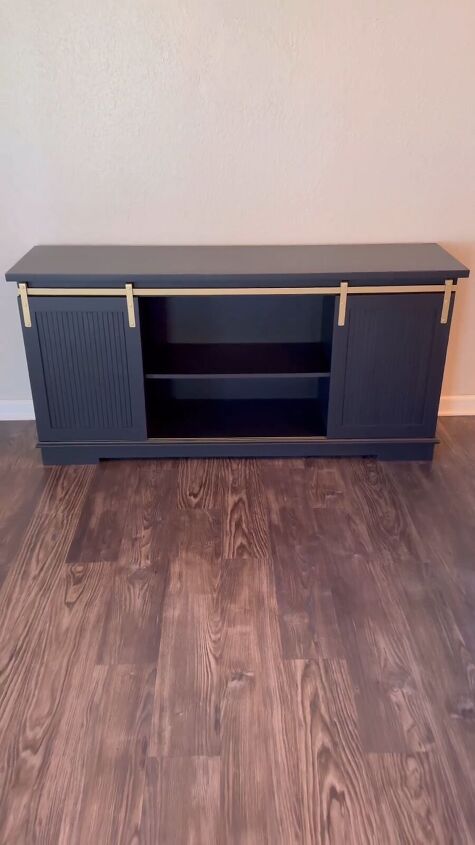
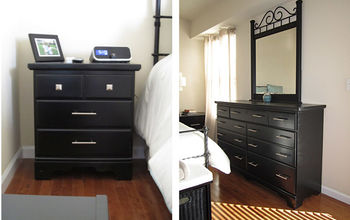
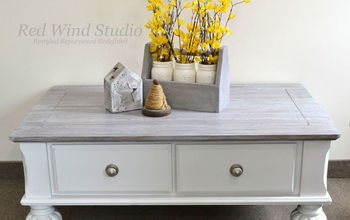
Furniture makeover
Congratulations! You've successfully given your old furniture a modern makeover, breathing new life into an outdated piece. Your efforts have not only saved a piece of furniture from ending up in the landfill but have also created a stunning addition to your home.
Enjoy your newly transformed furniture and the satisfaction of a DIY project well done! Be sure to leave me a comment to let me know how your project came out.
Follow @flippedbyfaith_ on Instagram for more DIY ideas.


Frequently asked questions
Have a question about this project?