


Step-by-Step Nightstand Makeover: How to Spruce Up Furniture
In this step-by-step tutorial, I'll guide you through my nightstand makeover process, from cleaning to painting and installing new hardware.
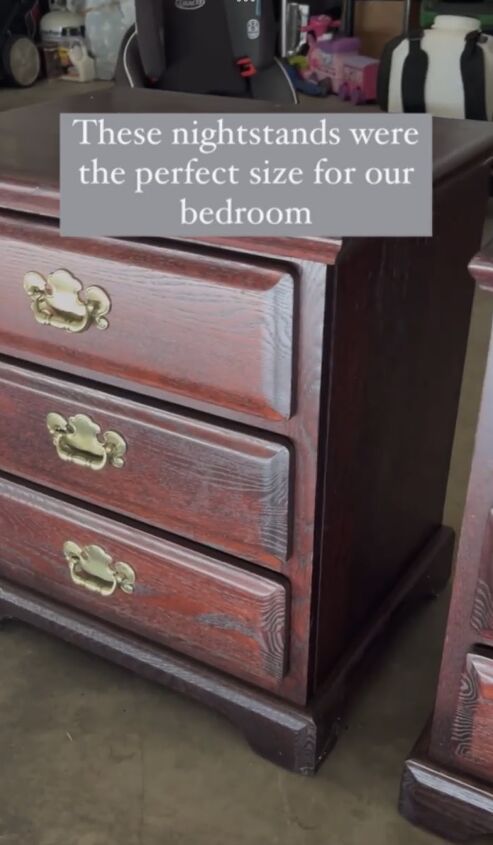
If you're like me, you've probably grown tired of looking at the same nightstands day in and day out. Although my nightstands were the perfect size for my bedroom, they needed a little sprucing up. That's why I decided to give them a total makeover.
Tools and materials:
- Cleaning cloths or rags
- All-purpose cleaner
- Wood filler
- Sandpaper (medium-grit)
- Shellac-based primer (I used Zinsser BIN)
- Paint (I used Valspar Cabinet and Furniture Oil-Enriched Enamel in Alabaster by Sherwin Williams)
- Paintbrush or foam roller
- Measuring tape
- Pencil for marking
- Drill
- New drawer hardware
- Screwdriver
Steps
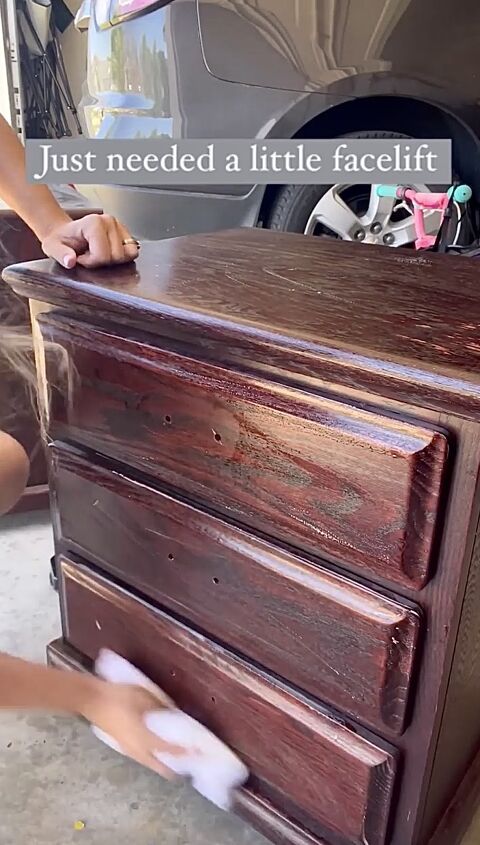
Step 1: Clean the Nightstands Thoroughly
Start by cleaning your nightstands thoroughly. Use a cleaning cloth or rag and all-purpose cleaner to wipe down all surfaces. You want to remove any dust, grime, or sticky spots that could interfere with your paint job.
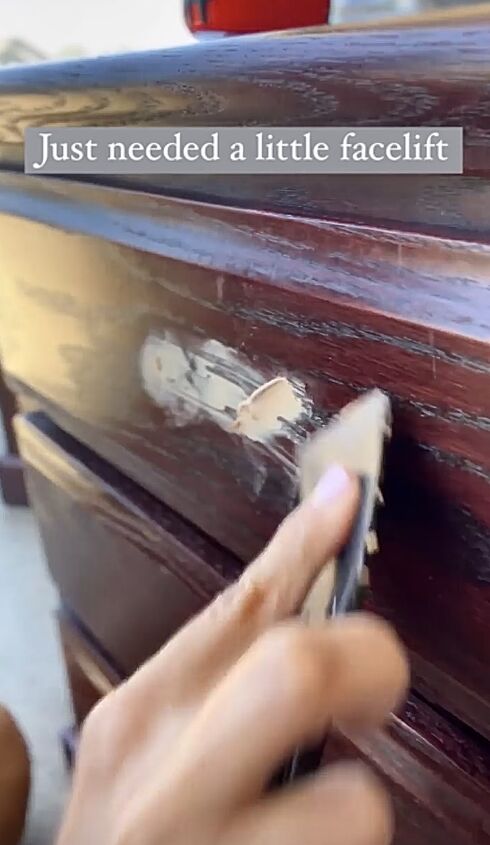
Step 2: Fill in Holes with Wood Filler
Inspect your nightstands for any holes or dents. If you find any, use wood filler to patch them up. Let the filler dry according to the manufacturer's instructions.
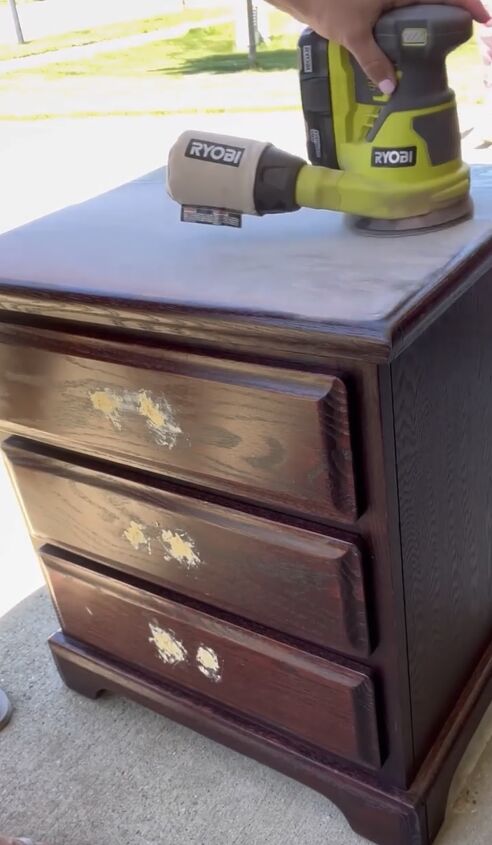
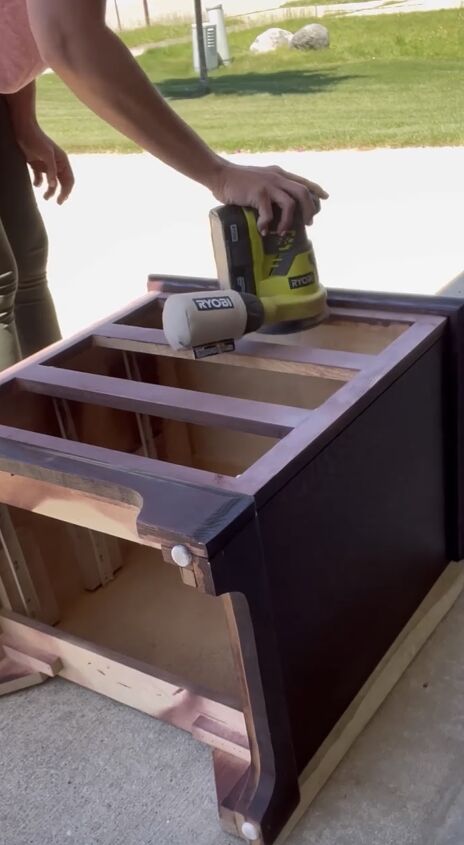
Step 3: Sand the Entire Surface
Once the wood filler is dry, it's time to sand. Use medium-grit sandpaper to sand the entire surface of your nightstands. This will help the primer and paint adhere better to the furniture.
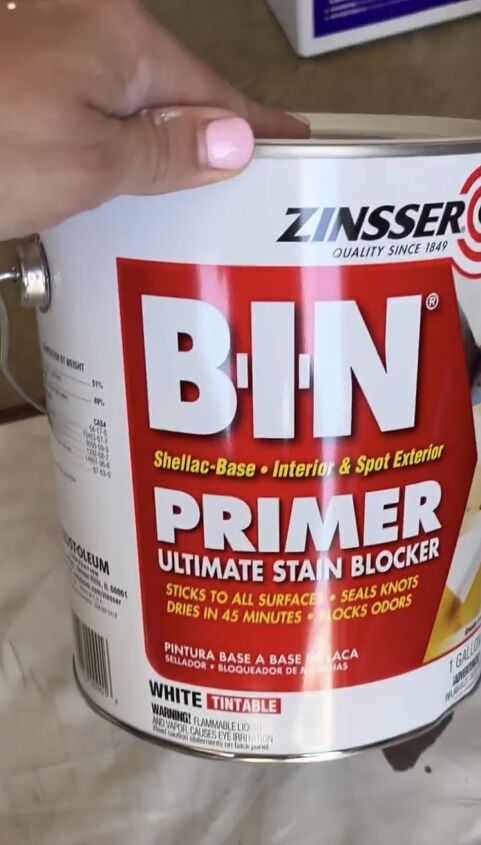
Step 4: Apply Shellac-Based Primer
I used Zinsser BIN primer for my nightstands, and it worked wonders. This shellac-based primer is excellent for hiding stains, so you don't have to sand them off completely.

Coat your nightstands with the primer using a paintbrush or foam roller and let it dry according to the manufacturer's guidelines.
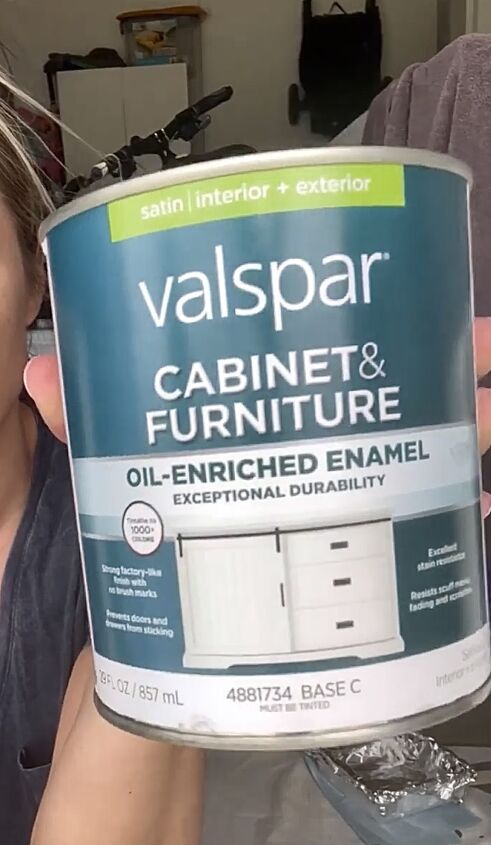
Step 5: Paint the Nightstands
Once the primer is dry, it's painting time! I used Valspar Cabinet and Furniture Oil-Enriched Enamel in the color Alabaster by Sherwin Williams.
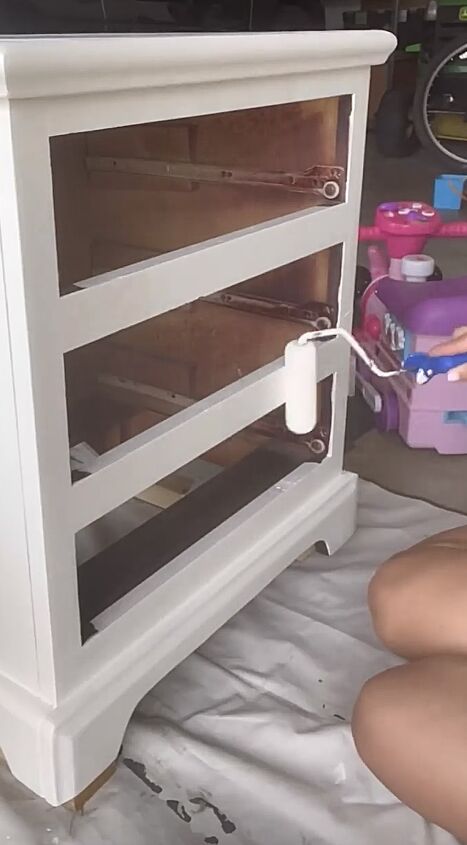
Apply the paint in smooth, even strokes, taking care not to leave any drips or streaks.
You may need to apply multiple coats, so follow the paint's drying and re-coating instructions.
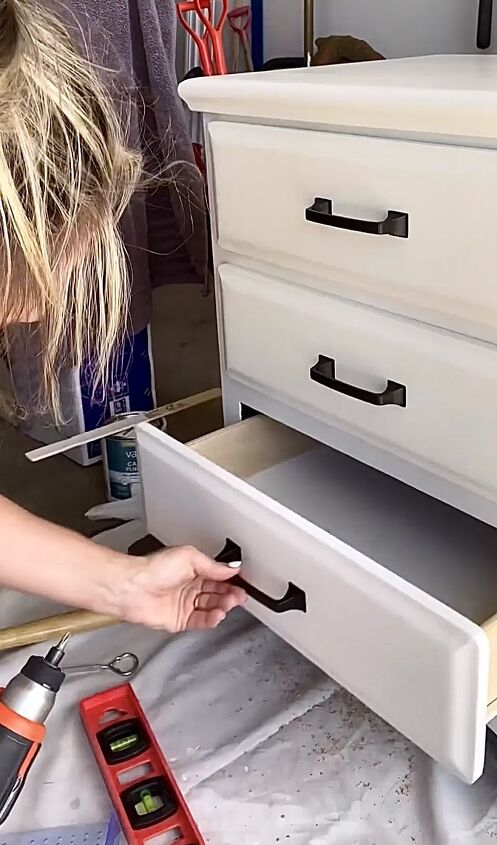
Step 6: Measure and Drill Holes for New Hardware
After the paint has completely dried, it's time to update the hardware. Use a measuring tape and a pencil to mark where you want the new drawer handles or knobs to go. Then, use a drill to create new holes.

Step 7: Attach the New Hardware
Now, take your new hardware and attach it to the drawers using a screwdriver. Make sure it's secure and level, so your drawers open and close smoothly.
Nightstand makeover
With just a few steps, some basic tools, and a little elbow grease, you've got yourself a stunning nightstand makeover. Have you upcycled furniture by giving it a makeover? Share your projects in the comments below.
Follow @midmimomdiy on Instagram for more DIY ideas.


Frequently asked questions
Have a question about this project?