


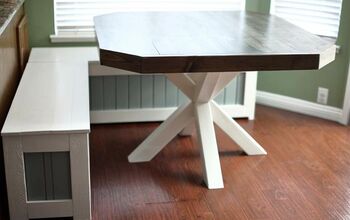
How to Make a DIY Round Table Base With a Fluted Design
Do you want a special DIY table base for a specific tabletop? I made a fluted table base out of half-round molding cut to size and added vertically to a base. This DIY round table base is super sturdy. Assuming you have the tabletop and just need the table base, here’s how to make it:
Tools and materials
- Half-round shoe molding
- Your tabletop
- Track saw
- Jigsaw
- Measuring tape
- Pencil
- Screws
- Drill with drill bit and screwdriver attachment
- Wood glue
- Brad nails and nail gun
- Sandpaper
Steps
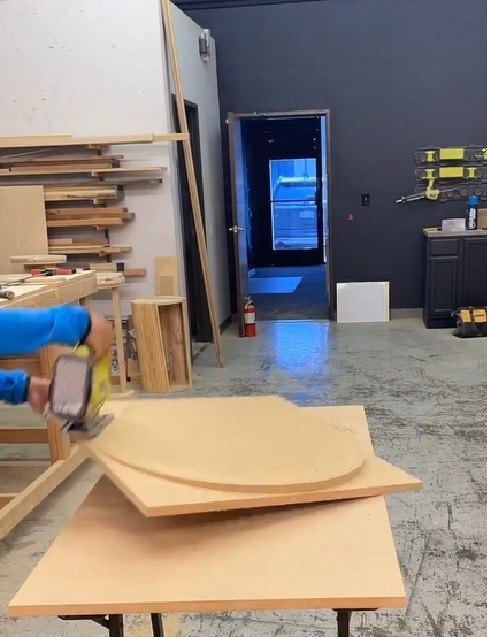
1. Make the table base foundation
Decide the size you want your table base. Cut two pieces of round wood with a jigsaw to make the foundation. You will attach these two pieces with legs.
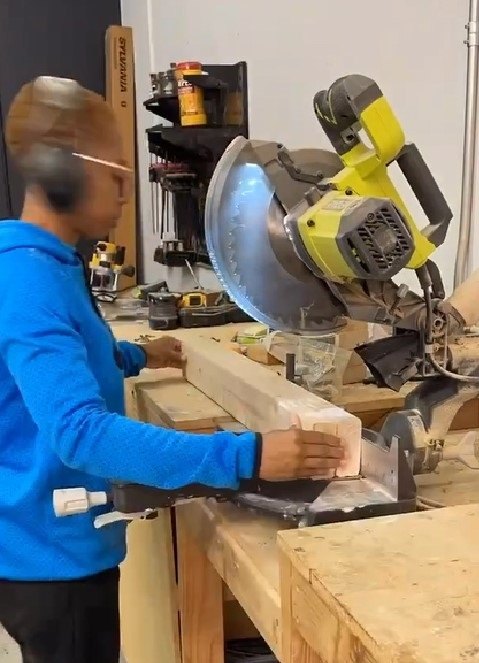
2. Cut boards for the legs
Measure the height you want for the legs of the table base. Using your track saw, cut down boards to the desired height. These boards will serve as the legs of the base.
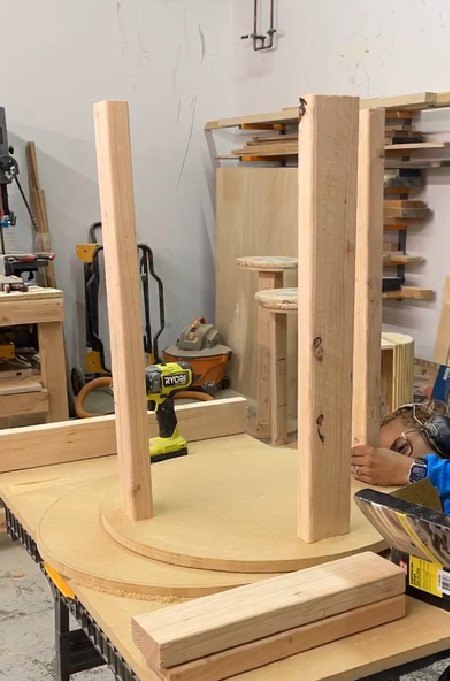
3. Attach the legs
Position the cut boards for the legs evenly around the circular base. To secure them in place, drill pilot holes through the legs and into the base, and then screw them in using your drill and screwdriver attachment. Make sure the legs are evenly spaced and level.
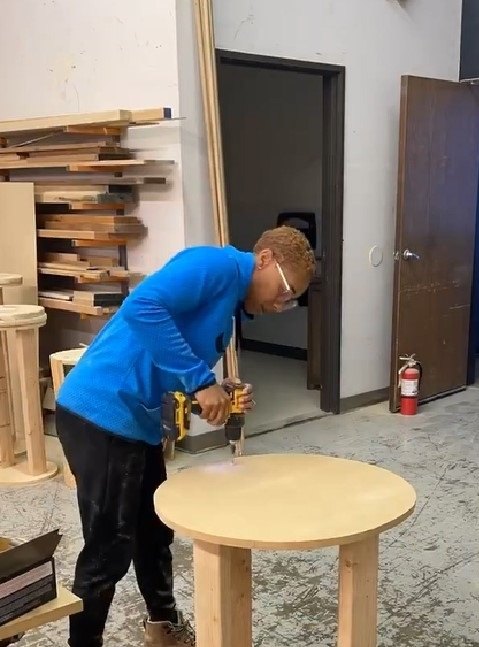
4. Attach the top round piece to the attached legs
You can secure the tabletop to the legs by driving screws through the tabletop and into the top ends of the legs. This will ensure a sturdy connection.
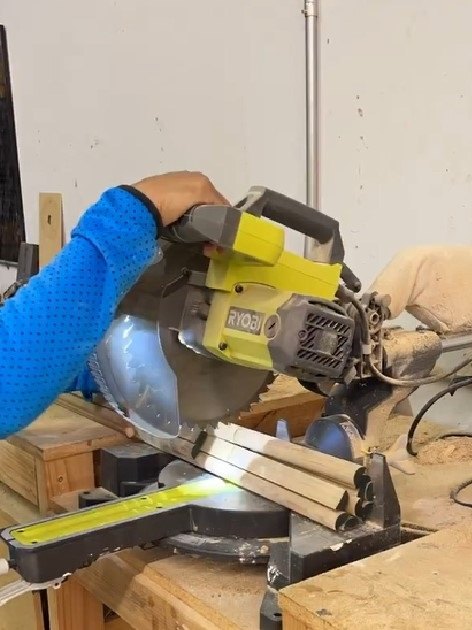
5. Cut half-round shoe molding pieces
Using your track saw, carefully cut down the half-round shoe molding into manageable pieces. These pieces will be used to create the fluted design on the base.

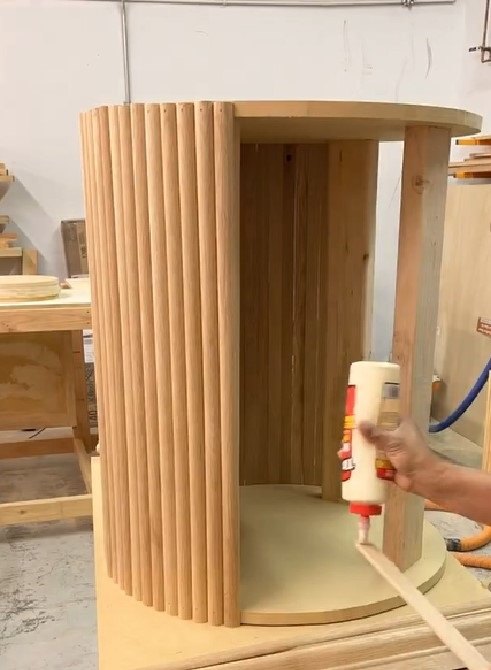
6. Attach half-round shoe molding
Apply a thin, even layer of wood glue to the bottom and top of each piece of half-round shoe molding. Press the molding onto the base, aligning them as you go. Secure each piece in place using a nail gun and brad nails.
Repeat this process all the way around the base, attaching the half-round pieces in a fluted pattern. Make sure they are evenly spaced and aligned for a cohesive look.
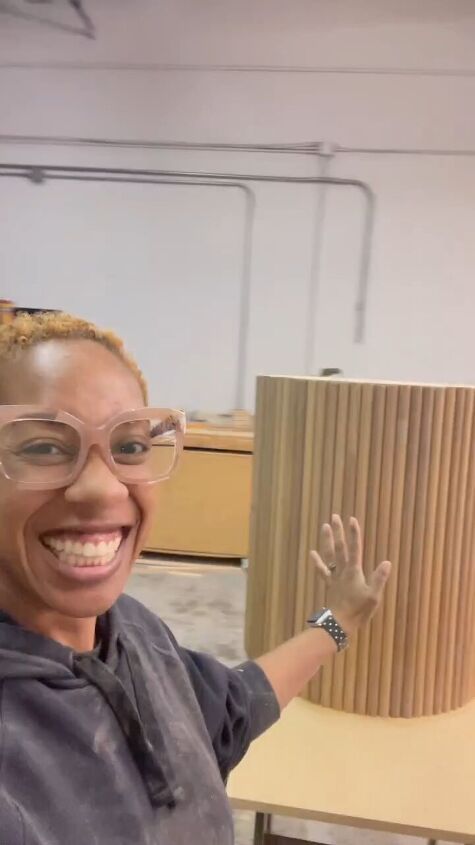
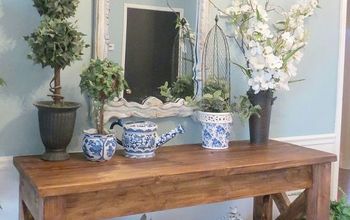
DIY round table base
Once all the half-round pieces are attached and the glue has dried, use sandpaper to smooth out any rough edges or surfaces. This will prepare the base if you choose to stain or paint it.
You can stain or paint your table however you’d like. You've successfully created a sturdy DIY fluted table base with half-round shoe molding that beautifully complements your round tabletop. Let me know how it turns out by leaving me a comment.
Follow @workbootsandglasses on Instagram for more DIY ideas.


Frequently asked questions
Have a question about this project?