


How to Build a DIY Kids Art Station, Step by Step

I'm excited to share with you how I created a fantastic DIY kids art station. It's super easy and perfect for sparking creativity in your little ones. Before you begin, gather all your supplies.
Tools and Materials
- Tape measure
- Paintbrush
- Saw
- Nail gun or hammer
- Sandpaper
- Drill
- Plywood
- Paint (in your favorite color)
- Painter's tape
- Wood glue
- Nails
- Wood filler
- Dowel
- Mounting hardware
How to build a DIY kids art station
- Step 1: Outline and Tape Off the Space
- Step 2: Paint the Inside
- Step 3: Cut the Materials
- Step 4: Create the Wall-Facing Piece
- Step 5: Assemble the Shelf Pieces
- Step 6: Fill in Gaps with Wood Filler
- Step 7: Sand Rough Edges
- Step 8: Mount the Hardware and Dowel
- Step 9: Nail the Shelf Corners
- Step 10: Paint the Shelf
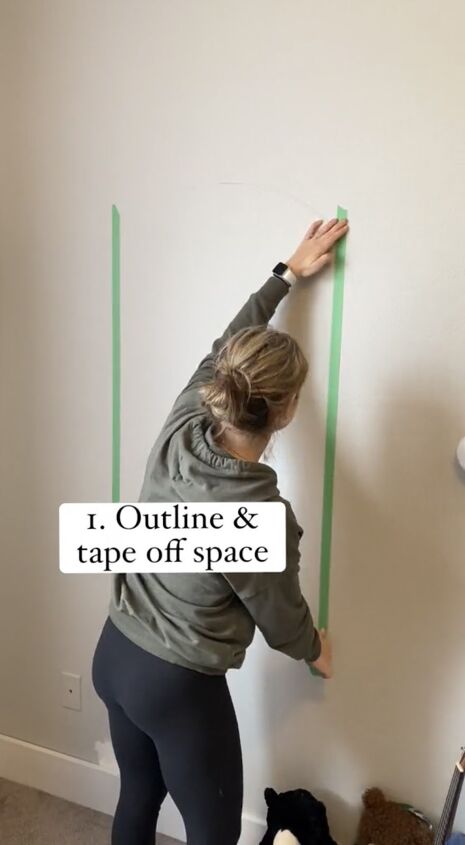
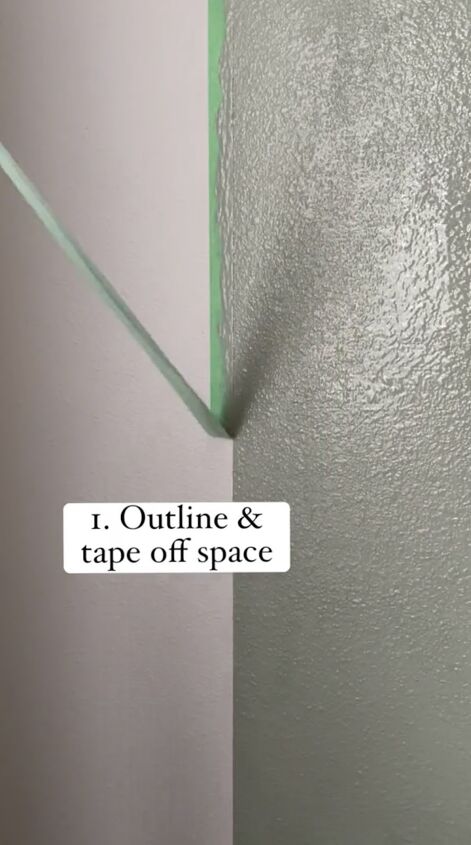
Step 1: Outline and Tape Off the Space
Using your tape measure and painter's tape, outline the area where you want to create your art station. This will help keep your project neat and organized.
Step 2: Paint the Inside of the Space
Choose your favorite color of paint and start painting the inside of the outlined space. This will add a pop of color and make your art station visually appealing.
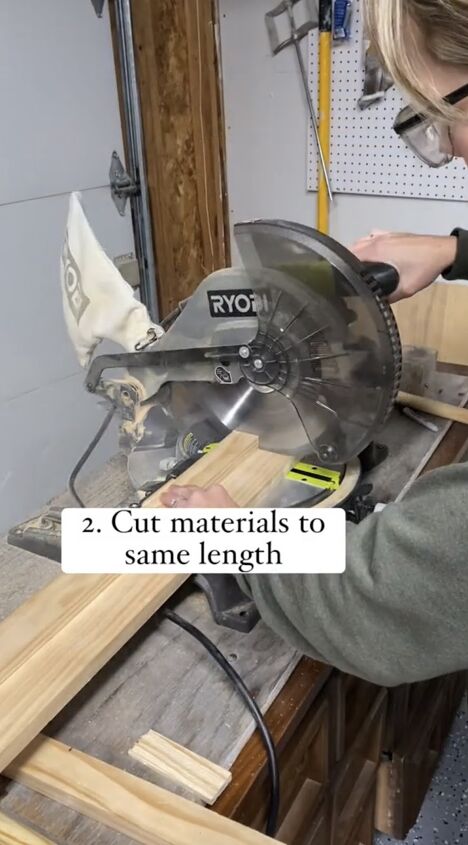
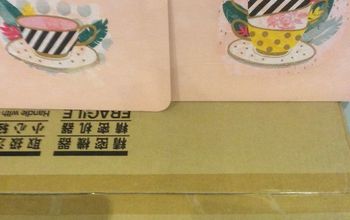
Step 3: Cut the Materials to Equal Lengths
Measure and cut your plywood into equal lengths. These will be used to create the shelf components of your art station.
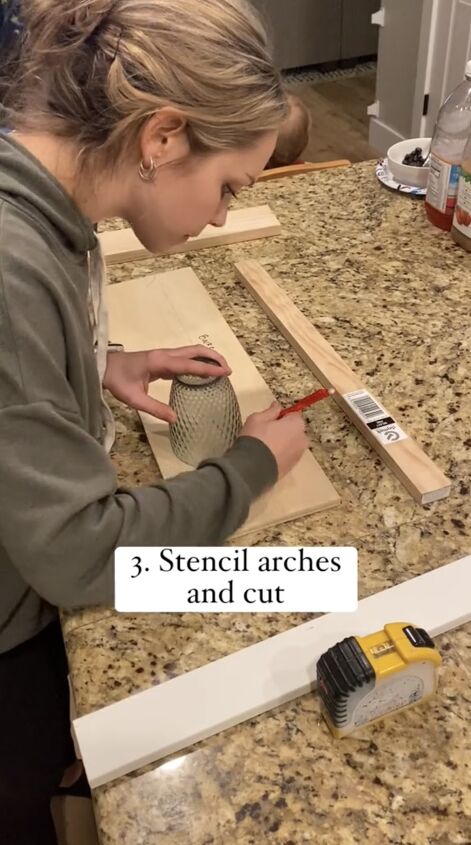
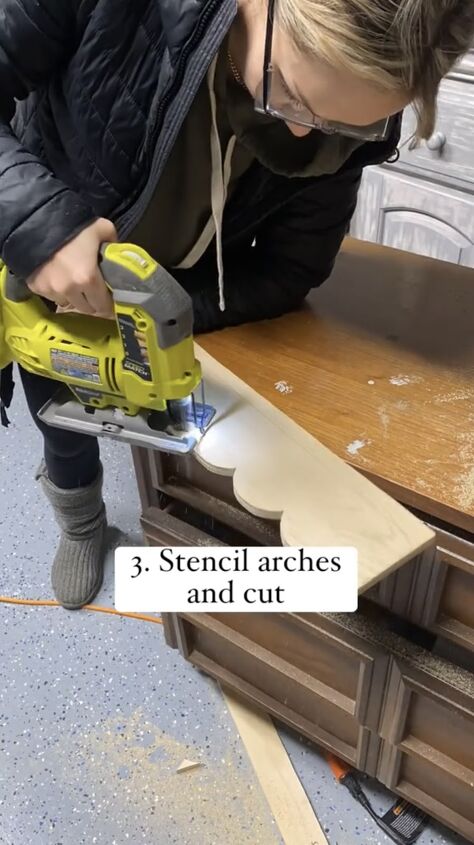
Step 4: Create the Wall-Facing Shelf Piece
Using a stencil, mark arches onto the plywood and carefully cut along the lines to create the wall-facing shelf piece. This will serve as a handy storage area for art supplies.
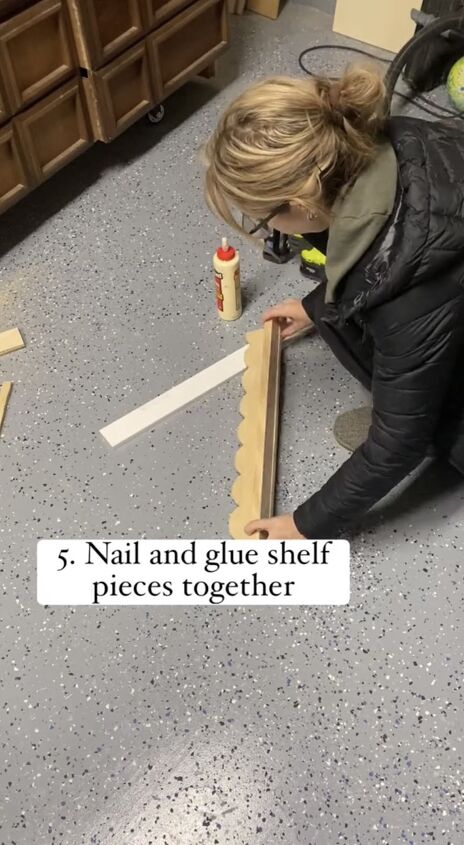
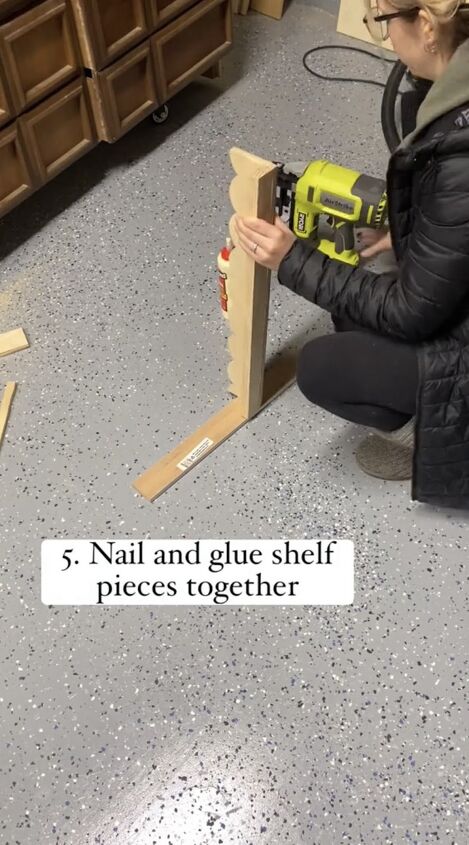
Step 5: Assemble the Shelf Pieces
Using wood glue and nails, assemble the shelf pieces together according to your design. Make sure everything is securely attached.
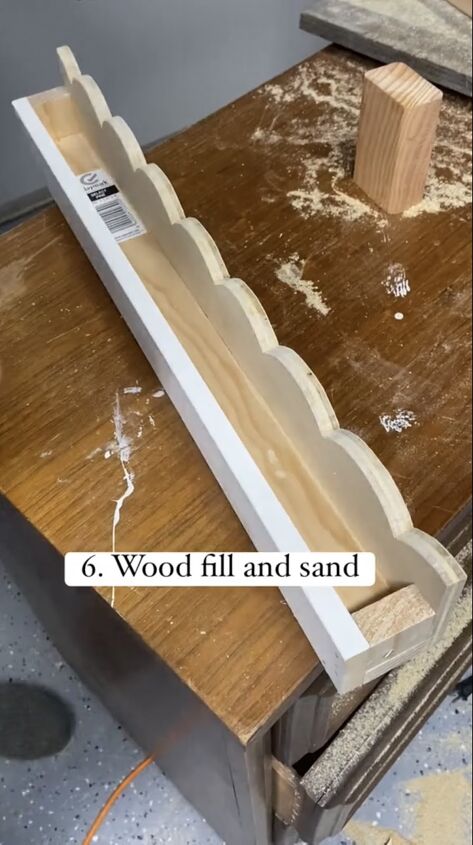
Step 6: Fill in Gaps with Wood Filler
Apply wood filler to any gaps or imperfections in your art station. This will give it a smooth and polished look once painted.

Step 7: Sand Rough Edges
Grab your sandpaper and gently sand down any rough edges or surfaces. This will ensure a professional finish to your art station.
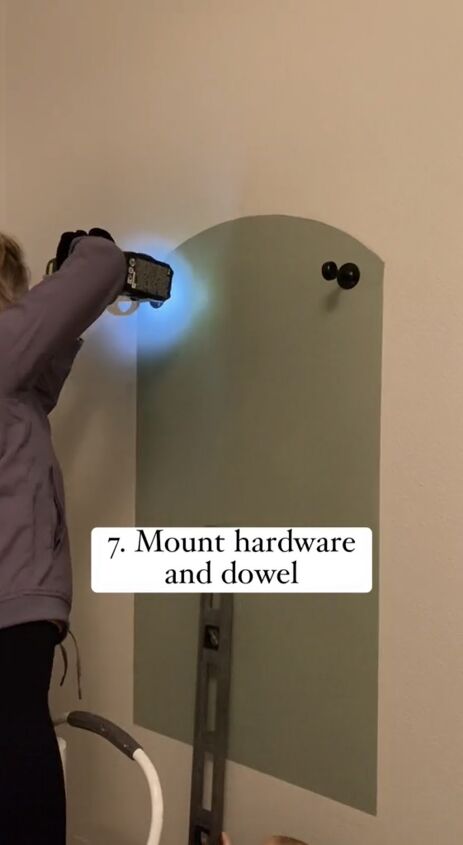
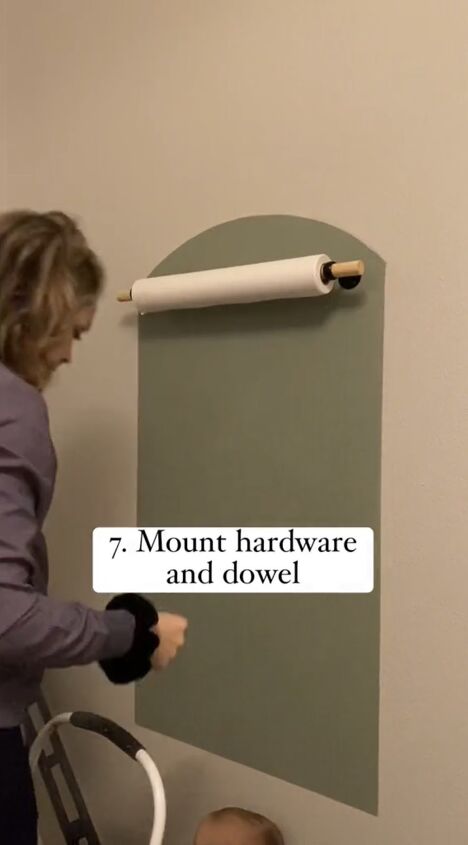
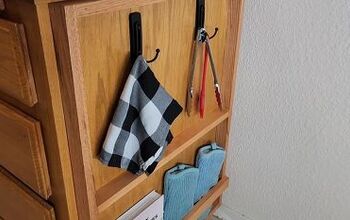
Step 8: Mount the Hardware and Dowel
Attach the mounting hardware and dowel to create the hanging art paper holder. This will allow your little artists to easily access paper for their masterpieces.
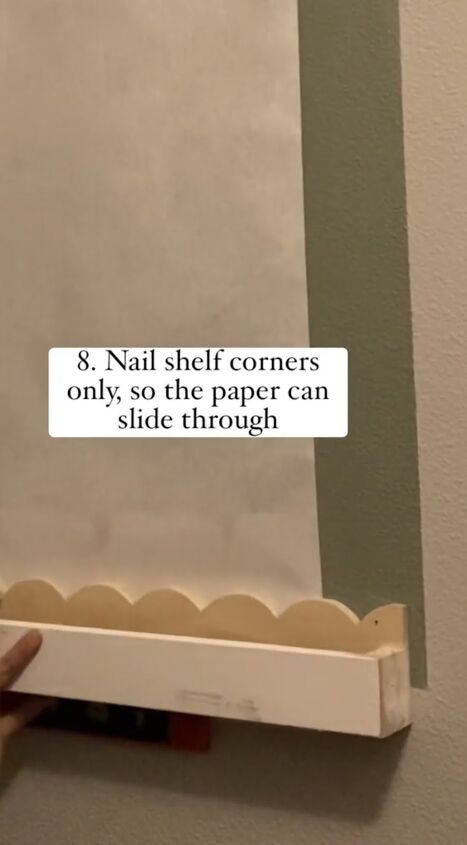
Step 9: Nail the Shelf Corners to the Wall
Finally, nail the shelf corners only to the wall, leaving space for paper to slide through. This will keep your art supplies organized and within reach.

Step 10: Paint the Shelf to Match the Wall
Once the shelf is secured to the wall, paint it to match the background of the art station.
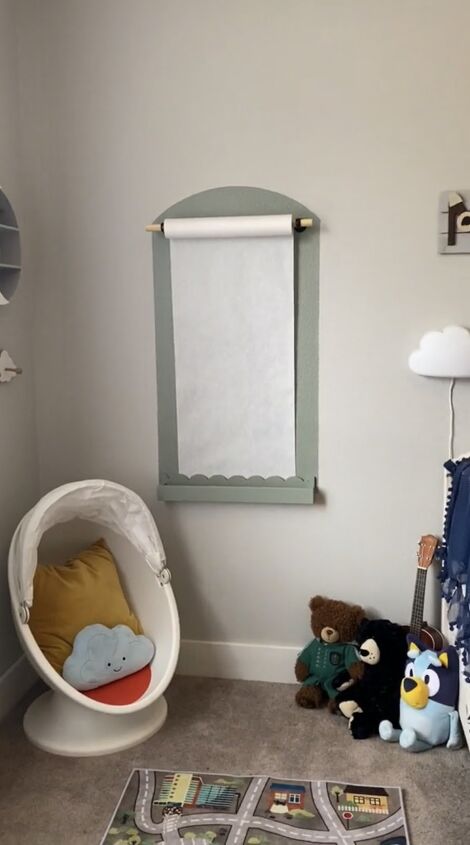
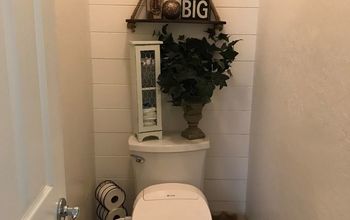
DIY kids art station
Your very own DIY kids art station is ready to go. I hope you enjoyed this project as much as I did. Share your diy projects in the comments below, we love to hear from you.
Follow @gatheratthebooths on TikTok for more DIY ideas.


Frequently asked questions
Have a question about this project?