


DIY Woven Placemats

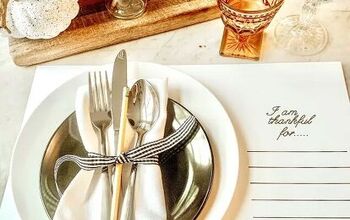
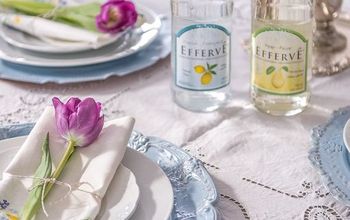
I was hosting a few dinner parties this month, and wanted to up my dinner hosting game. Plus with Christmas corner, I wanted to have an amazing table spread. I looked for economical ways to make nice place settings, while still having an overall high end look. I found tons of placemats online that I LOVED. Except for the price tag. So I made my own.
I must warn you….
This is not a fast craft, or something that you can complete in a short amount of time, or even a day. It took some patience, but I love the end result. There is a little bit of an investment up front to buy the materials if you do not have them, but overall it was still cheaper for me to make them myself than to buy the other ones since I wanted at least 20. Here are the materials you will need:
Materials:
- Thicker rope at least 1/2 in.
- Raffia. I wanted smooth long raffia, and found THIS on Amazon.
- Macrame for edge Fringe (optional.) I used THIS.
- Scissors
- Wide tooth comb/ brush
Process:
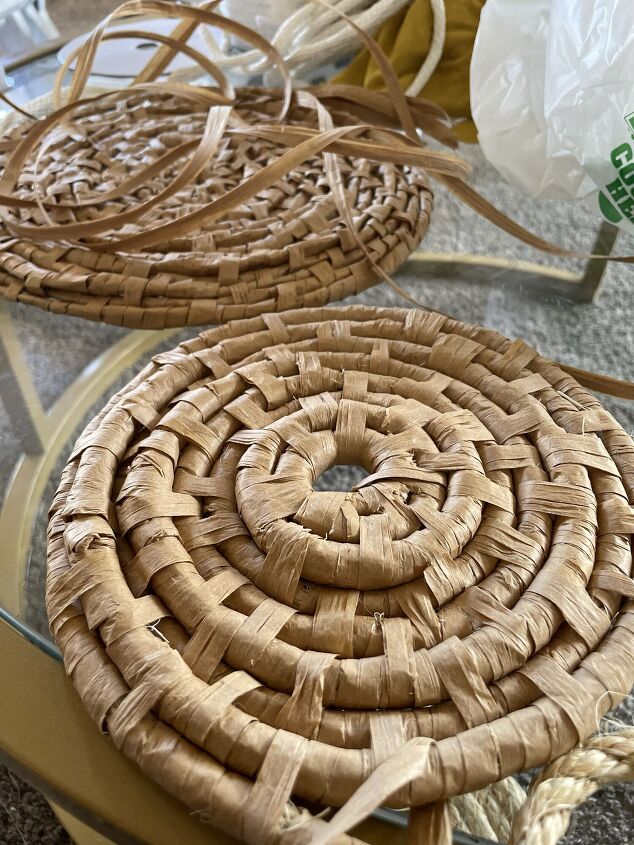
All of the process is pretty much the same and quite repetitive. It involves no glue, and lots of wrapping. I ended up cutting a long strip of the raffia to work with. You will have to cut more as you go… It’s inevitable. But this way starting with a cut piece, it allows you to pull and thread it through the smaller holes as needed as you go. I didn’t cut the larger rope piece that I was wrapping around, but just worked with it around the roll as I went, and kept it in one long piece. I also tried using several chunks of raffia for my center core piece, and it worked fine. I made one with it, and had no issues, but I thought the overall look of the larger rope as the core worked better, and it went much faster too… Here is a side by side of one with raffia in the center, and one with rope.
Step 1: The middle
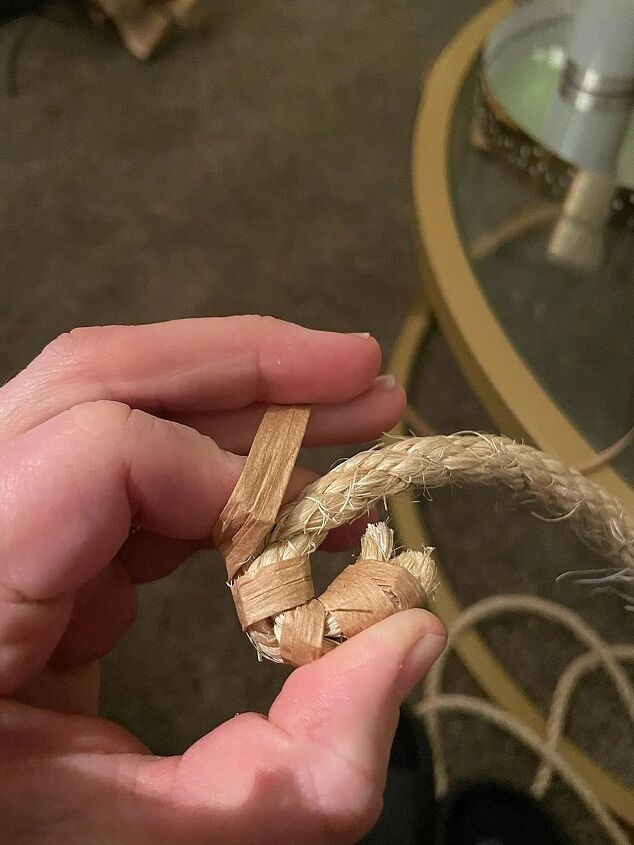
Starting off is probably the weirdest part. I first started by wrapping the raffia around the rope, covering my ends as I went, and making sure to pull it tight too. Then, you coil up the rope in the middle like a snake. I continued to wrap the rope until I had coiled it into a small circle.
Step 2: The double wrap.
I am making up this name. I am sure basket weaving forums somewhere have on official name for it, but I have no clue lol. I just made it up as I went.
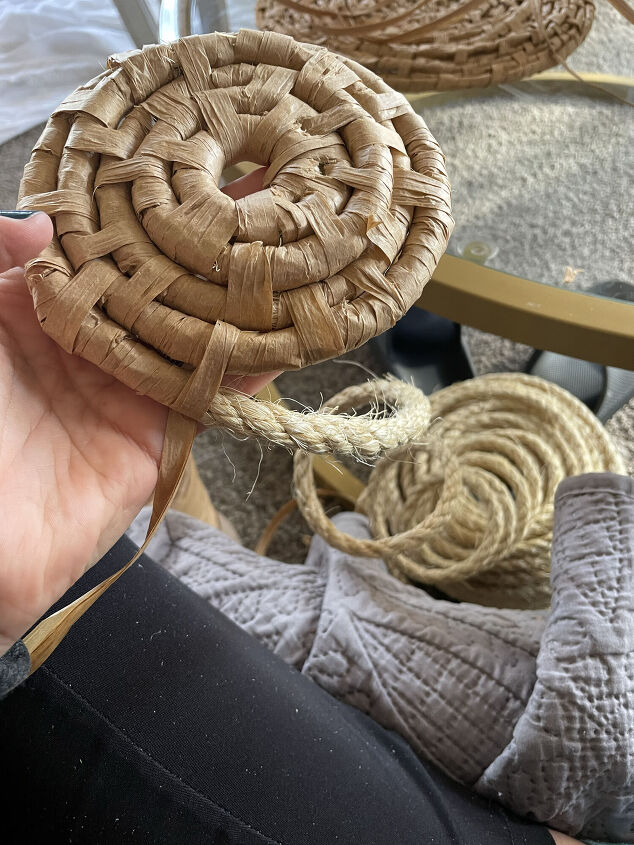
After I finished the first step, and a small section of rope was wrapped in the raffia, I made my first double wrap. I did this, but wrapping the raffia around to piece of rope coiled next to each other instead of just the single rope. This ended up binding them together. I did one double wrap, and then continued on with wrapping the raffia around just a single rope. Then after about 8-10 single wraps, I did another double wrap pulling it through the center hole that I made earlier.
I did 2-3 rows of this until I felt that the middle was staying put, and I had a pretty center design.
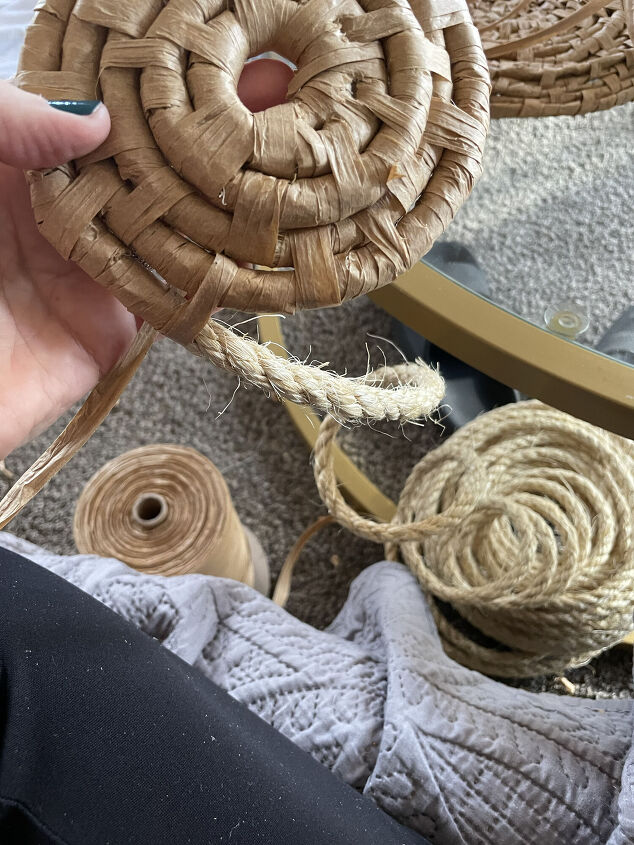
Step 3: The pattern
The next part is basically a version of the previous step, but doing it OVER and OVER. Also you have to create new holes along the way as you go. The farther from the center that you get the easier this becomes.
For my pattern, it varied a little as I am NOT a perfectionist, but a get it done kinda person… So I would wrap about 10-15 single wraps around one rope making sure to overlap each wrap a little with the last one to make a smooth covering. Then after about 15 single wraps, I did a double wrap. Instead of pulling it through the center hole though, I just wiggled it in between the two ropes ( the one I was wrapping and the one under it.) This wraps it around the one under it, securing it to it. I continued to do this for AWHILE. I made up new holes as I went, and the more layers away you get from the center, the easier the holes are to wiggle through.

Once your initial piece of raffia you cut runs out, you will need to cut another one. I just used a square not, and tied the ends of the old piece and the new piece together. Then as I wrapped, I just backtracked a little to cover the knot where I tied them together.
Step 4: Securing the end
Once you have wrapped and double wrapped a gazillon times you have this! It takes some time, but put on a audiobook, and just work away. Once it is the size you want (I wanted it to show out on the edges of my dinner plate, so I knew I needed it to be a little bigger than that.) You will cut the rope. Hold the raffia where it is close to the end of the rope, and cut the rope. Then do a double wrap, to secure the end to the layer under it. Then go back through and do some single wraps to cover the end of the rope up, and do 1-3 more double wraps as needed to make it as smooth of a fit as possible.
Step 5: The fancy fringe. ( This step is optional. See below for one with and one without.)
I like the look of the fringe, so I did it, but this step is not a needed one. I chose white macrame cord, but it comes in a gazillon colors. I cut smaller chunks of cord, and then threaded them though the spaces on the outside edge.


Then I tied a square knot with the white cord. Securing it to the edge.
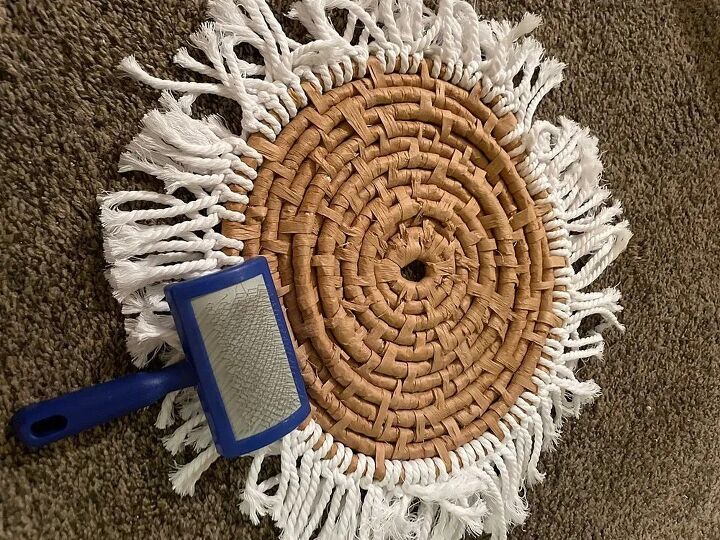
Step 6: Combing it out
Now that the white cord is tied all the way around the outside of the placemat, it is time to make it fluffy. I used a wide tooth comb and just started brushing, holding one hand on the placemat as I used the other hand to brush it out.
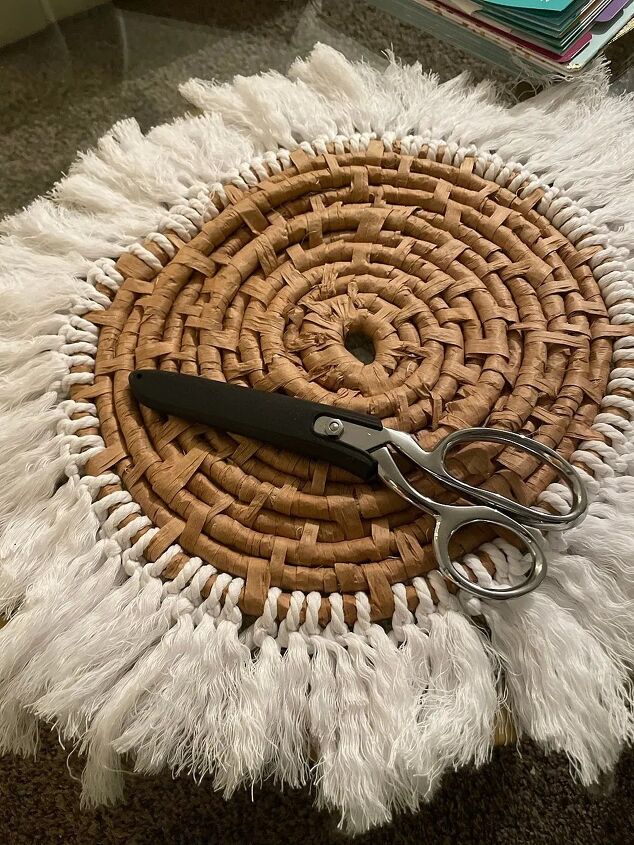
After all of the threads were separated and brushed out, it was time to trim the edges a little. I just used a pair of scissors to make the edges more uniform. Placing a plate upside down on top of it as you do this helps keep it round, and even.
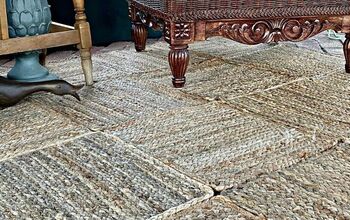
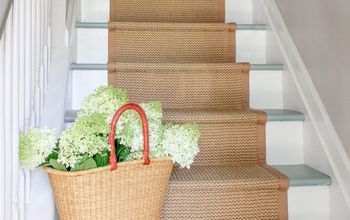
And that’s it! One woven placemat! It is similar to one I saw for sale on pottery barn, but for much much less. Style it under plates, and chargers for your next dinner party or thanksgiving! Check back later this week to see how to make a tablescape with big impact for a small cost.
Thanks!
Amanda


Frequently asked questions
Have a question about this project?