


Faux Stone Plates

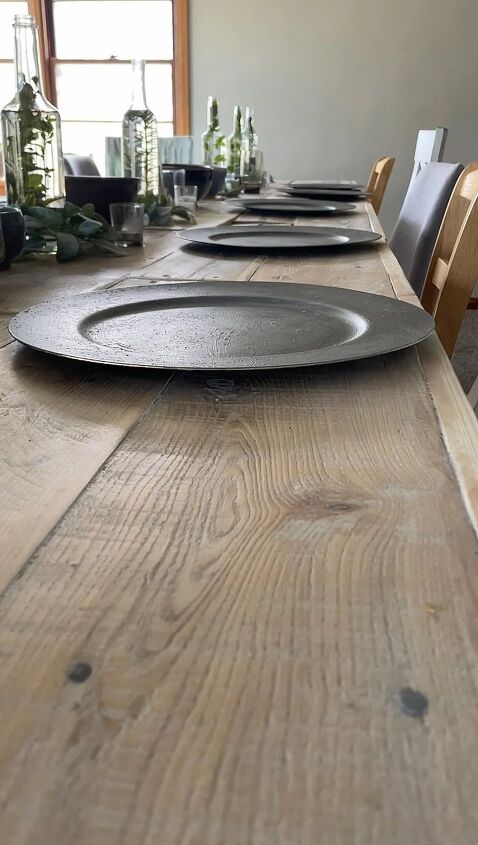
I was hosting a dinner party, and I had a very specific idea in mind. I had already built a wooden table topper for my plastic folding table, ( SEE THAT POST HERE) and I wanted to have some faux stone chargers for under each plate. I wanted lots of texture, and neutral colors, but didn’t want the price tag that comes with real stoneware.
As a caution, THESE ARE NOT FOOD SAFE. Do not eat off of them. They are purely for decoration, but since they are for UNDER the real plate, it works out. See the steps below:
Materials needed:
- Plastic charger plates
- neutral spray paint primer (I had tan on hand. )
- Texture stone spray paint. I used THIS one.
- Drywall compound
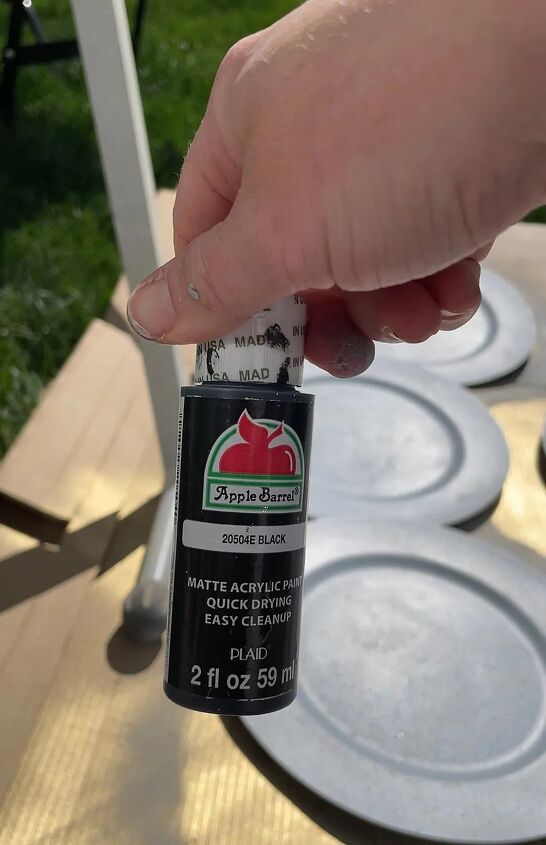
- Grey and black acrylic paint
- Small paint brush
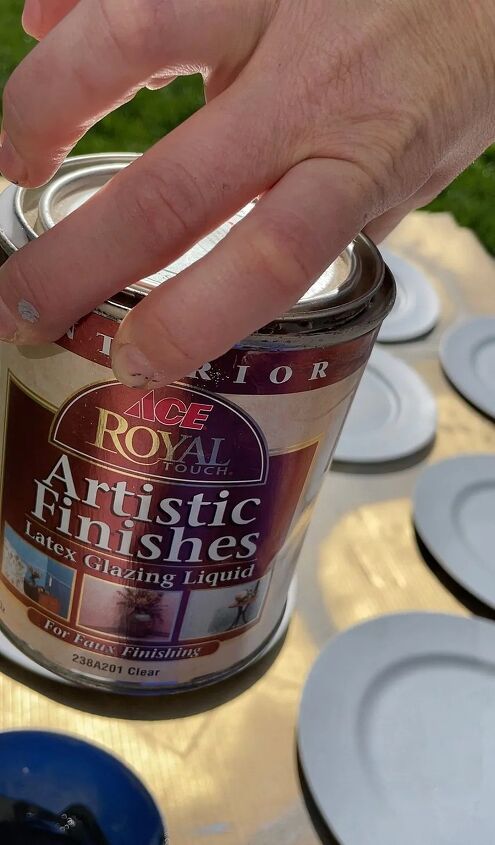
- Glazing medium or clean satin sheen sealer
- Old cardboard/ newspaper/ dropcloth for painting on
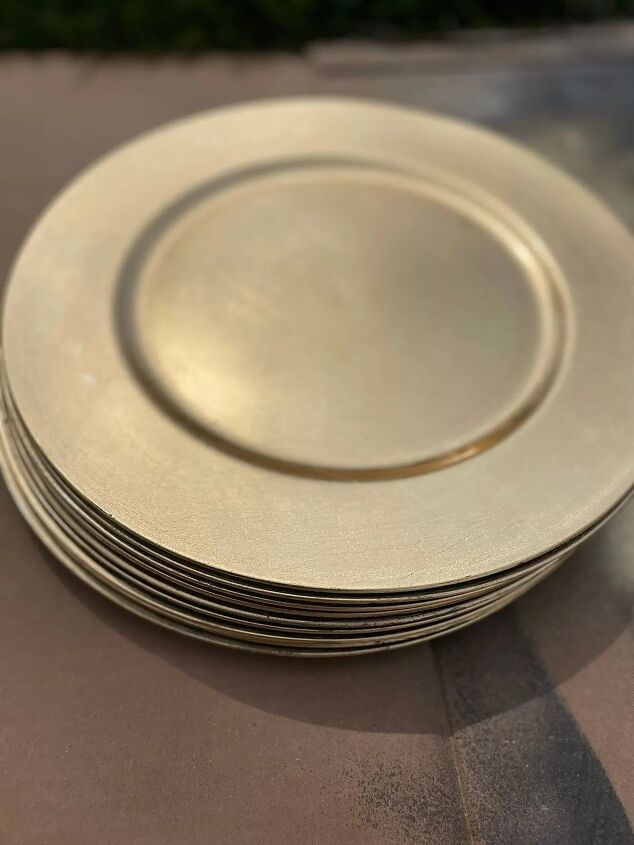
Step 1: Find some plastic plate chargers
I found these at a local thrift store for $1 ea. I hated to paint over the gold as it was also a pretty look, but I needed a lot of chargers and there were more of this kind than any others at the thrift store.
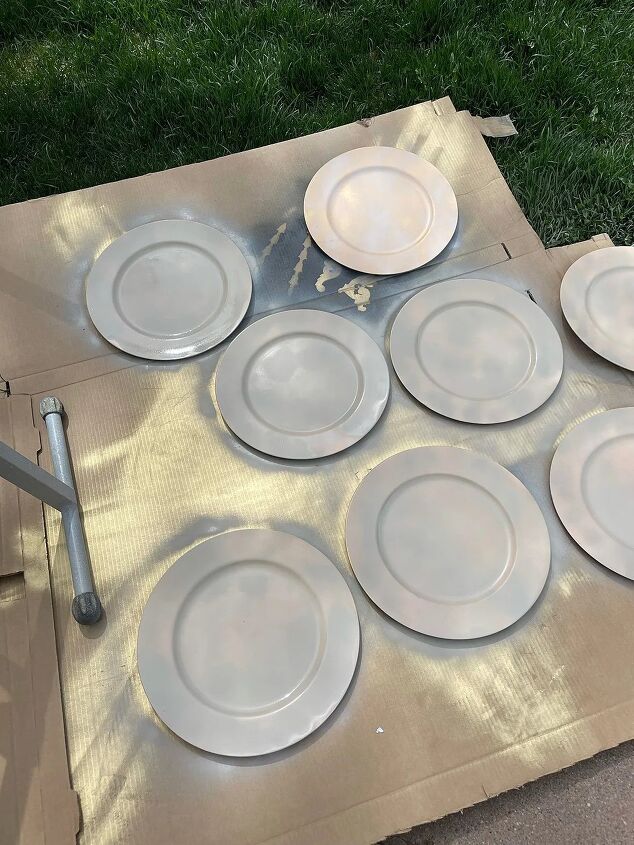
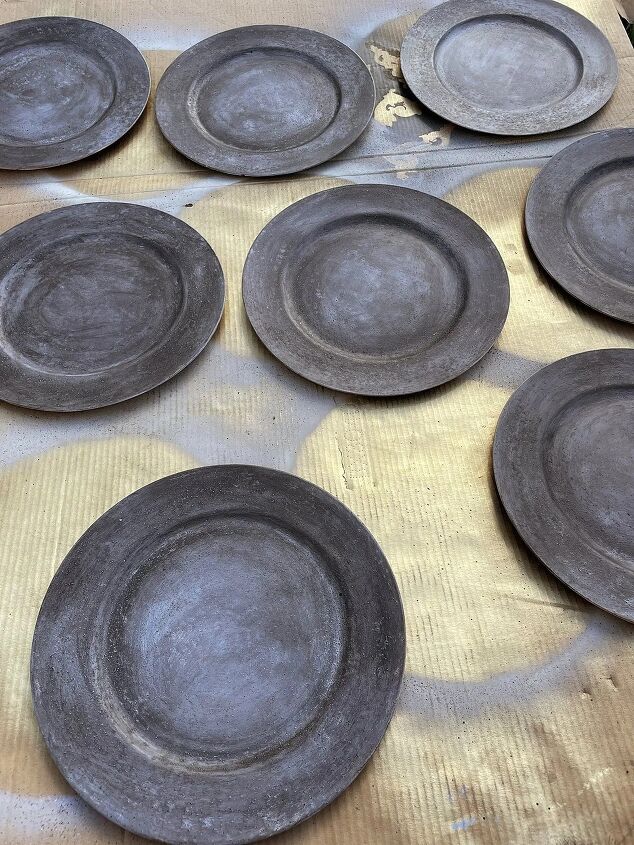
Step 2: Prime them
I had some tan primer spray paint on hand and just used up what I had, trying to get an even coating on them. I only did the top side of the plate.
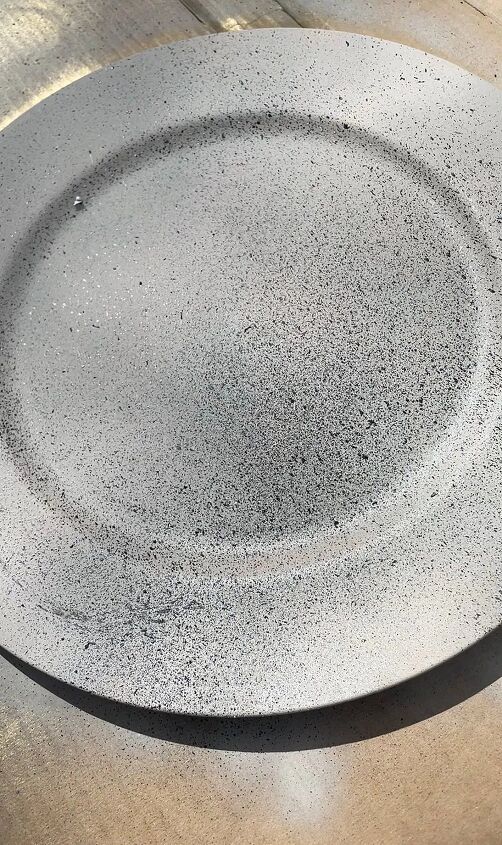
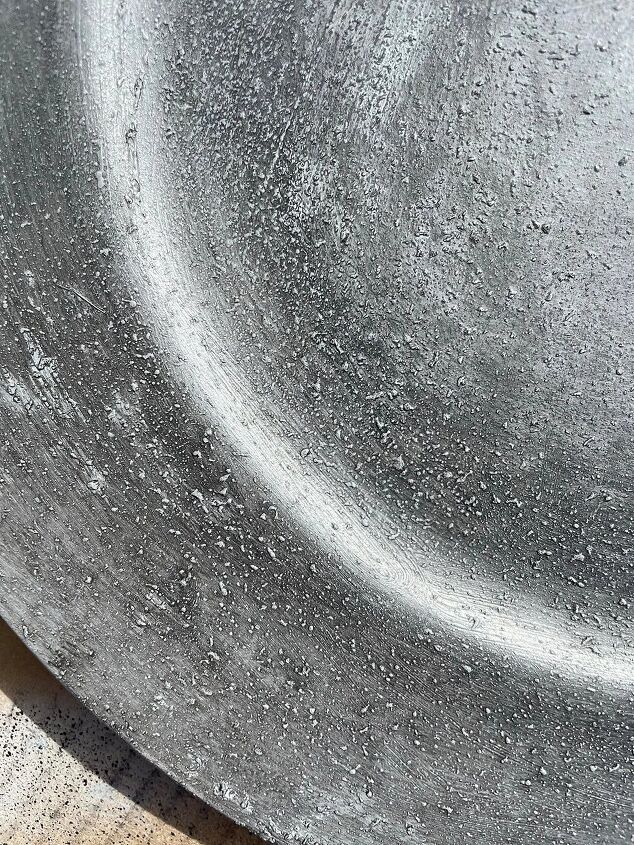
Step 3: Texture spray
Next I used a stone texture spray and lightly dusted over the tops of each plate with it.
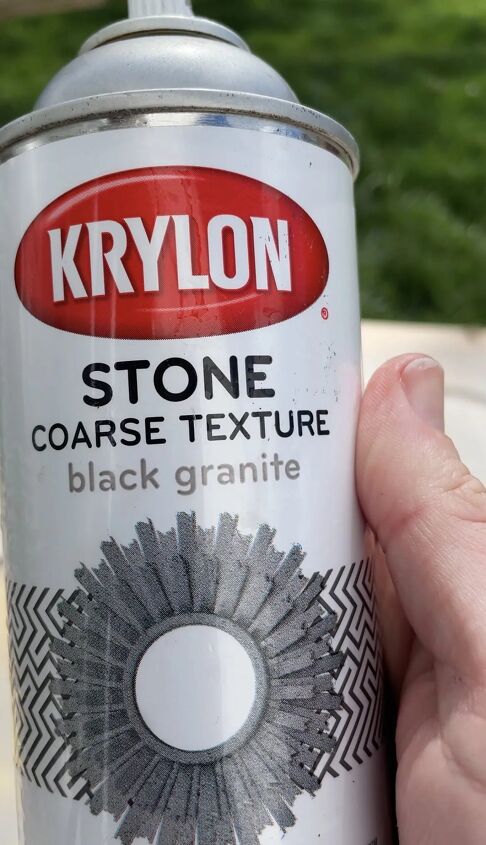
I didn’t want them to be too coarse, but I did want more a stone look, than smooth.
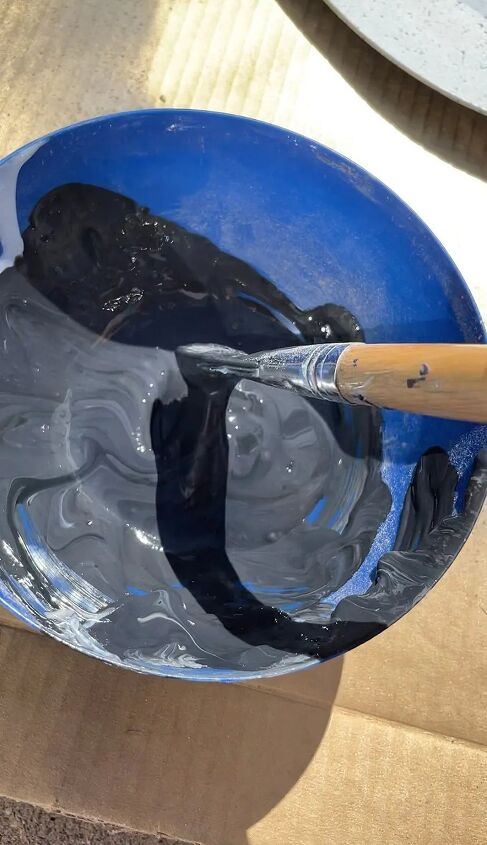
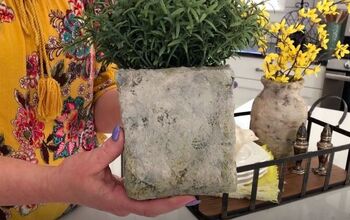
Step 4: Compound Mix
Next, I took some of the drywall compound and mixed it with grey acrylic paint.
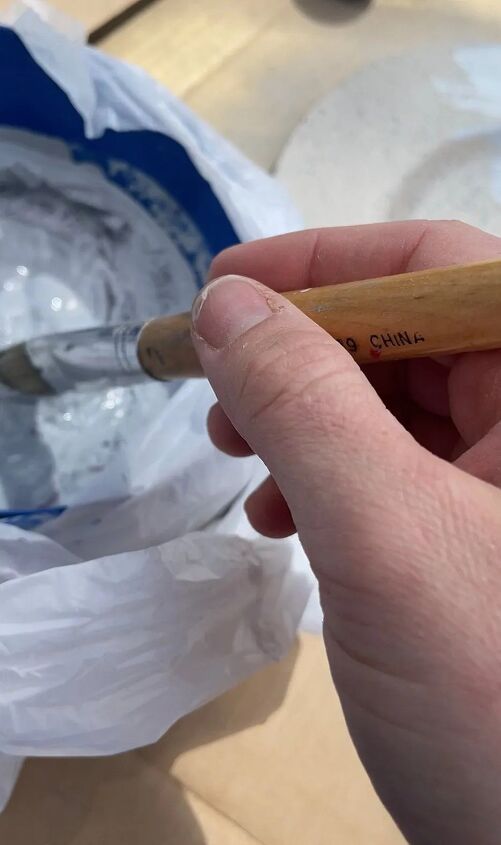
I wanted a thicker look to cover the texture, and knew the drywall compound would help achieve the look I was going for.
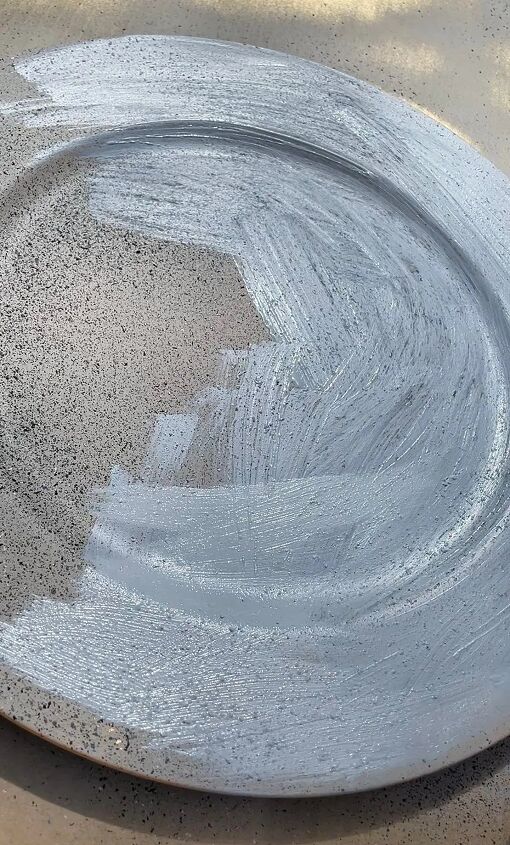
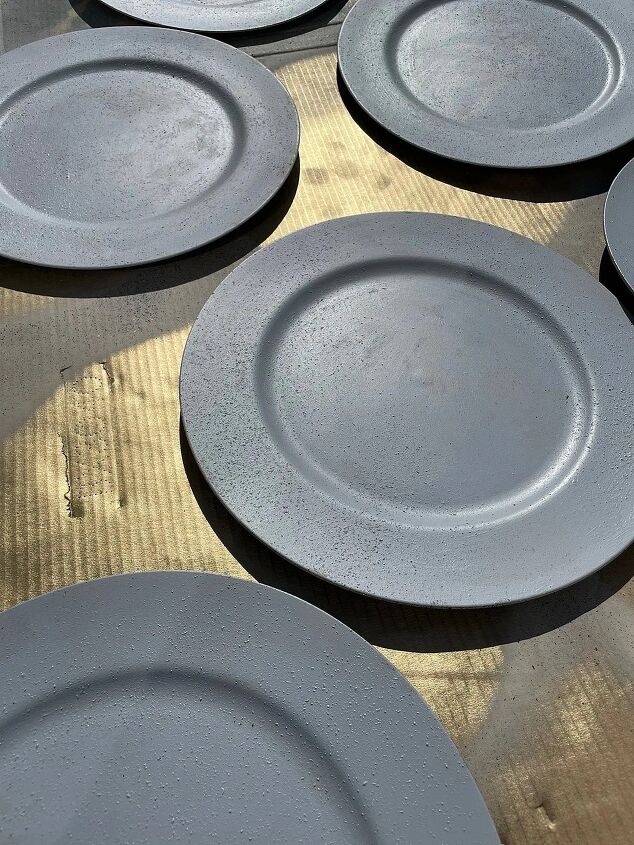
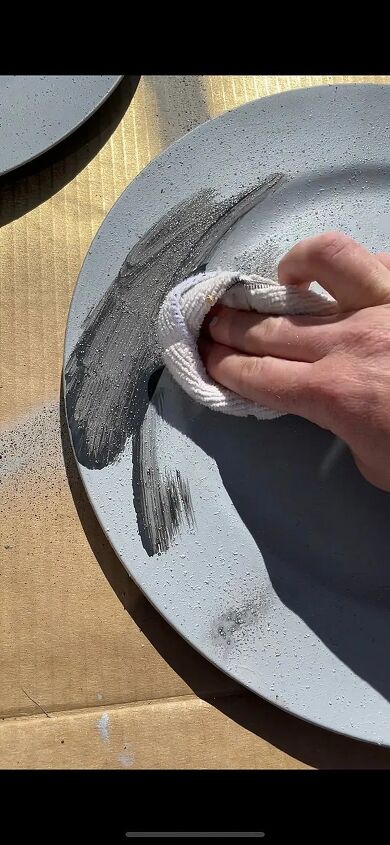
Step 5: Glaze
On this step I wanted to add some depth to the color, but not cover it completely. A glaze is the perfect solution for this. Here are the materials I used.
Then using a cloth, I rubbed the glaze over the plates in a swiping movement, and buffed it out until I like the look of it.
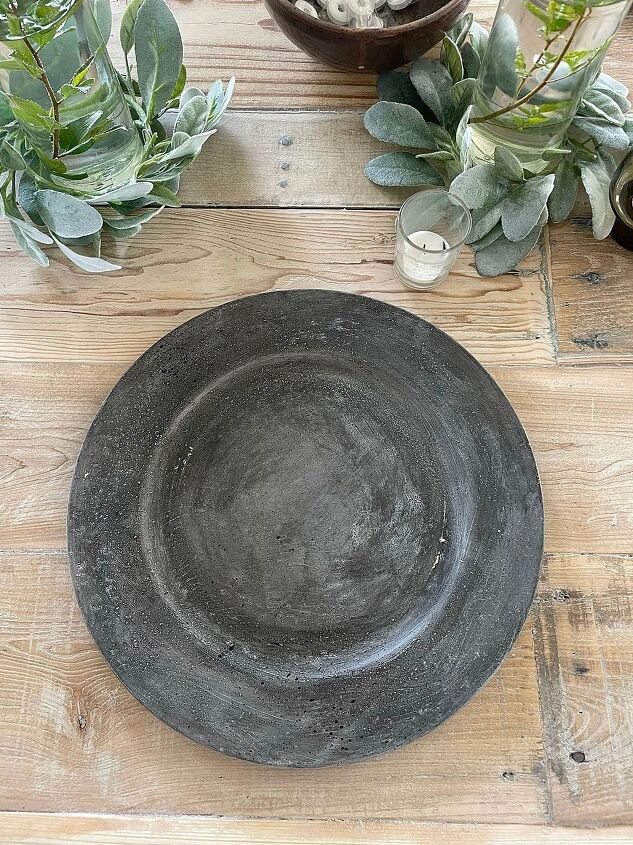
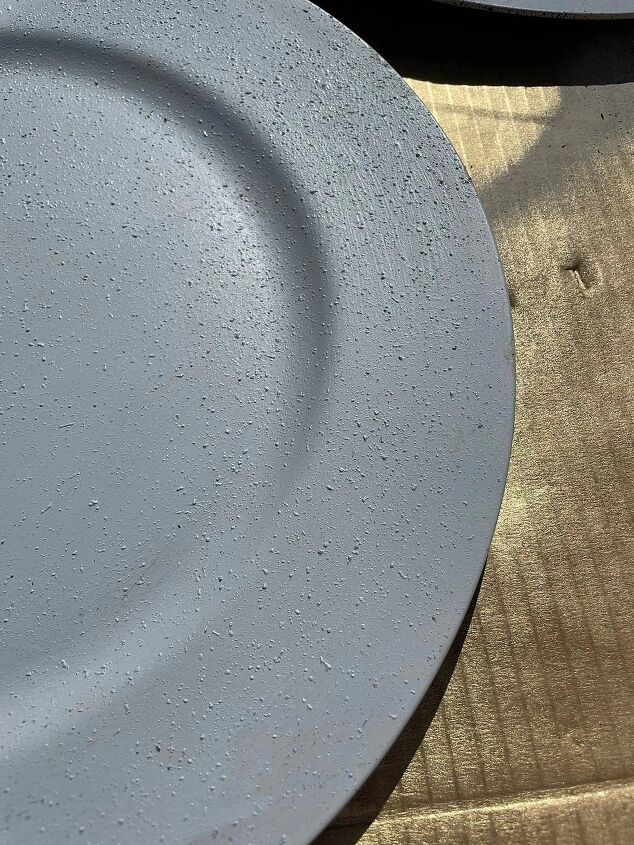
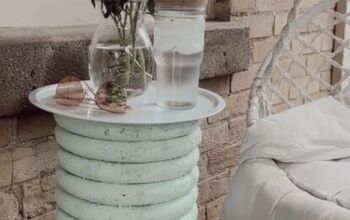
And thats it! I let them dry overnight and they were ready to be used!
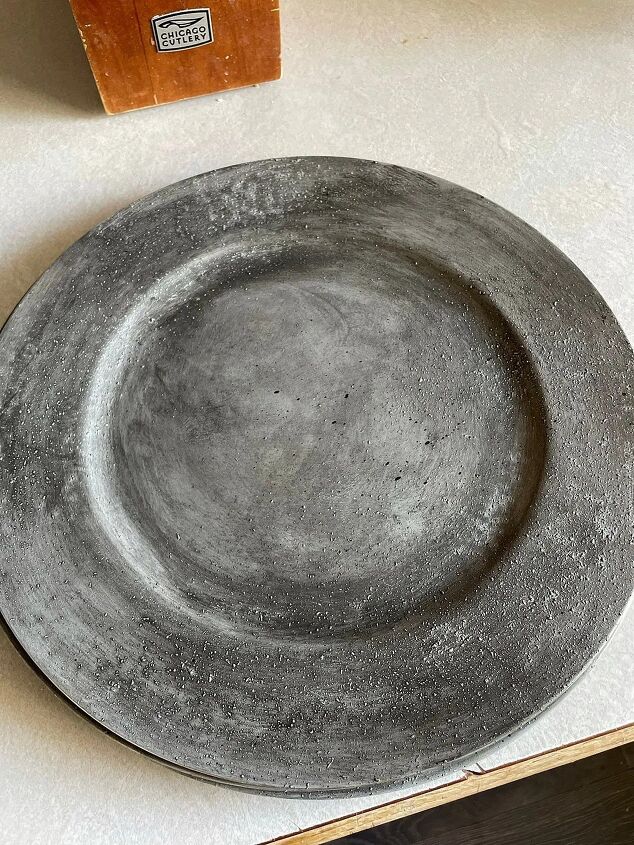
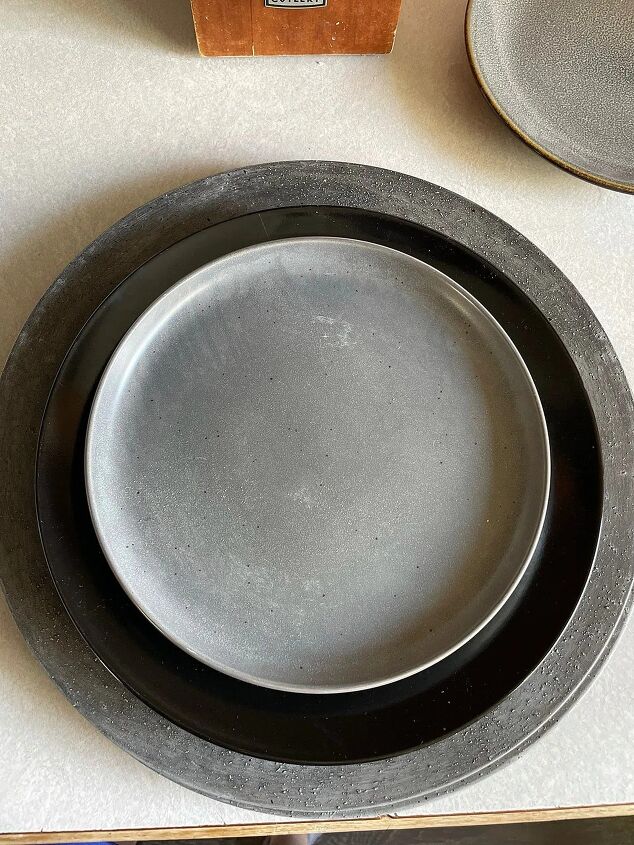
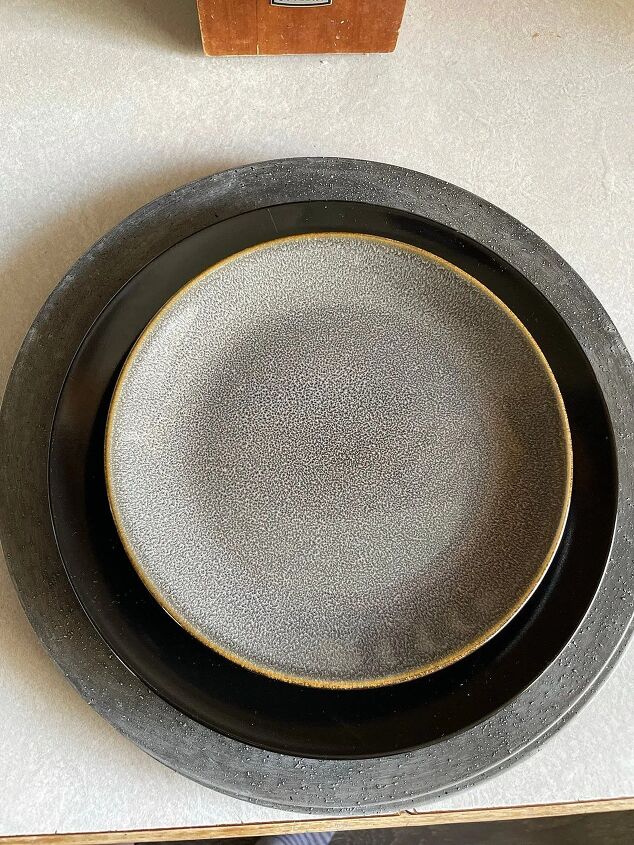
I stacked them with some fun mis-matched dishes I also found thrifting. The dinner party was a success and the plates held up well to wear and moving other dishes on top of them. I plan on using them again!

Thanks for stopping by-
Amanda


Frequently asked questions
Have a question about this project?