


How to Make a Bunny Topiary: A Cheerful Front Porch Easter Decoration
Looking for a fun and creative way to spruce up your front porch for Easter? Bunny topiaries are a charming addition that will surely delight your visitors.
In this step-by-step guide, I'll show you how to create your own easter bunny topiary using simple materials and easy-to-follow instructions.
Let's hop right into it!
Tools and Materials:
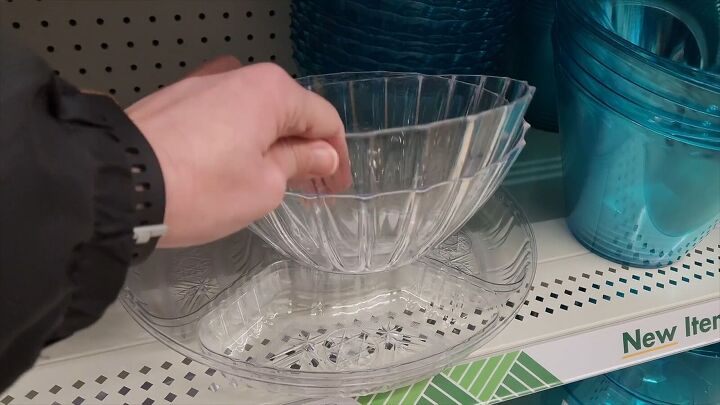
- Round plastic bowls (2 large, 2 small)
- White Glue
- Hot Glue
- Foam kneeler
- Craft knife
- Paintbrush
- Moss
- Green spray paint
- Fairy lights
- Flower pot
Hometalk may receive a small affiliate commission from purchases made via Amazon links in this article but at no cost to you.
1. Assemble the Base
Begin by gathering two large and two small round plastic bowls.
These bowls will form the structure of our Easter bunny topiary.
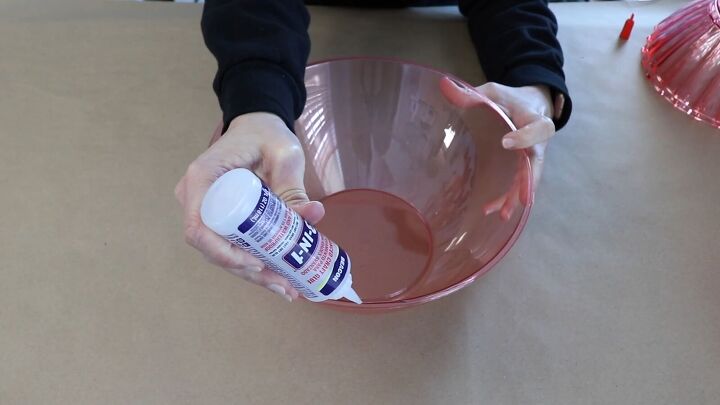
Using a strong glue, attach the tops of the large bowls to form a ball shape.
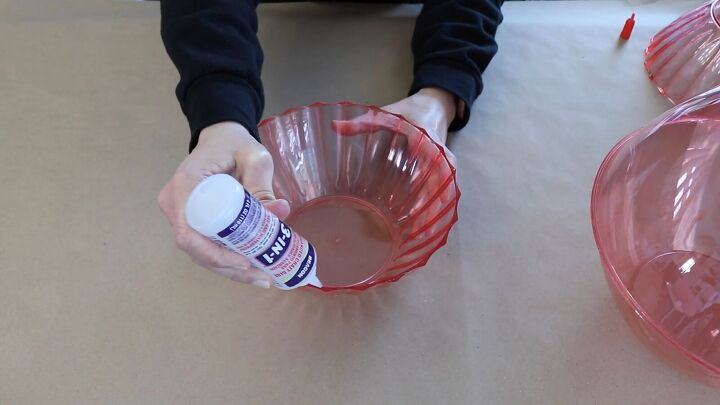
Repeat the process with the small bowls.
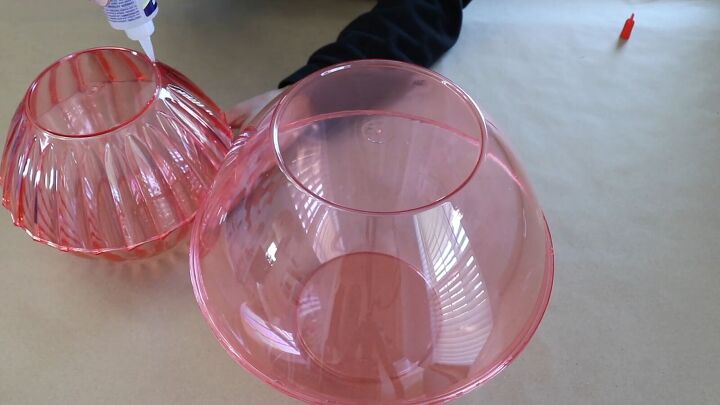
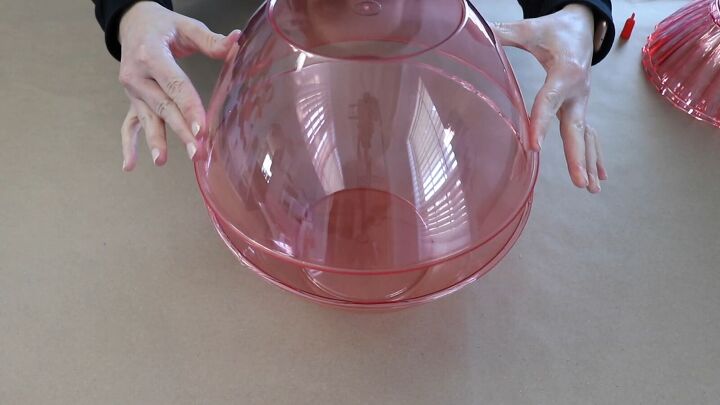
Apply a strong glue to the base of the smaller ball.
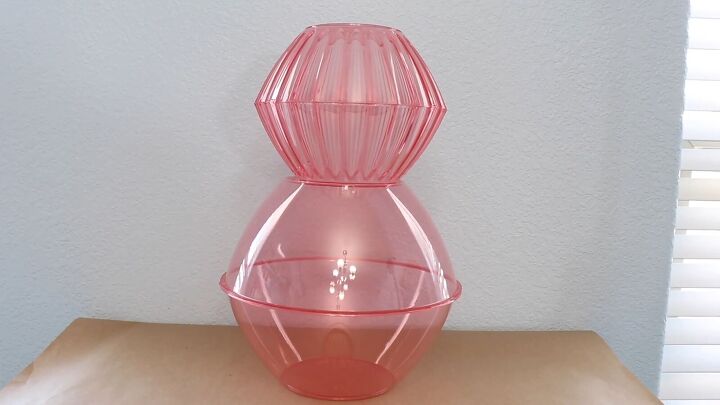
Stack the small bowls on top of the large ones to create the shape of a rabbit.
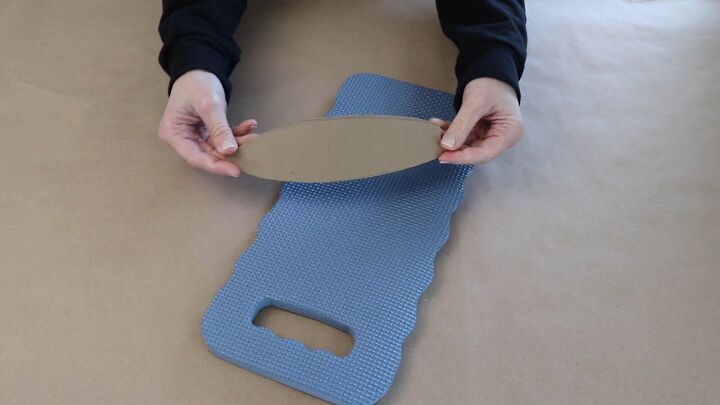
2. Create Bunny Ears
Take a foam kneeler and trace the shape of bunny ears onto it.
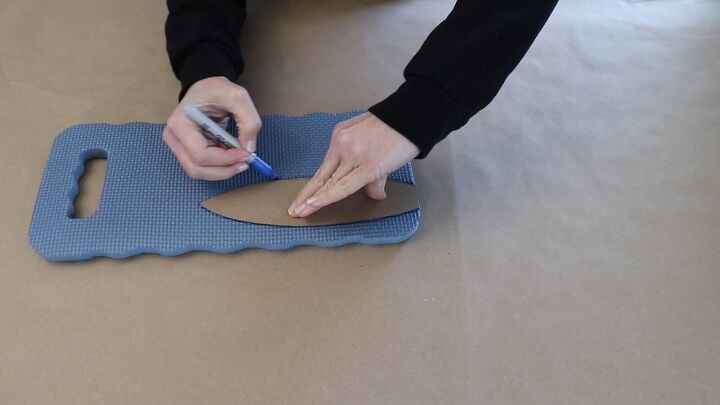
Use a craft knife to carefully cut around the marks.
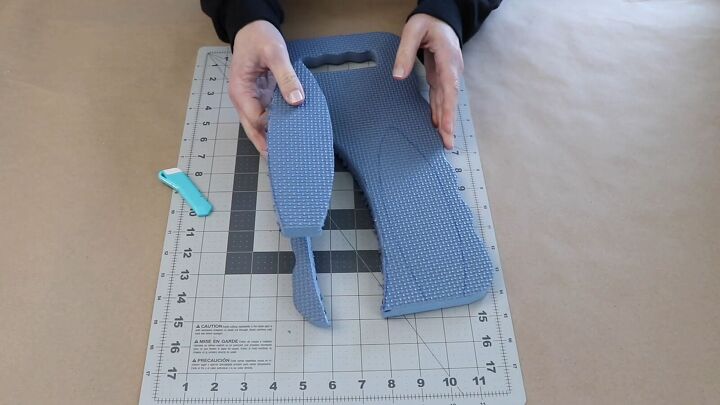
Glue the foam ears to the top ball of the bunny structure.
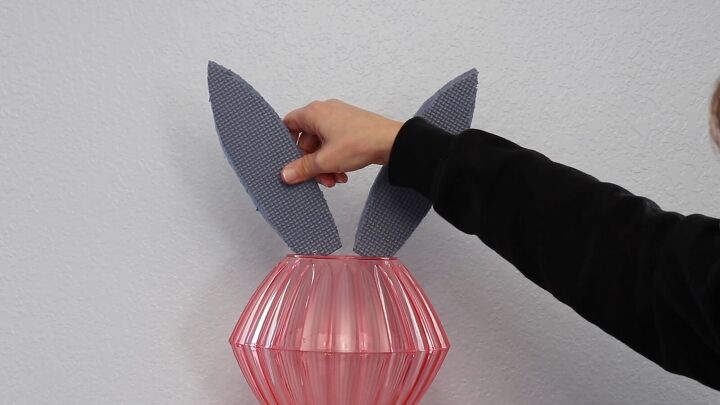
Allow the glue to dry thoroughly before proceeding.
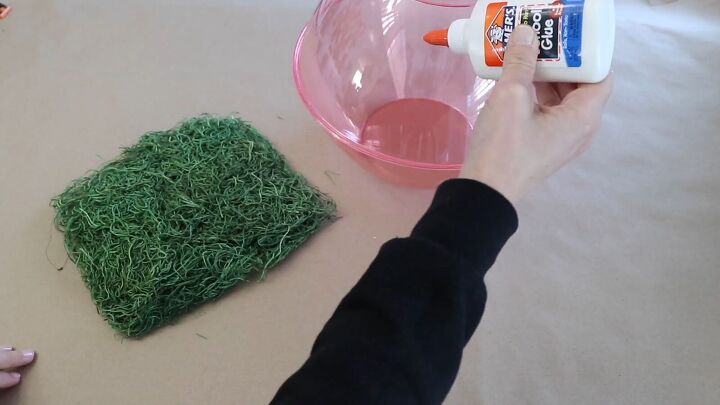
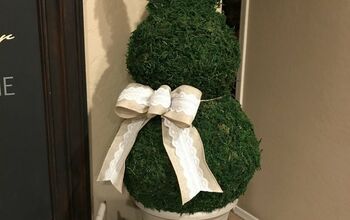
3. Add Moss
Using basic white glue and a paintbrush, apply glue to the bowls one section at a time and attach moss.
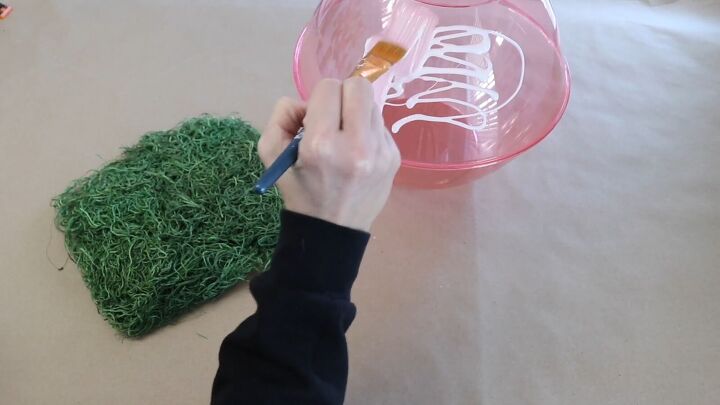
This method ensures that the moss adheres securely to the surface.
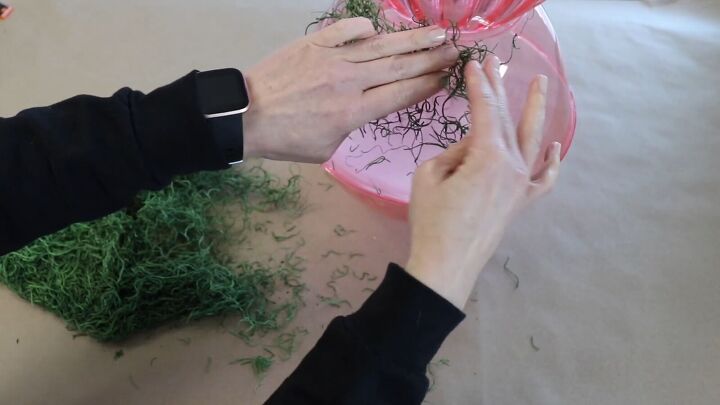
Allow the moss to dry completely.

4. Apply Green Spray Paint
Take the bunny topiary outside and spray paint it with green spray paint. This will provide an even coloring, covering any visible gaps and giving the moss a uniform appearance.

Allow the spray paint to dry completely.
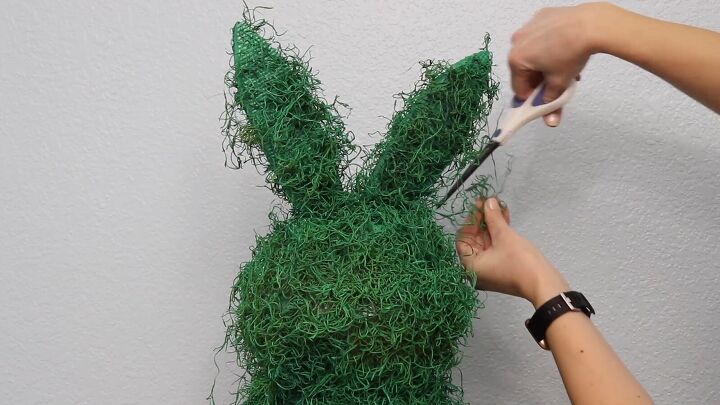
5. Trim and Decorate
Once the spray paint is dry, trim any excess moss to give your Easter bunny a neat appearance.

Wrap fairy lights around the topiary for a magical touch.
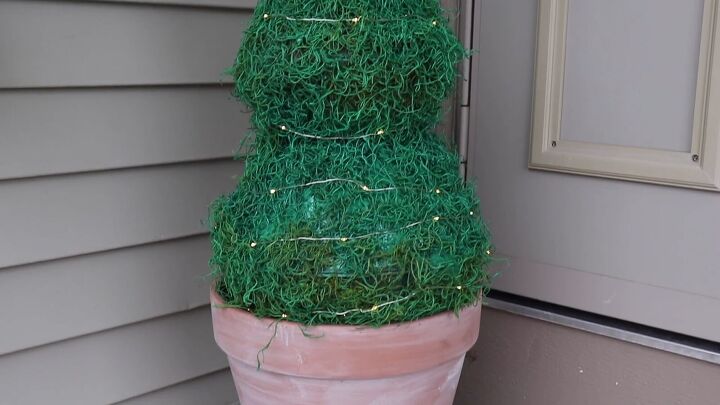
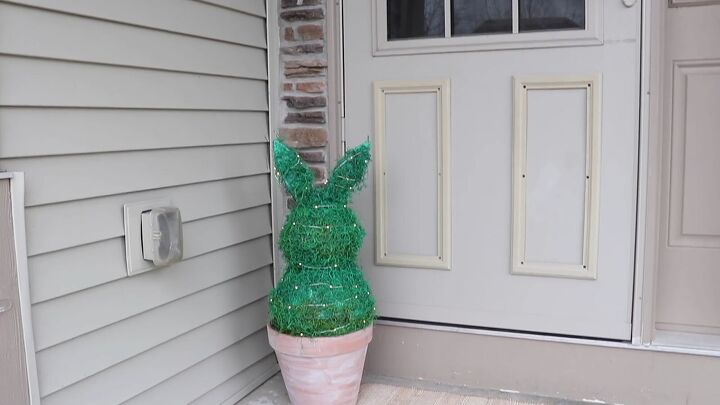
6. Display Your Easter Bunny Topiary
Place your completed bunny topiary in a sturdy flower pot.
Tuck the fairy lights into the back of the arrangement.
Now, proudly display your creation on your front porch to greet guests with festive easter front porch decorations.
More Easter Decor Ideas
Bunny Topiary Tutorial
I hope this easter bunny decoration has inspired you to get creative and make your own bunny topiary for Easter.

Share your thoughts and experiences in the comments below.
Happy Easter!

Comments
Join the conversation
-
That is really cute....... Thanks for sharing!!
-
Of all the $1 tree things made with the bowls (and there have been many). This is my favorite. Does not look at all like stacked $1 tree bowls with lights, fountains or whatever. Looks like a spring time bunny. No hint of $1 tree


Frequently asked questions
Have a question about this project?