


2 Easy Shortcuts for Storing Outdoor Christmas Decor

It's that time of year when we take down all the decor of the Christmas season. I like to organize as I store it to make it easier to put it up next year. Here are two ways I store my outdoor Christma decor:
My grandson calls garland "pokies" and he's not wrong. It's my least favorite thing to put away. My storage system while not perfect for everyone has worked great for me each year and cuts install time down.
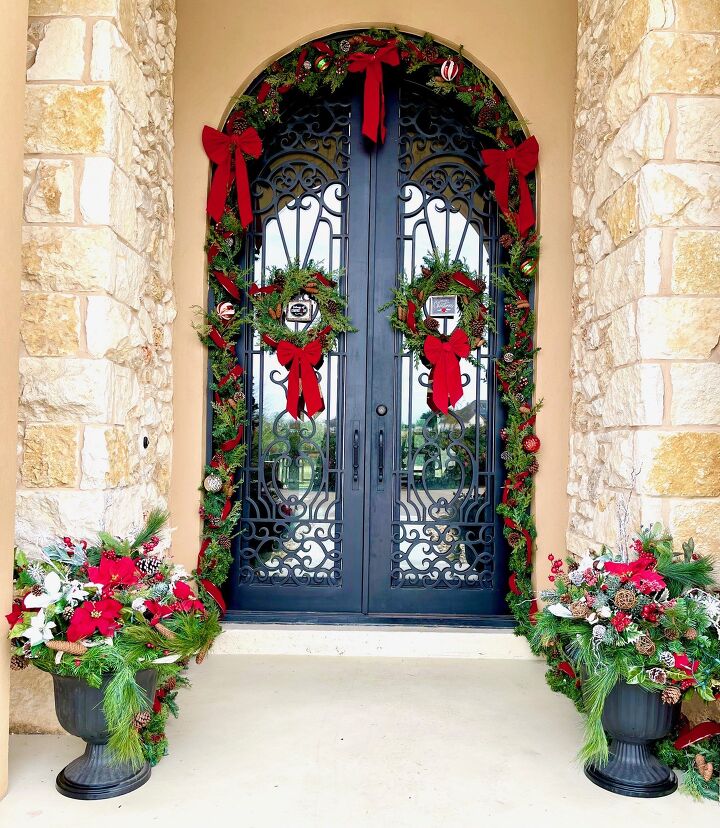
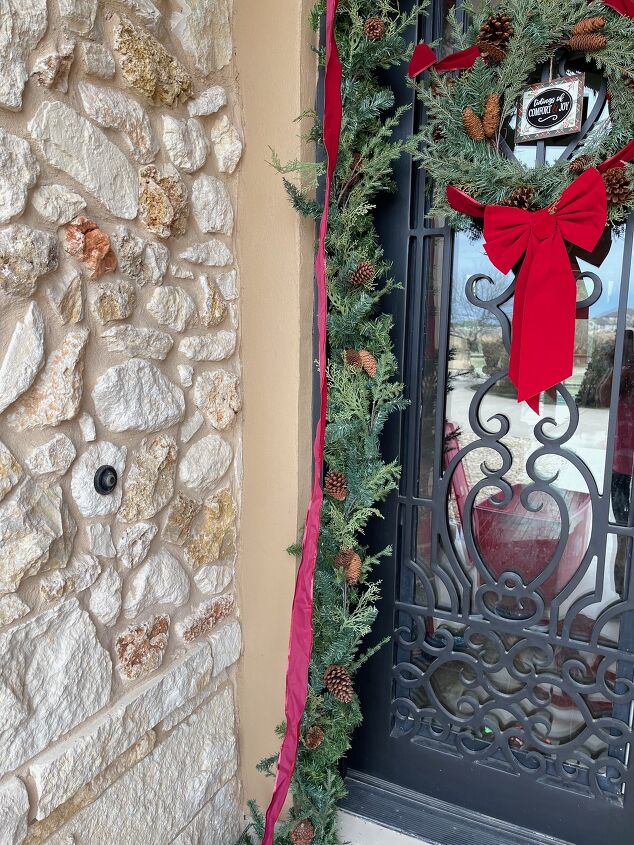
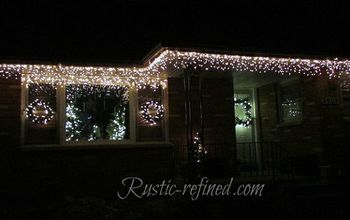
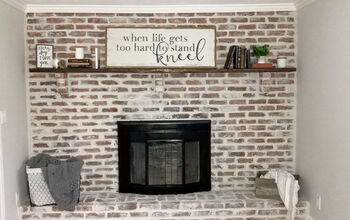
Outside, I only decorated our front porch this year, which already makes for a quicker takedown than normal.
For decor, use a tote wagon
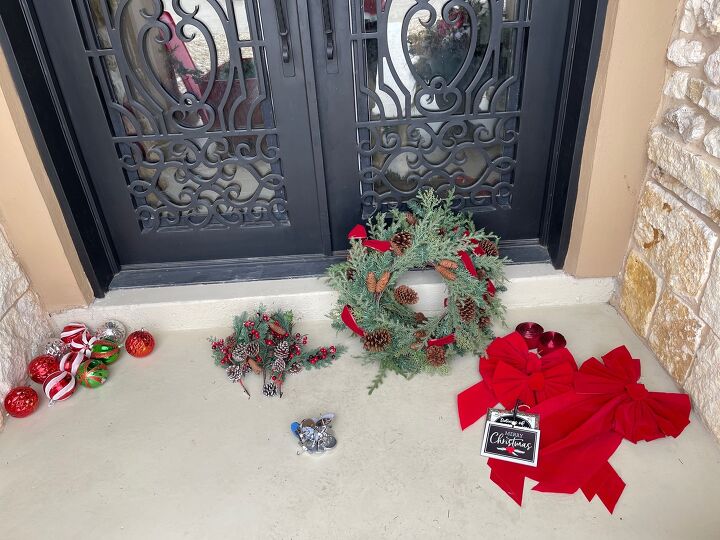
1. Create piles
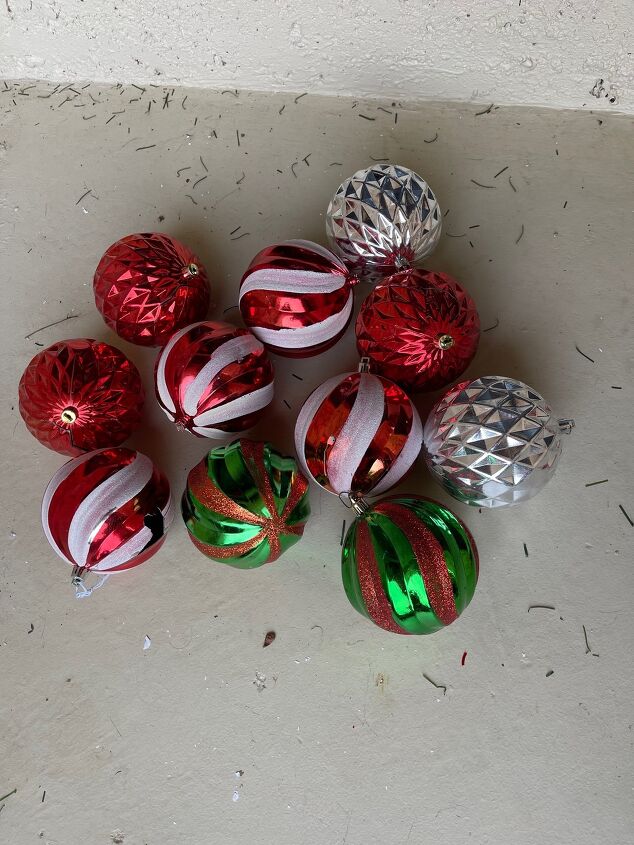
I start by creating piles in order of how I remove them, starting with all of the ornaments. I don't use a lot of them due to the heavy winds we can get.
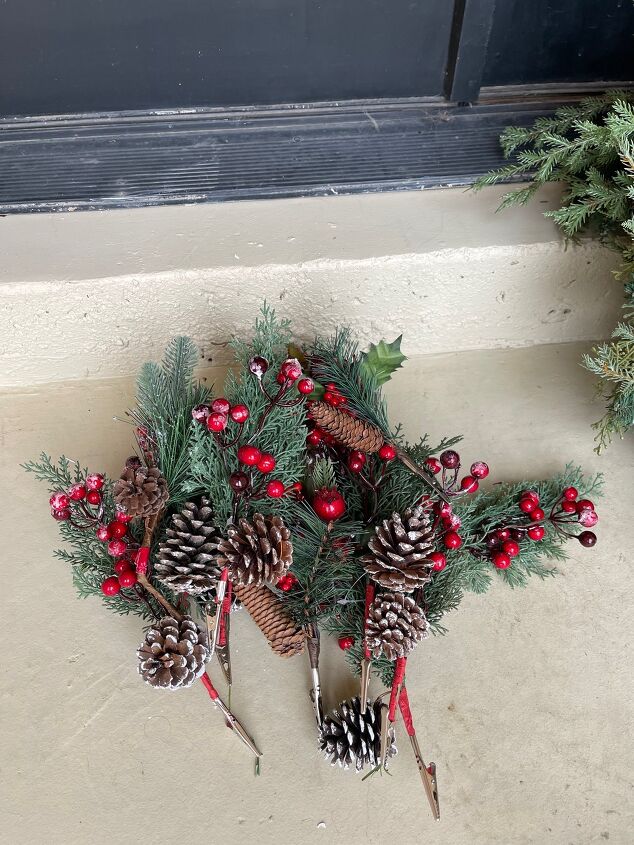
Next up would be all the picks. I do not leave them in the garland since the berries can get damaged easily.
Gently taking out the ribbon from the garland, I do not pull it, so it will not pull the garland off the hooks with it.
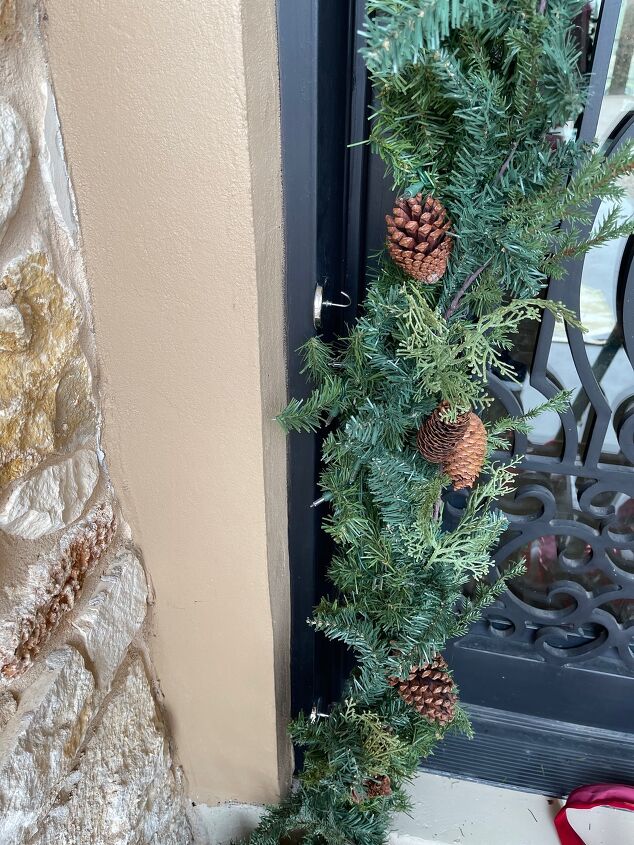
Starting at the bottom of one side, I remove the garland from the hooks, taking the hooks off as I go so they don't hook onto anything else.
If you have a tall door it's good to have a helper since the garland can come done quickly due to the weight.
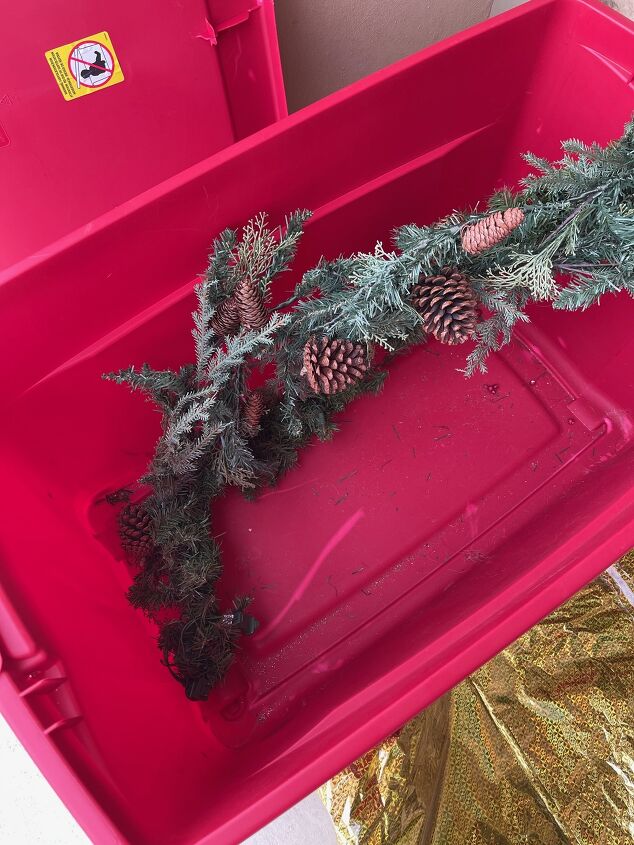
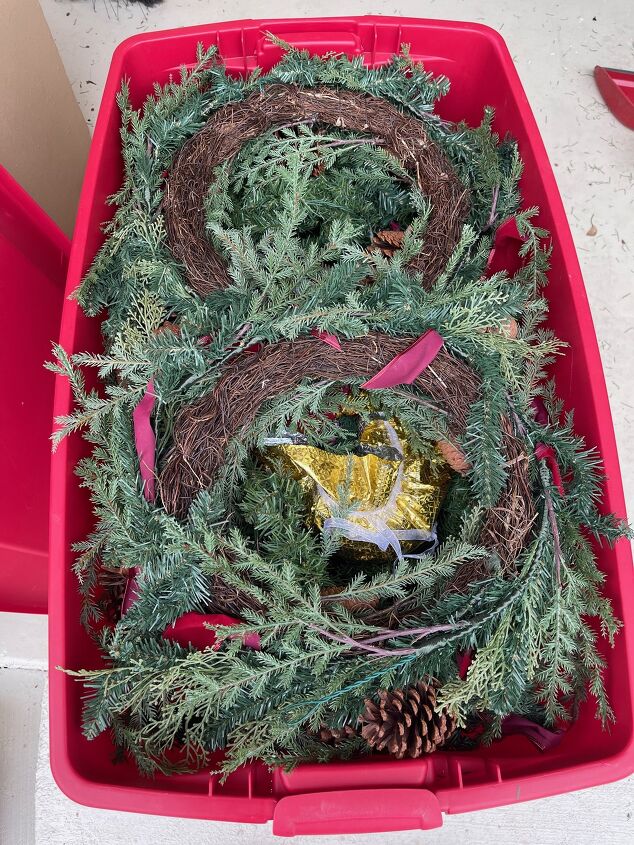
2. Fill a tote on wheels
Using a 45-gallon tote on wheels like this one I bought at Walmart I start by filling the corner with one end, then wrap the garland around the tote
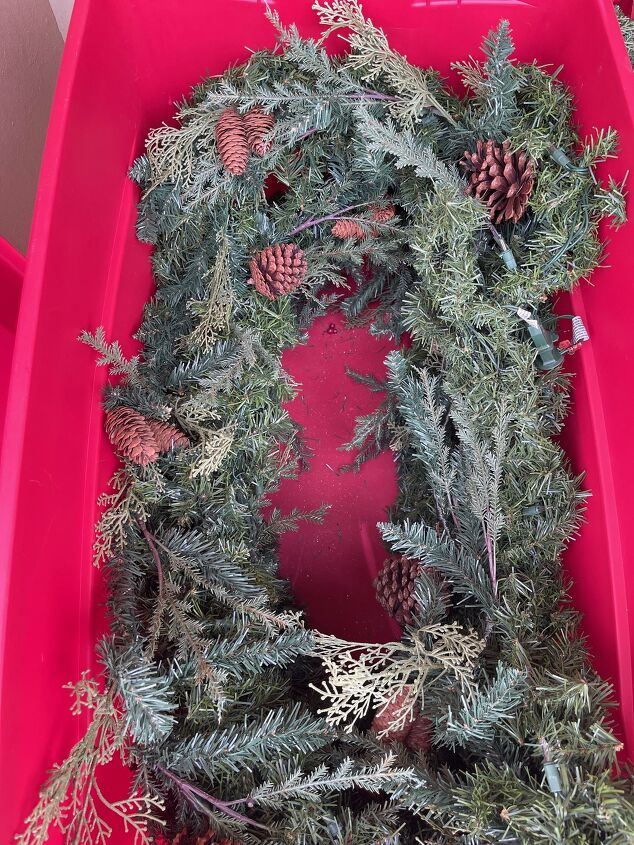
I leave the center open, making sure to tuck the branches inward, pushing down the garland with each pass around the tote so it is snug
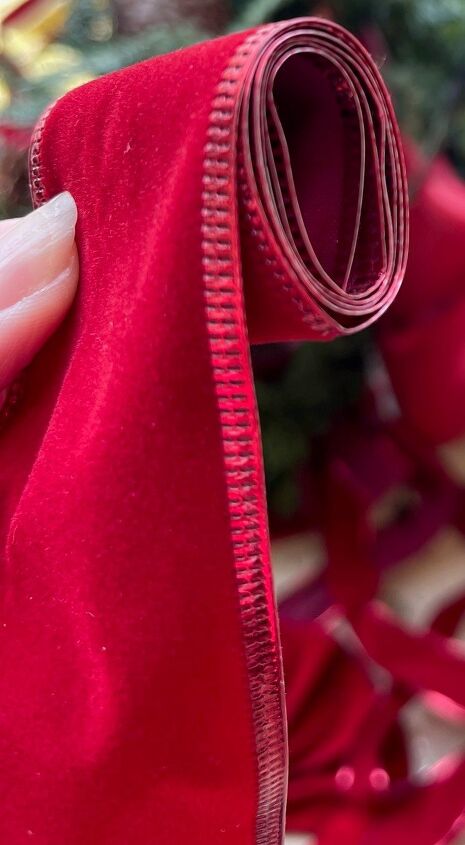
Once the garland is in the tote, I go back to the piles. I roll the wired ribbon tightly in itself so it will be smoothed out for next year.
I usually replace the bows and ribbon every other year depending on their condition.
It's important if you are working with an iron door to be gentle when you remove the hooks to not damage the finish.
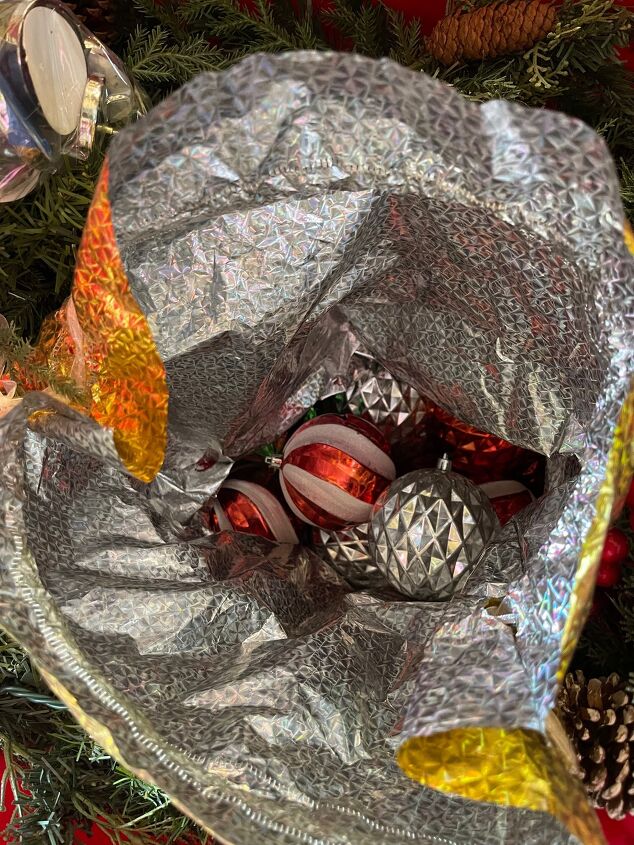
3. Add bags of embellishments in the middle space
Using a large reinforced drawstring bag, I put it in the center of the garland empty. Shatterproof ornaments go in first
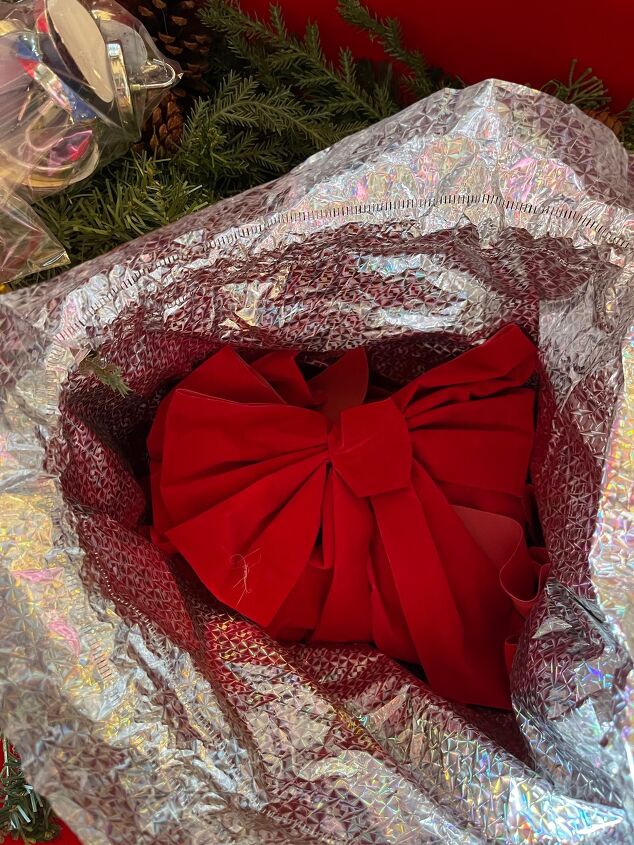
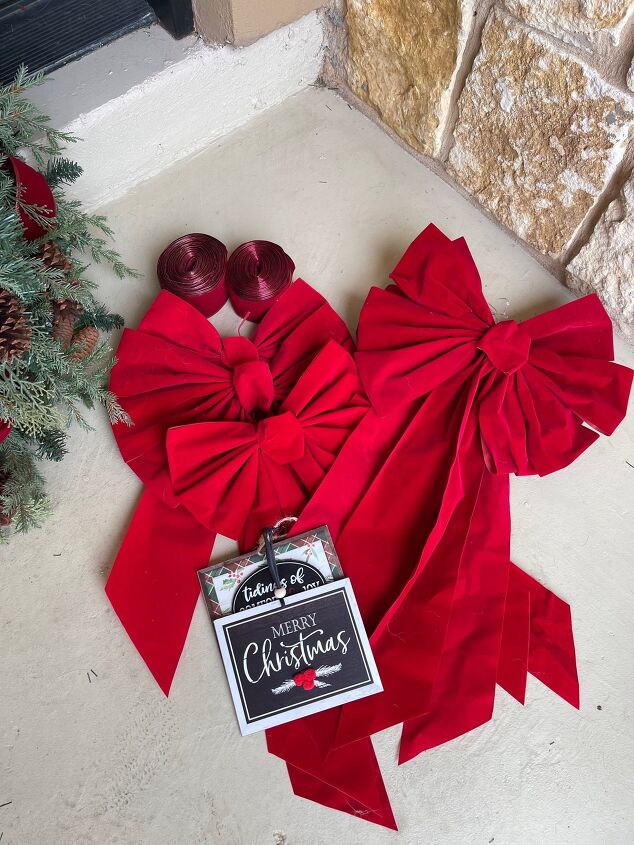
Bows are next to cushion the ornaments
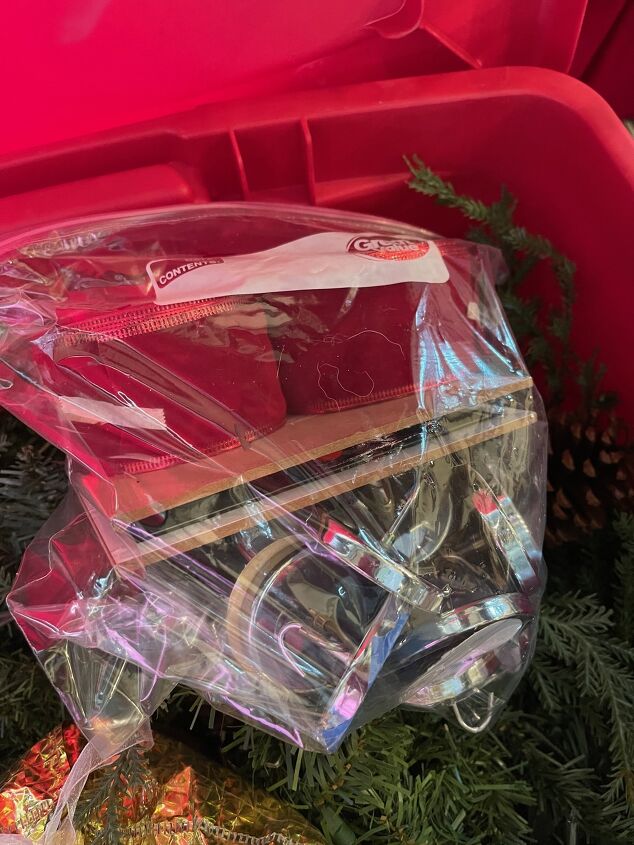
The hooks, wreath plaques, and ribbon go into a bag so they stay contained.

Picks go in last and it's ready to cinch up!

The garland cushions all of its contents and it's ready for next year.

4. Lay the wreaths on the top
I then lay the wreaths face down on the top. The wreaths are made of the same garland so they are easy to fluff out each year.
I also have wreath boxes I can store them in too if the tote feels too full. Everything in one front door decor box on wheels means easy hauling for next year.
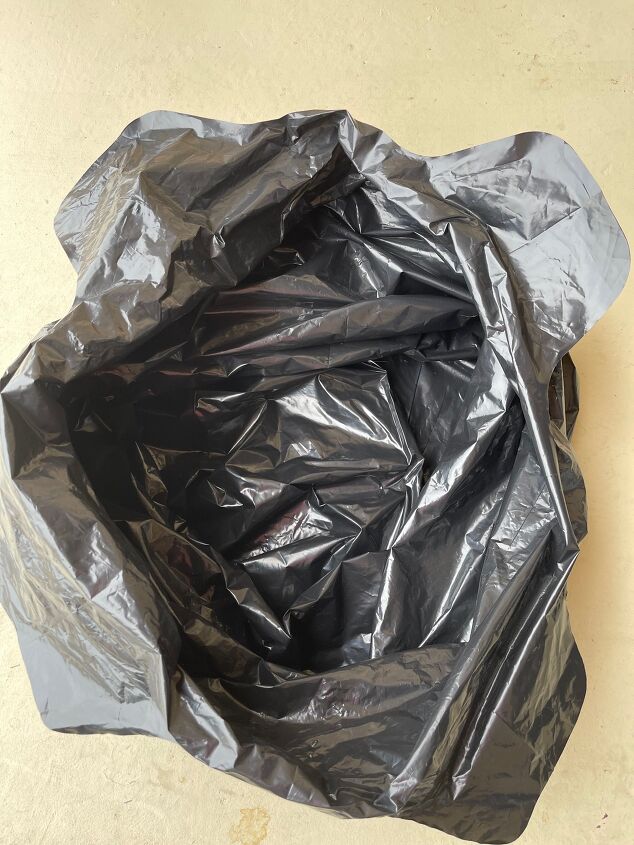
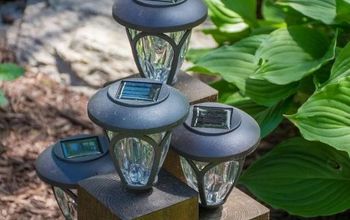
For urns, use contractor bags
I store our floral urns in our attic, so I keep it easy by using contractor bags, opening them up, and folding down the sides creating a large opening.

I place the urn in the center of the contractor bag, and pull the sides up
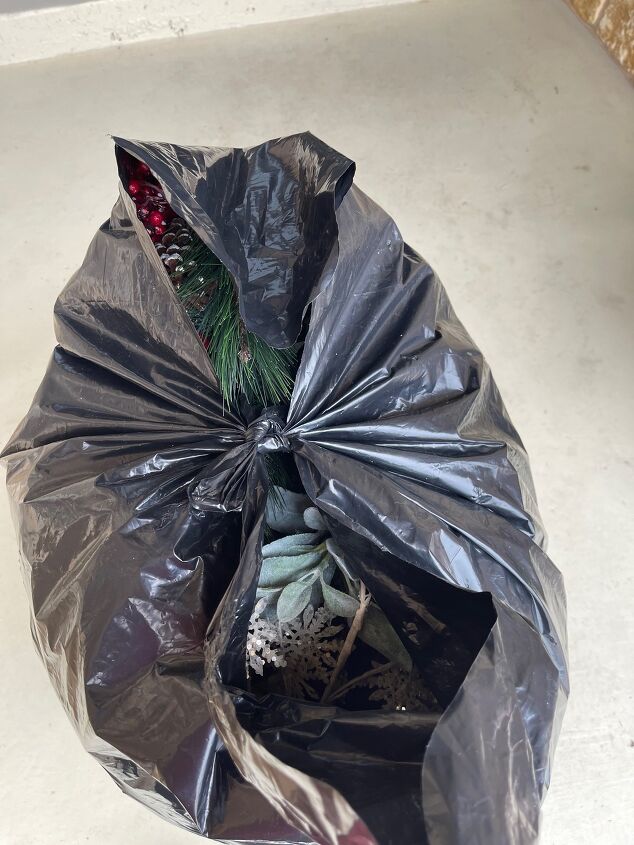
A simple tie at the top makes a handle and keeps it protected from dust. Next year, it is just a matter of unbagging it and fluffing things out instead of having to create the arrangement over again each year.
My 2 shortcuts to making next year's outdoor decor much quicker!
I hope 2023 is your best year yet!


Frequently asked questions
Have a question about this project?