


How to Make a Cute Silhouette Christmas Window Display

Transforming your window into a festive wonderland is easier than you think! With some foam boards and a few simple steps, you can craft a magical Christmas scene.
Let's get started on this DIY Christmas window display project that will spread joy to all who pass by!
This post was transcribed by a member of the Hometalk editorial team from the original HometalkTV episode.
Tools and materials
- Foam board
- Pencil
- Projector
- Cardboard
- X-ACTO knife or any utility knife
- White tape
- Black or dark blue paint
- Foam brush
- Fairy lights
Hometalk may receive a small affiliate commission from purchases made via Amazon links in this article but at no cost to you.
How to make a simple Christmas window display
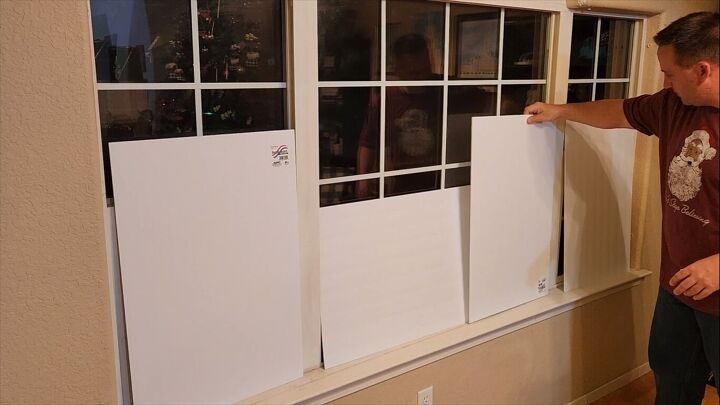
1. Place the foam boards against the windows
The first thing I've got to do is put all of the foam that I have up against the window. I'm going to lay it on its side or straight up. It's going to give me an idea of what I want to do with the Christmas window display.
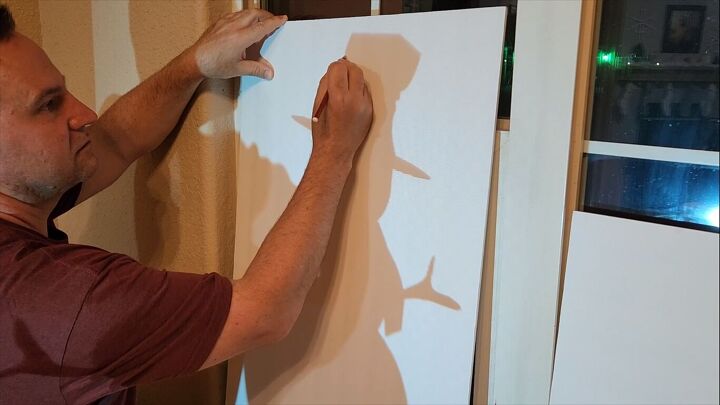
2. Trace around projected shapes
I did a silhouette with a projector and placed it right across the first foam board. This one is a snowman. Outline all of it right around the edges. It doesn't have to be perfect, but we want to get a good outline; that way it's easier to cut out.
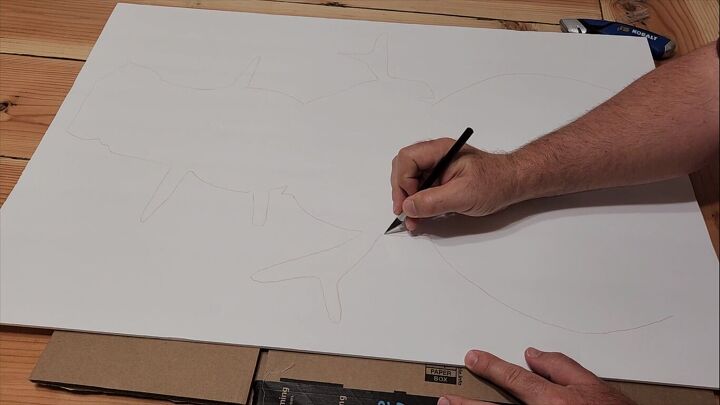
3. Cut out the shapes
Place some cardboard under the foam board. You can use an X-ACTO knife or any kind of razor knife to cut out the shapes. The best thing to do is go slow.
Be careful. These knives are sharp. Start cutting all the way around the edges. It doesn't have to be exact, but just go ahead and cut.
Make sure you get all the way through. There's nothing more frustrating than not being able to get it out.
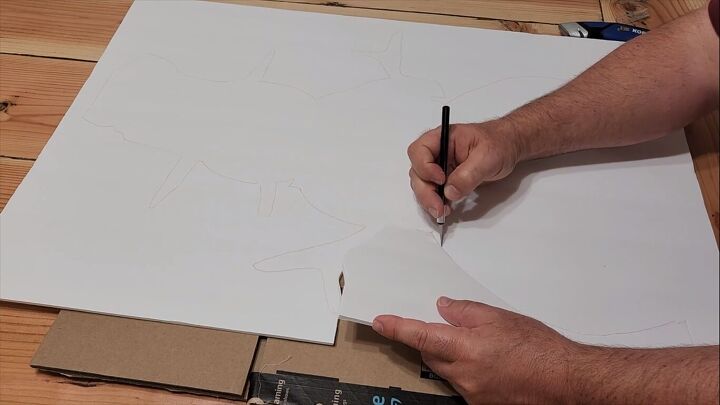
Once you cut through, take little sections out at a time. That makes it a lot easier, especially on these bigger projects.

4. Stick the shapes to the window
The next thing we've got to do is put these silhouettes right up against the window. I'm going to use some white tape for this; that way it doesn't show against the white background.
Make a loop with the tape. It doesn't take much. For this one, I just needed two loops, and I'm going to place it in the window.

5. Paint the back of the shapes
Now, something I noticed was when I put lights behind my silhouette, the lights showed through the white foam board. So take some black or dark blue and paint the back side of your silhouettes. This might look like a mess, but it actually has a rhyme and a reason for it.
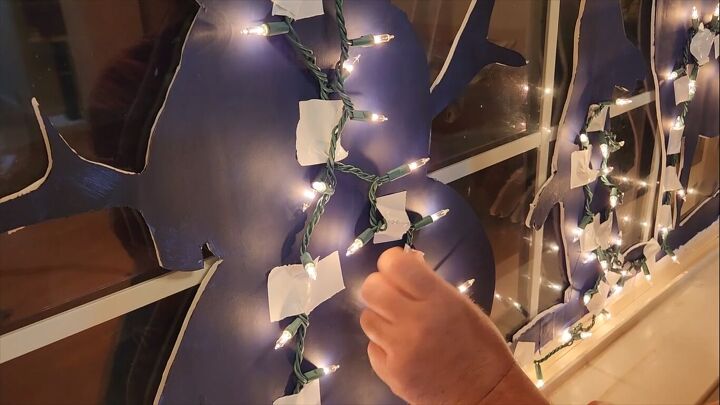
6. Attach fairy lights
Take some fairy lights, these are 20-foot strands, and tape them to the back of the silhouettes, not too close to the edges.
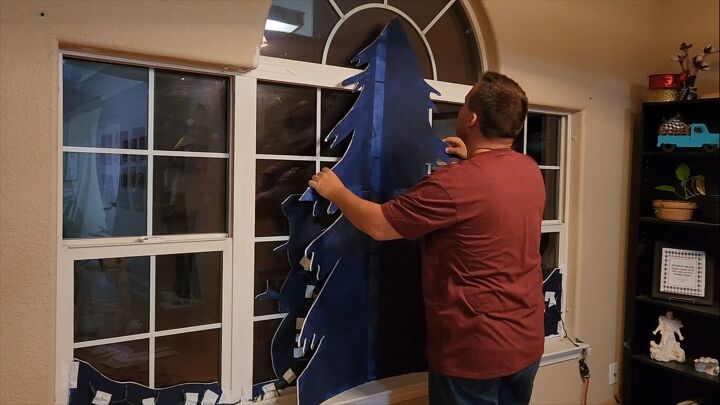
7. Add a second layer
The next thing we've got to do is put another layer on. I took four pieces of the foam board, put them together with white tape, did a cutout of a large Christmas tree, and then put it on there.
Now, this one doesn't stick exactly against the window but holds up a little bit because it's going to create a little bit of a shadow in there.
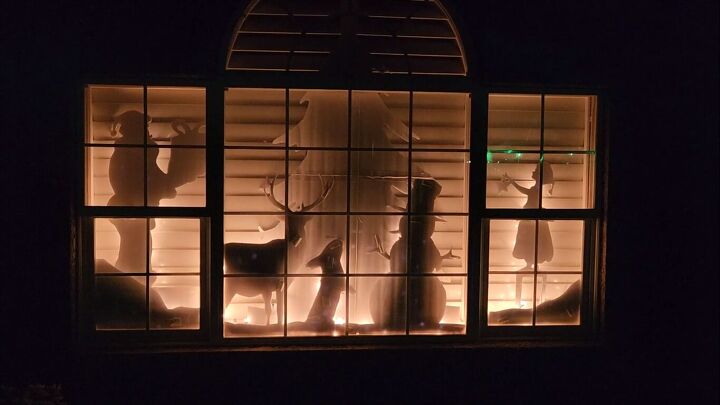
Christmas window display
Once we do this, we're going to head outside and see what it looks like lit up. So here we go. With the lights on, you can see it. It just lights it up for everybody out on the street to see.
I hope this inspired you to build your own holiday window silhouette. Let me know what you think of this simple Christmas window display in the comments below.
Comments
Join the conversation
-
I've seen this done for Halloween using black Bristol board and just using a coloured lightbulb, in the room. I love it.👍️
-
ADORABLE!!! 🎄🎄🎄


Frequently asked questions
Have a question about this project?