


How to Make a Cute Frosty the Snowman Planter

My cousin recently had a bridal shower, and as a take-home gift, they had this vase with flowers for the guests.
Of course, I had to repurpose this white vase and turn it into something Christmas-related. I love Frosty, so I figured it was the perfect vase.
Here's how to make a Frosty the Snowman planter.
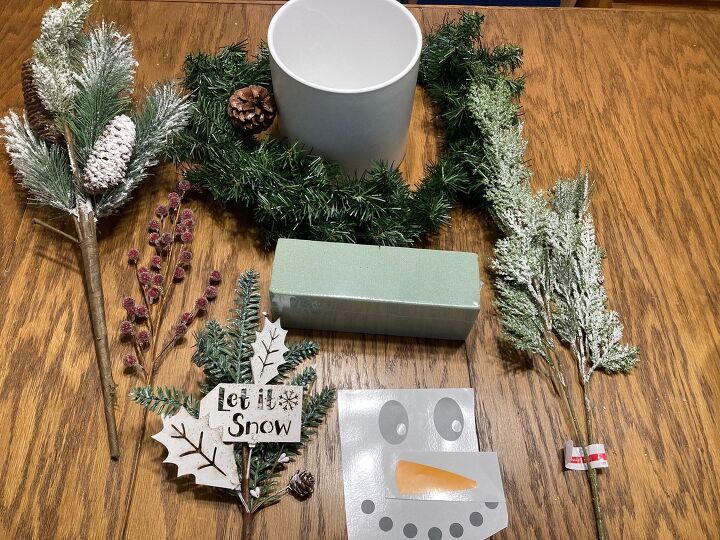
Materials needed:
- White vase
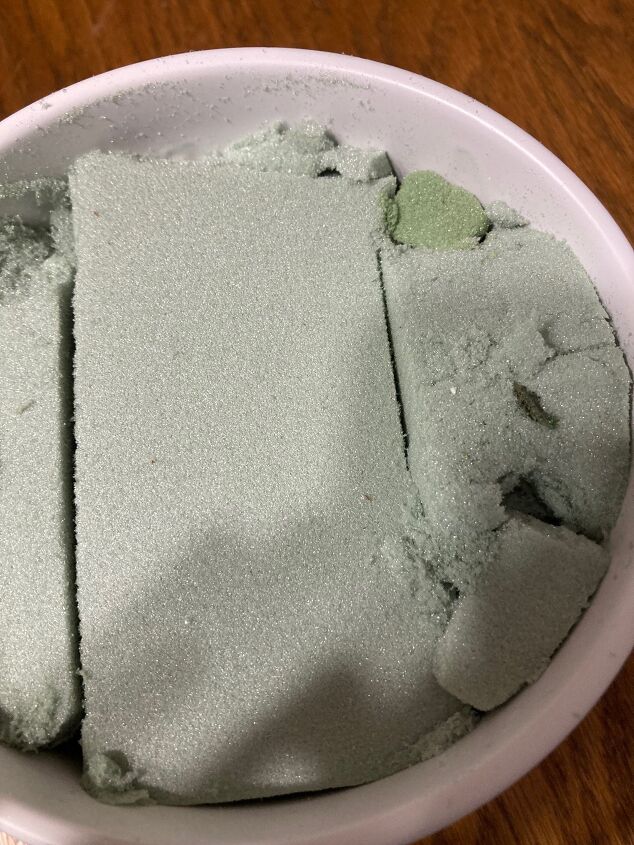
- Floral foam
- Christmas greenery
- Pine cones
- Christmas berries
- Let it snow pick
- Frosty hat pick
- Floral shears
- Newspaper
- Orange and white vinyl
- Cricut
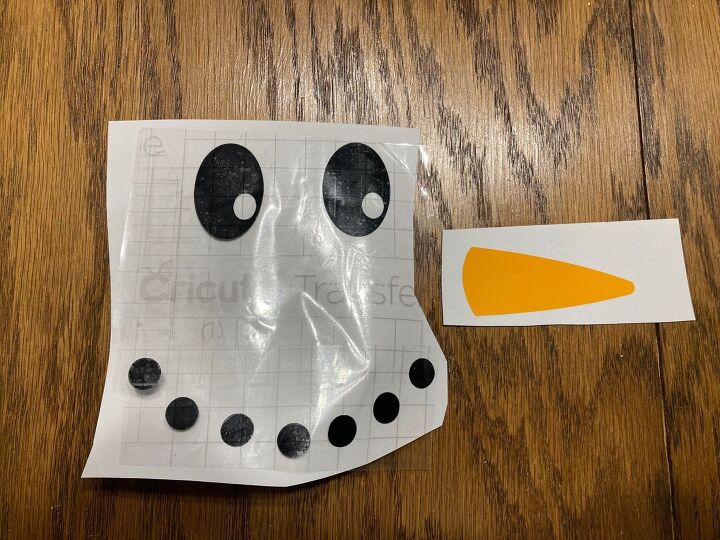
1. Make the snowman face
I used my Cricut to make the Frosty face, however, you can also use acrylic paint to make it.
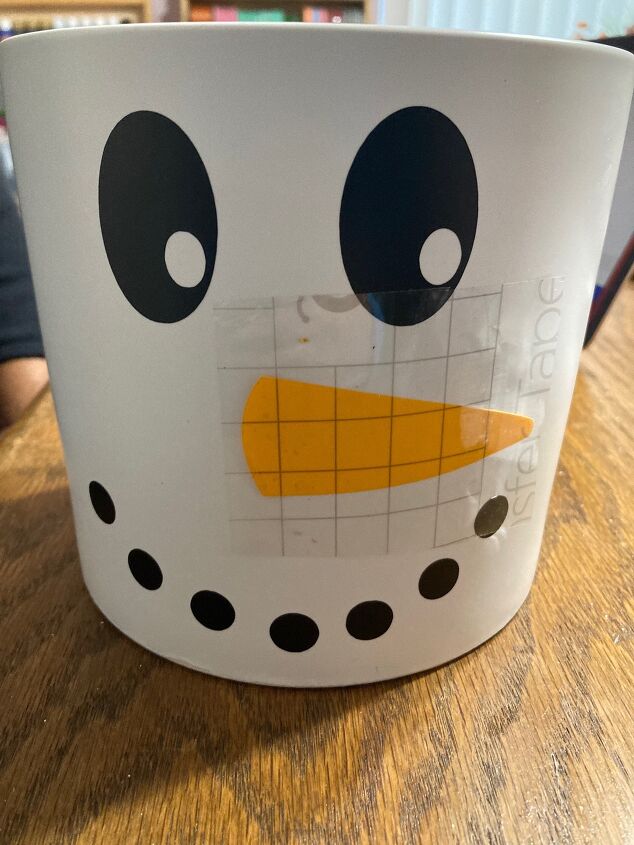
After cutting the vinyl, I transferred it to the vase.
2. Fill the vase
Since it is a deep vase, I used newspaper to fill the bottom of the vase. Then, I filled the rest of the vase with floral foam.
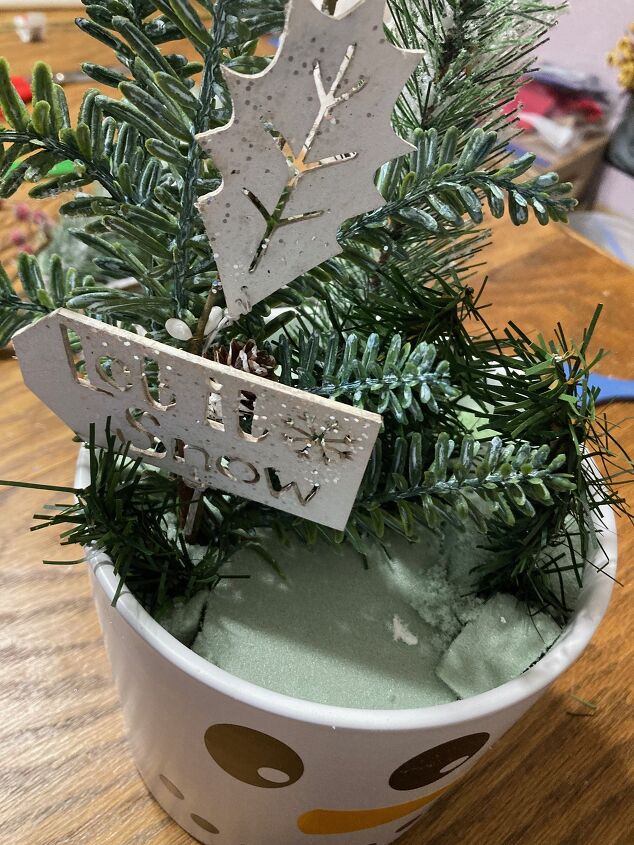
3. Add picks
I placed the "let it snow" pick first to begin my arrangement.
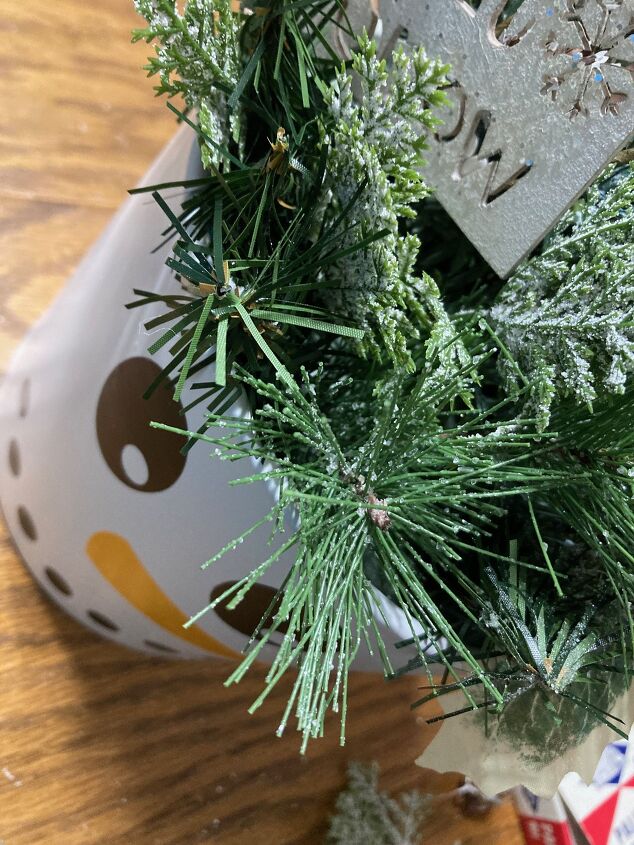
4. Fill with greenery
I filled the vase with whatever leftover Christmas greenery I had.

5. Embellish
Once the vase was full of greenery, I added a Frosty hat.
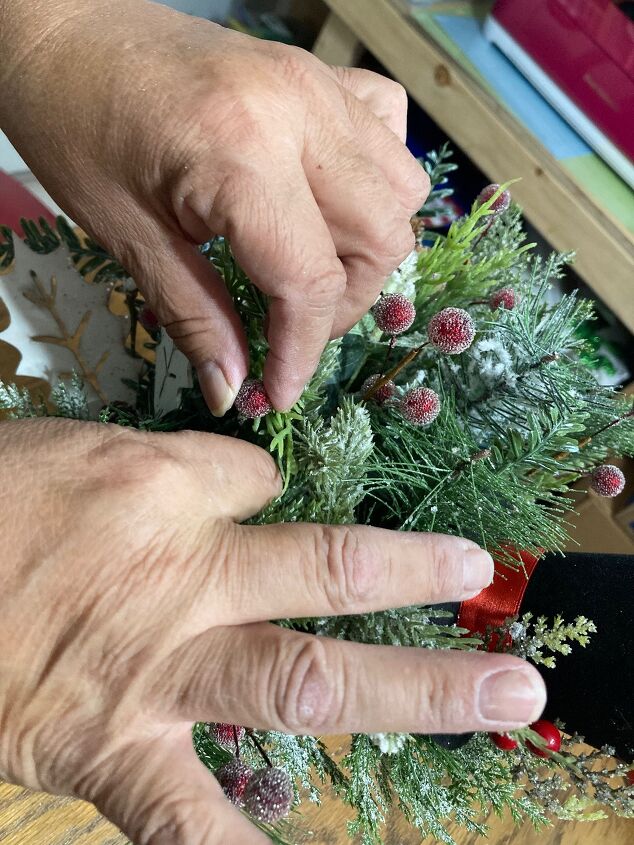
As a last touch, my final step was adding the berries.

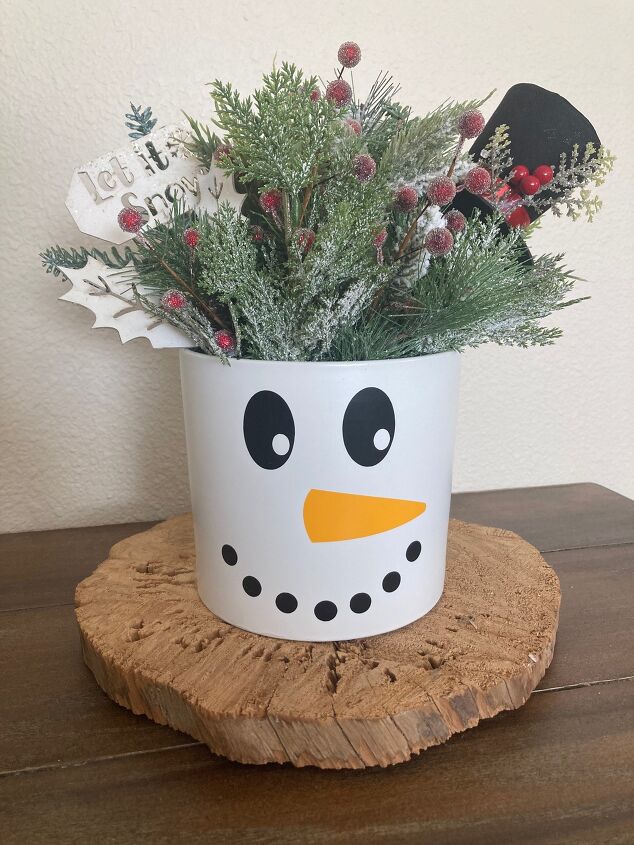
Frosty the Snowman planter
This is what my Frosty planter looks like! What do you think of this cute Christmas planter idea? Let me know in the comments below.
DIY Christmas Decorations
Comments
Join the conversation
-
Pretty cute!! Thank you for sharing 💕


Frequently asked questions
Have a question about this project?