


3 Pine Cone Christmas Decorations to Make For the Holidays

One of my favorite materials to do Christmas crafting with is pine cones. The reason why I love them so much is because you can find them in the great outdoors.
Today, I'm sharing three pine cone Christmas decorations that are easy to make and look super cute. Let's get started on some pine cone Christmas Christmas crafts!
This post was transcribed by a member of the Hometalk editorial team from the original HometalkTV episode.
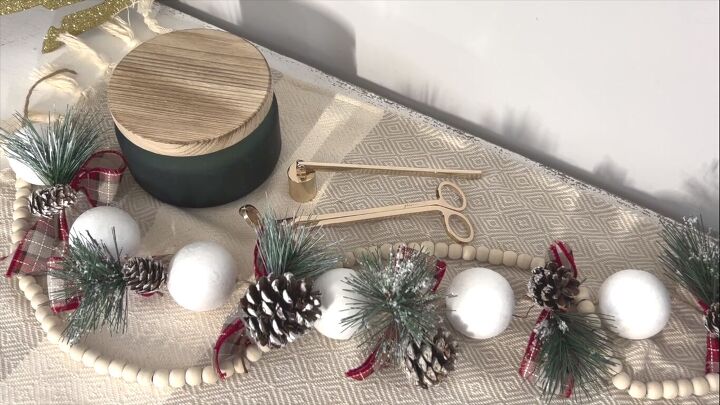
Tools and materials
Hometalk may receive a small affiliate commission from purchases made via Amazon links in this article but at no cost to you.
DIY pine cone Christmas decorations
Pine cone Christmas trees
1. Paint the flower pots
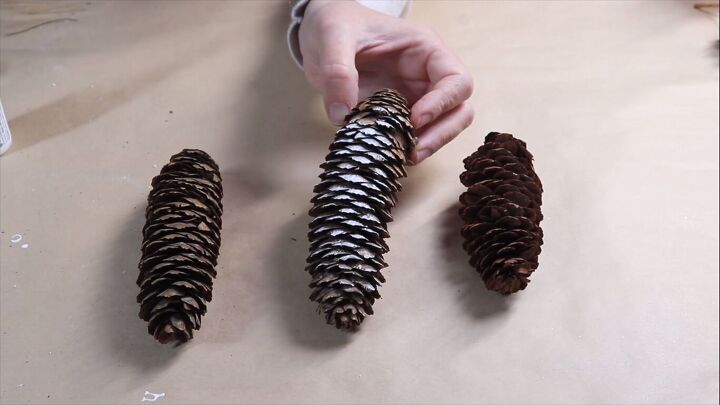
For my first craft, I will take two large pine cones and two mini flower pots that I picked up at my local Dollar Tree.
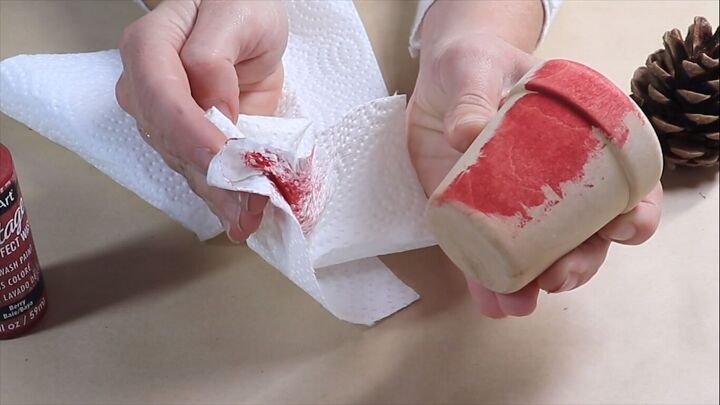
Before I put the pine cone in place though, I will give it a coat of paint with some DecoArt Vintage Effect Wash in the shade Berry. Vintage Effect Wash is a paint you can use like a stain so it's great for these wooden pots.
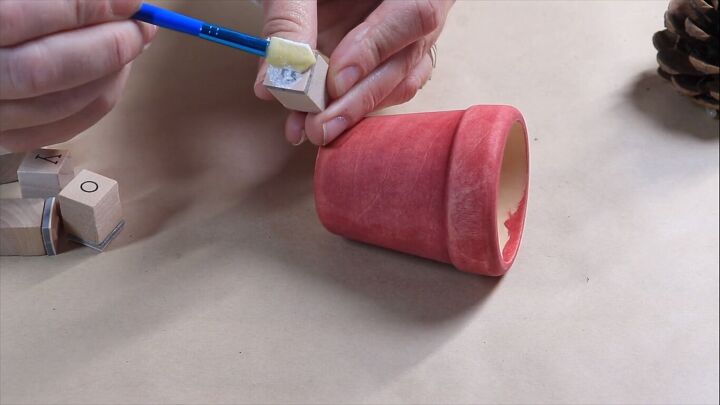
2. Stamp the flower pots
Next, I'm going to take these stamps and dab some white acrylic craft paint with a foam brush. Then I'm going to transfer the stamp to my flower pot.
I'm going to spell out the words Holly on one pot and Jolly on the other but you can spell out whatever you want on your pots. You can even use these as name markers for tables.
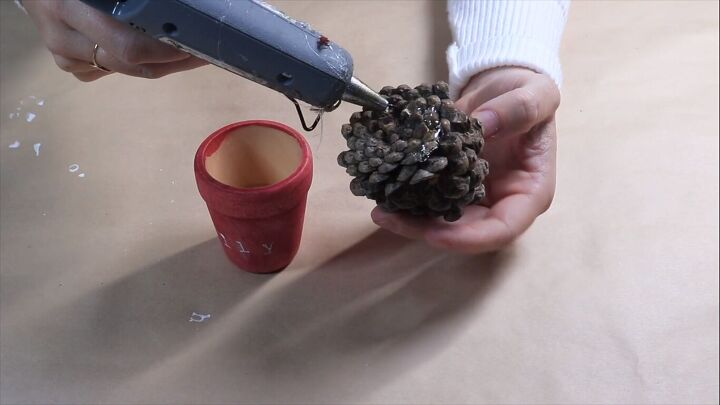
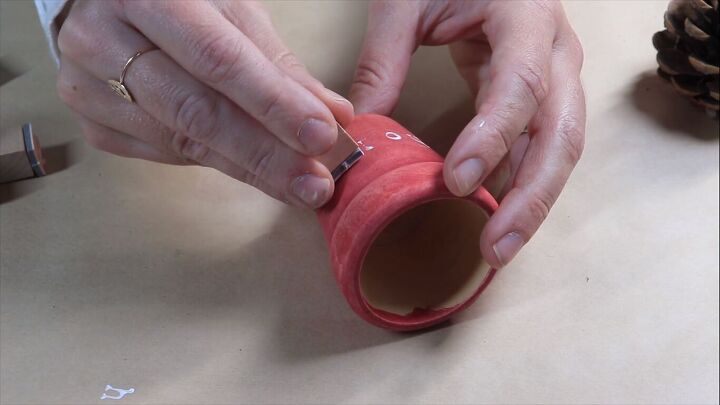
3. Glue the pine cone to the flower pot
I'm going to go ahead and hot glue the pine cone into the top of the flower pot.
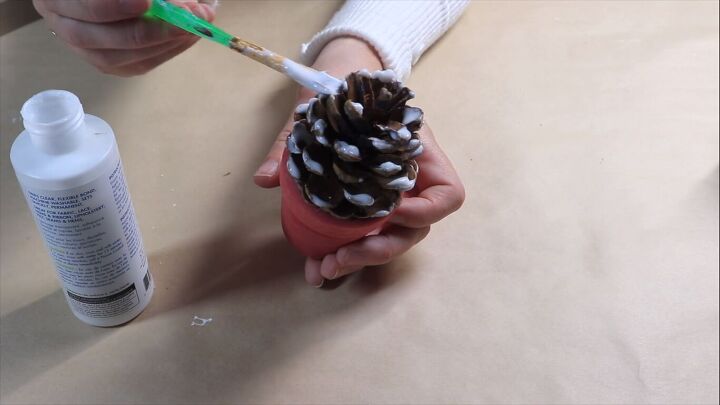
4. Add glitter
I'm going to come in with some white craft glue and brush it onto the tips of the pine cone.
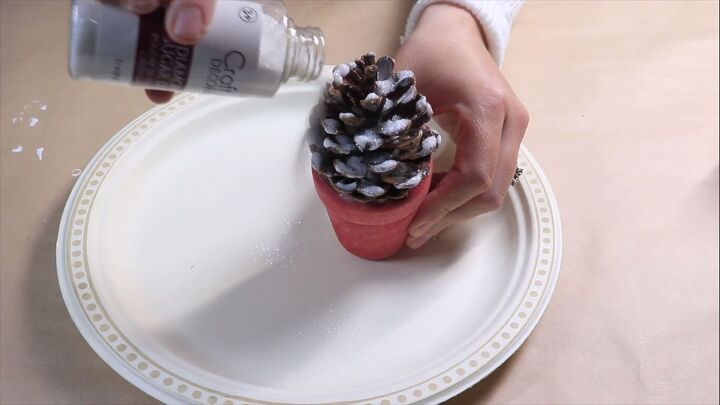
Then I'm going to use this diamond sugar dust and sprinkle it over top to add a nice glittery effect. Once that is done, I just shake off the excess diamond sugar dust.
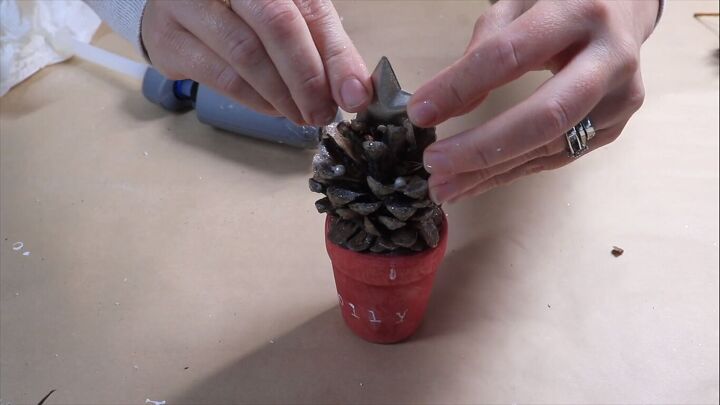
5. Glue a metal star to the top
Then, I'm going to come in with a metal star and hot glue that onto the top.
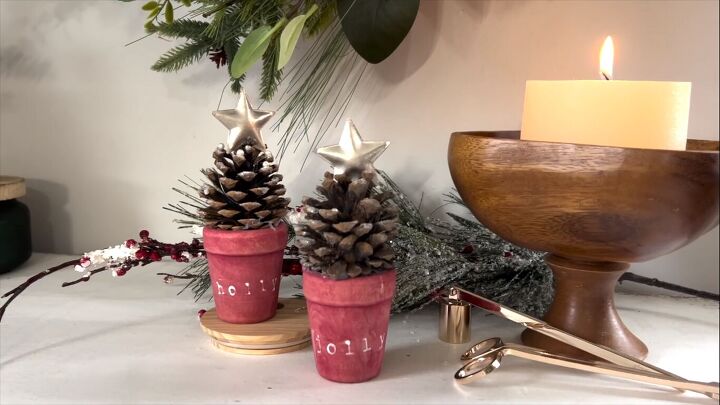
These little pine cone trees are all finished. I think this is a cute way to add a little touch of Christmas decor to your home. As I mentioned, you could use these as name markers for tables.
Pine cone garland
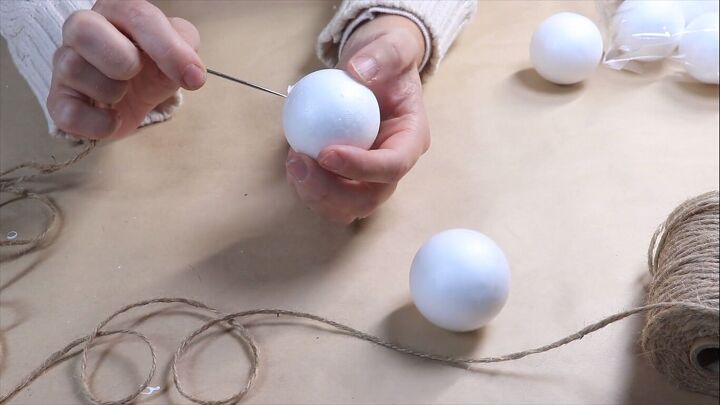
1. Thread foam balls onto twine
For my next project, I'm going to come in with these foam balls, take a large darning needle on some twine, and poke it right through the center of the foam ball.

Now it is a little tough to get the needle through the foam. So once you get it out the other side, you can use a pair of pliers to finish pulling it through. I'm going to continue threading on the foam balls until I've threaded every single one from the package.
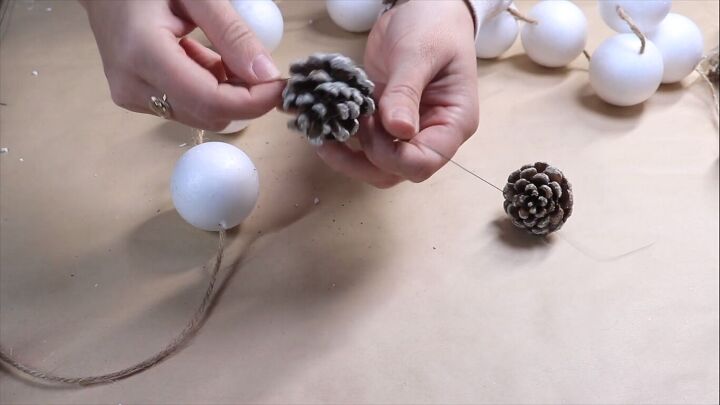
2. Wrap craft wire around the pine cone
I've pre-painted the tips white. I'm going to take a thin crafting wire and wrap it around the base of the pine cone, twisting it nice and tight.
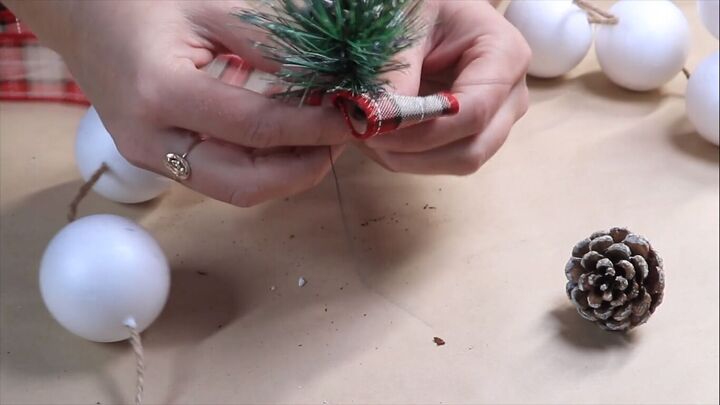
3. Attach ribbon and greenery
Then I'm going to come in with this wired Christmas ribbon and I'm going to add that, pinching it in the middle, making a hoop to the wire that's on the pine cone. I'm also going to add in a tiny stem of Christmas greenery and wrap all this together.
Once I have it all wrapped nice and tight, I'm going to use a pair of fabric scissors and I'm going to trim the ribbon off of the spool.
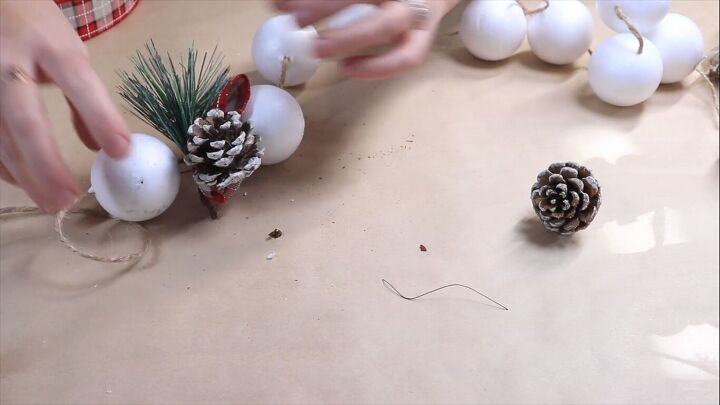
4. Attach to the twine
I'm going to take the wire that is left hanging over and wrap this whole piece directly onto the twine in between my styrofoam balls, making sure I wrap it nice and tight.

5. Add glitter
I'm then going to come in with some Mod Podge and I'm going to cover the entire ball in Mod Podge and then drip over it the diamond sugar dust to make these look like crystallized snowballs.
This is my final garland. So I've laid it here on my table. I like it laid out as a nice centerpiece but you could certainly hang it up if you wanted to as well. I think it looks good with some beaded garland too to just add a nice little arrangement to it as well.
Pine cone Christmas gnome
1. Paint half the pine cone
For my final project, I took these longer pine cones and I'm going to come in with some white acrylic craft paint and I'm going to brush just one side of the pine cone.
2. Make the gnome's hat
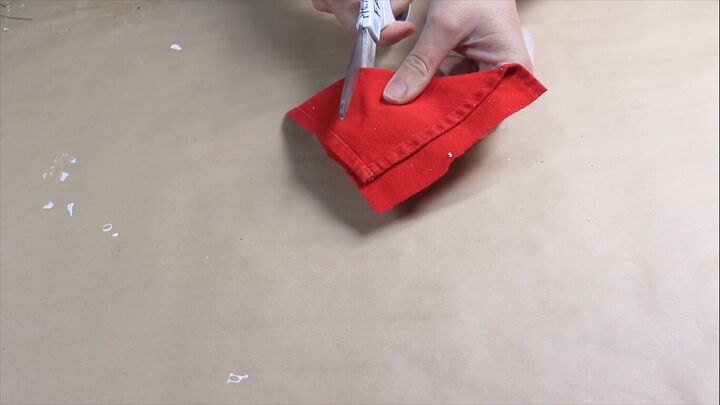
While my paint is drying I'm going to cut a square out of some red fabric.
This square is about 5 by 5 inches and then I'm going to glue it down one side after I fold it into a triangle. I'm going to trim off the excess and at the bottom of the triangle, I'm going to cut it into a cone shape.
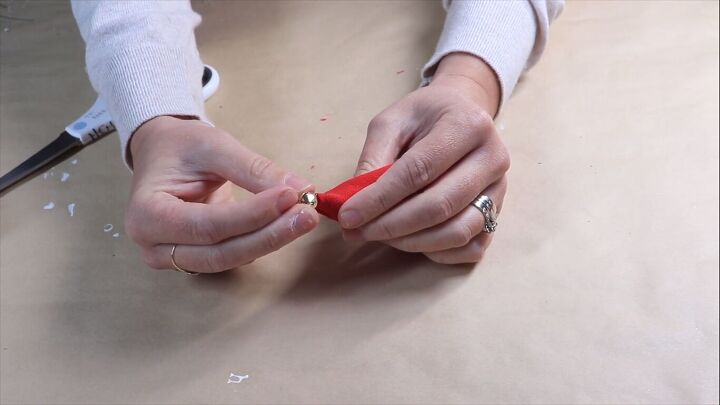
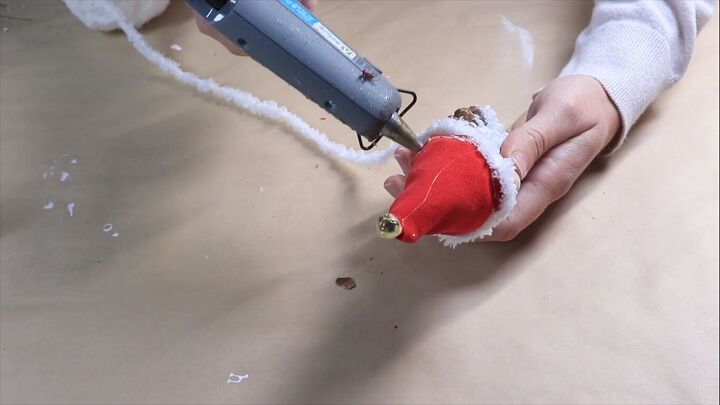
I'm going to flip the hat back inside out and glue a little gold jingle bell on the tip of the hat.
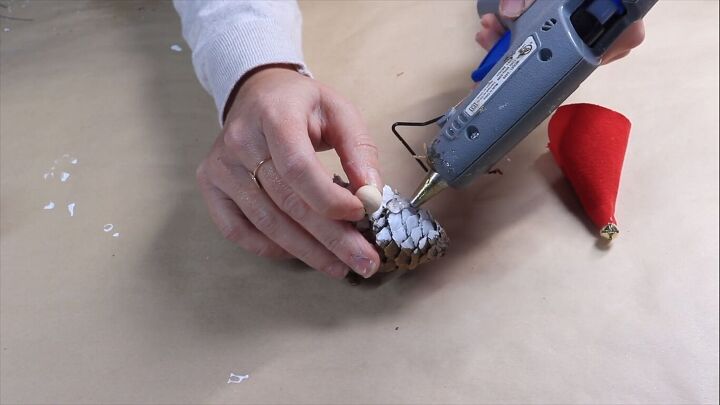
I use a wood bead here and I'm going to glue it directly at the top, leaving enough room for the hat, and then my hat is going to sit nicely on the pine cone.
To jazz up my hat I'm going to add a string of yarn around the base of the hat to make it look like fur.
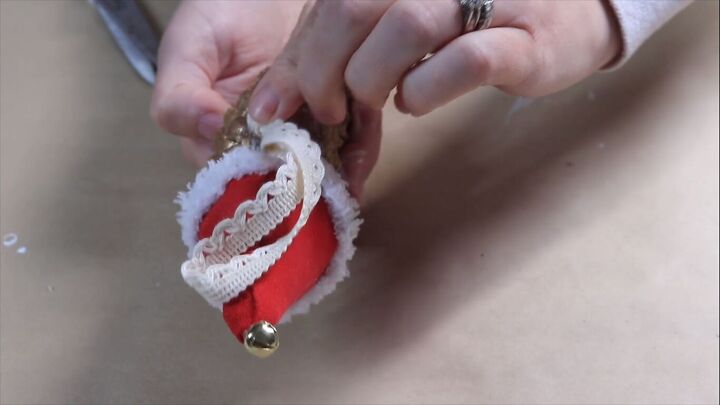
3. Add a ribbon loop
So that I can hang it on a tree, I'm just going to take some decorative ribbon, tie, and knot the end, and have a loop and I'm just going to hot glue that on the back.

This is my final pine cone gnome ornament. This is such a fun and easy DIY Christmas gnome craft.
Pine cone Christmas decorations
I hope that you enjoyed these projects, and I hope it inspires you to get creative with pine cones that you find outside. Let me know what you think of these pine cone Christmas decorations in the comments below.


Frequently asked questions
Have a question about this project?