


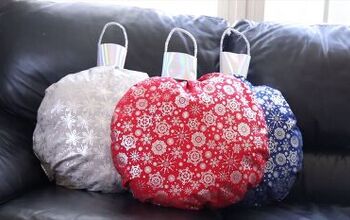
How to Make a DIY Pillow Cover Out of an Old Scarf

I found this scarf and I immediately thought it would make for a great DIY pillow cover project. I picked up fabric for the back and a zipper and asked my grandma to help me.
In this step-by-step tutorial, I'll guide you through the process of making a beautiful pillowcase from a scarf, just like I did. Let's get started
Tools and materials:
- A decorative scarf (square or rectangular in shape)
- Fabric for the back of the pillowcase (you can choose a coordinating or contrasting fabric)
- Sewing machine (or you can hand-sew if you prefer)
- Matching thread
- Scissors
- Measuring tape or ruler
- Pins
- Zipper (approximately the width of your pillow)
Steps
- Step 1: Prepare Your Scarf
- Step 2: Measure Your Scarf
- Step 3: Cut the Scarf
- Step 4: Prepare the Back Fabric
- Step 5: Pin the Zipper
- Step 6: Sew the Zipper
- Step 7: Assemble the Pillowcase
- Step 8: Pin and Sew the Edges
- Step 9: Stitch Around the Edge
- Step 10: Trim and Turn Inside
- Step 11: Insert Your Pillow
- Step 12: Admire Your Handiwork
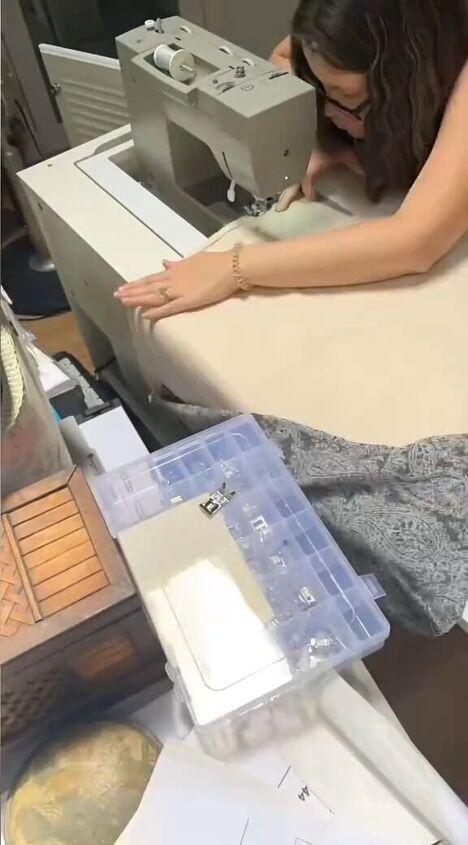
Step 1: Prepare Your Scarf
Before you begin, ensure your scarf is clean and pressed. Lay it out flat on a clean, even surface.

Step 2: Measure Your Scarf
Measure the dimensions of your scarf. If it's not the same size as your pillow insert, decide how much of the scarf you want to use for the pillowcase. For a standard square pillow, a 20x20-inch scarf should work well.
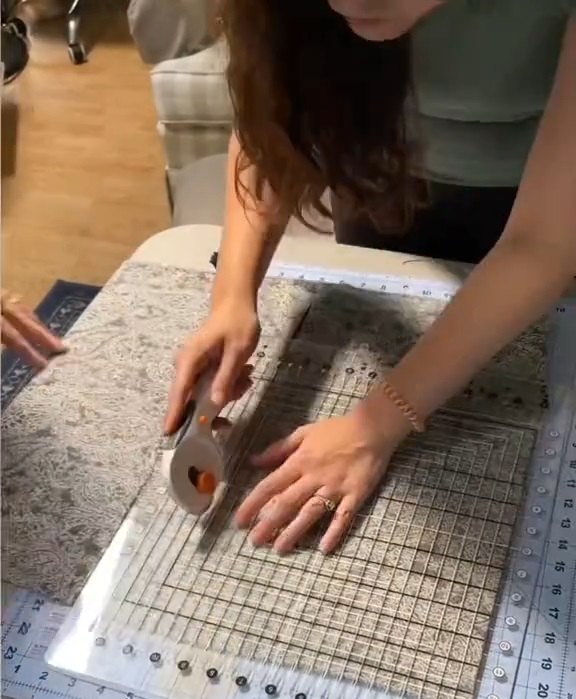
Step 3: Cut the Scarf
Using your scissors, carefully cut the scarf to the desired size, making sure to cut it as straight as possible to maintain its aesthetic.
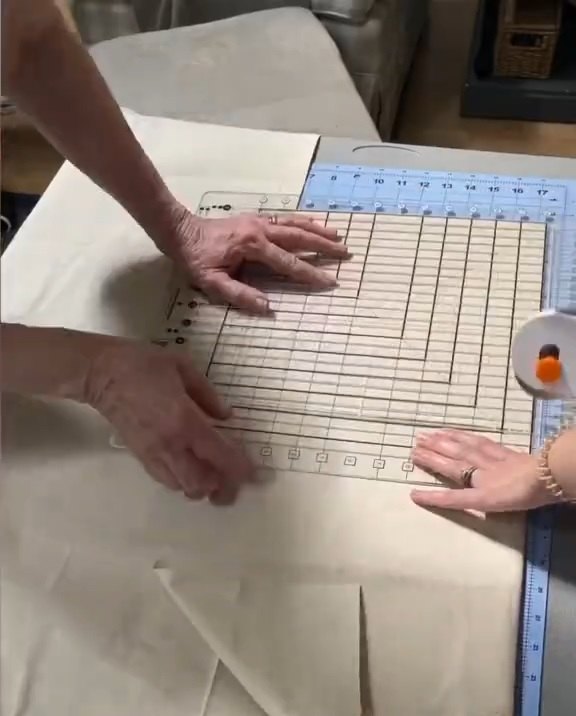
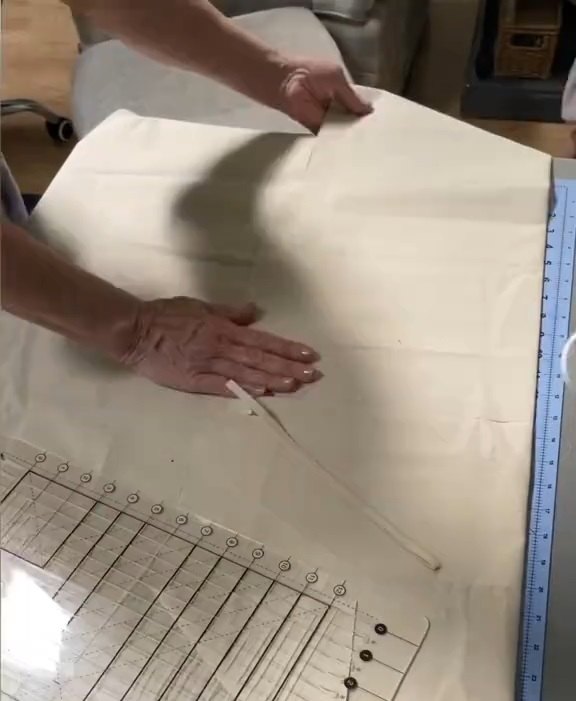
Step 4: Prepare the Back Fabric
Measure and cut the fabric for the back of your pillowcase. It should be the same size as your scarf piece. If you're using a sewing machine, cut two pieces of fabric of the same size for the envelope-style back. For a standard 20x20-inch pillow, you'll need two pieces measuring 20x15 inches.
Step 5: Pin the Zipper
Place your zipper on one of the shorter edges of the back fabric, right sides facing each other. Pin it in place. Make sure the zipper is centered.
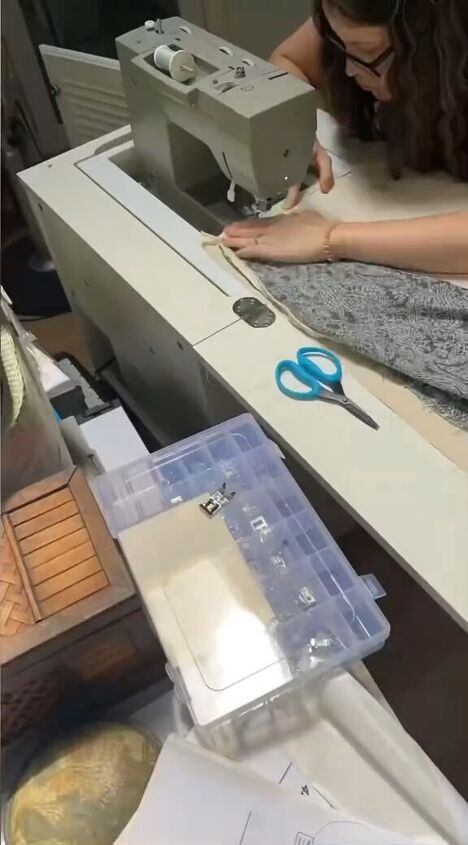
Step 6: Sew the Zipper
Using a zipper foot on your sewing machine, sew the zipper in place. If you're hand-sewing, use a backstitch. Once done, unzip the zipper halfway.
Step 7: Assemble the Pillowcase
Place the scarf piece right side up on your work surface. Lay the two back fabric pieces on top of it, with their right sides facing down. The zipper should be in the middle of the pillowcase.
Step 8: Pin and Sew the Edges
Pin all around the edges of your pillowcase, ensuring that the zipper aligns with one side. This will create a neat envelope closure on the back.
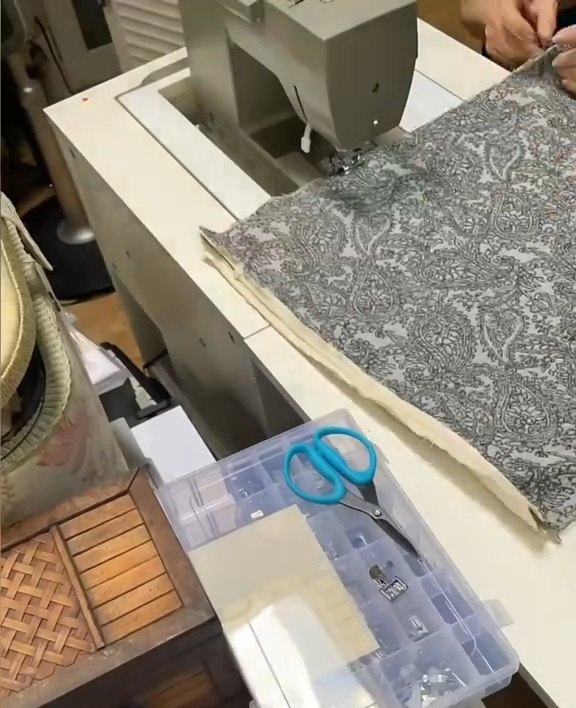
Step 9: Stitch Around the Edges
Using your sewing machine (or hand-sewing), stitch around all four sides, leaving a 1/2-inch seam allowance. Backstitch at the beginning and end for added durability.
Step 10: Trim and Turn Inside Out
Trim any excess fabric, especially at the corners. Be careful not to cut too close to your stitching. Turn the pillowcase inside out through the zipper opening.
Step 11: Insert Your Pillow
Open the zipper and insert your pillow into the case. Once your pillow is inside, zip it closed.
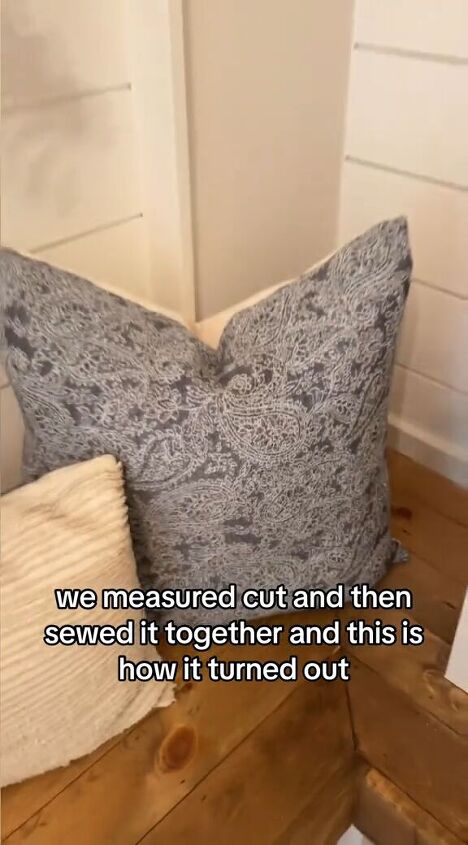
Step 12: Admire Your Handiwork
And there you have it! You've successfully transformed a scarf into a stylish pillowcase. Enjoy your newly crafted home decor piece.
DIY pillowcase project
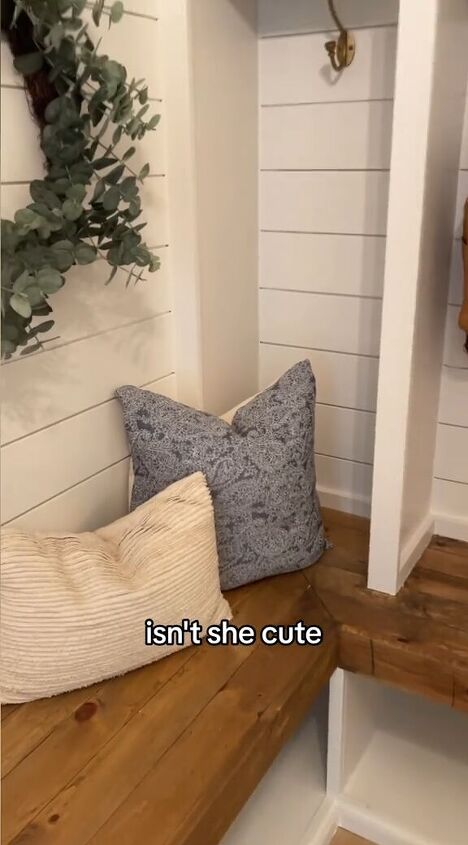
This DIY pillowcase project is not only a creative way to give new life to an old scarf but also a fantastic way to add a unique and personal touch to your home decor.
I hope you found this tutorial helpful, and that you enjoy your beautiful, one-of-a-kind pillow cover! If you have any questions or need further assistance, feel free to leave me a comment. Happy crafting!
Follow @kristina.roy_ on TikTok for more DIY ideas.


Frequently asked questions
Have a question about this project?