


Terra Cotta Pumpkin Centerpiece

My original inspiration for this was the gorgeous terra cotta pumpkins that were released by Pottery Barn this year. I absolutely love them, but I did not love the very pricy price tag they came with. Here is my dupe of them with an added twist!
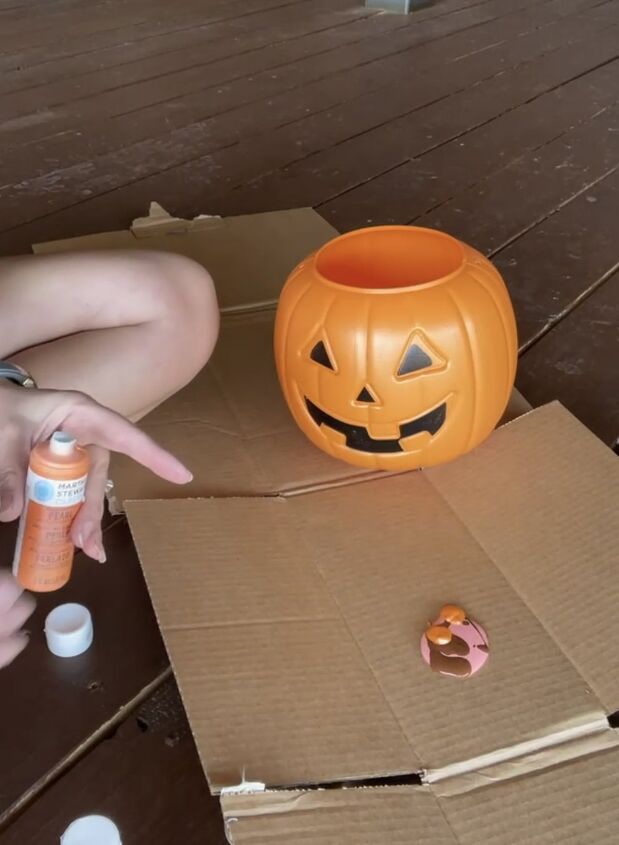
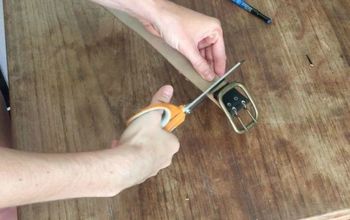
The base of this is one of those basic, cheap plastic pumpkin buckets you can find anywhere this time of year. Pick up one of those and cut off the plastic handle.
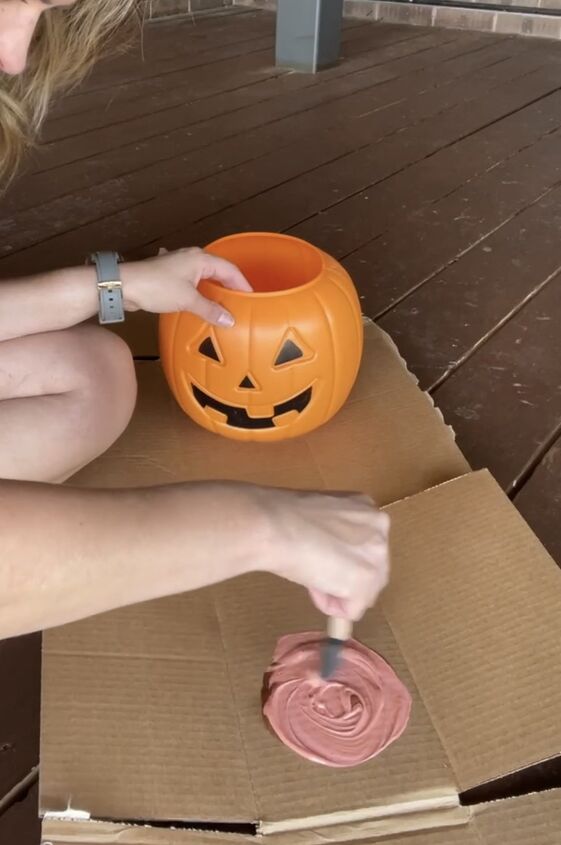
Mix together a terra cotta type color. I used some coral, brown and gold to create mine. Acrylic paint works great! Wall paint or anything you might have lying around is just fine too.
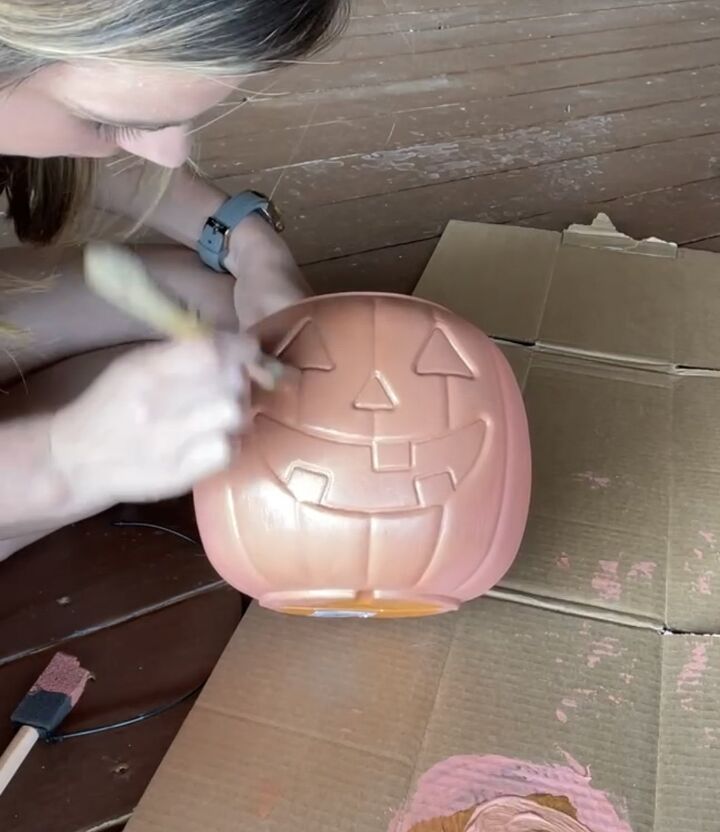
Give you entire pumpkin a good 2 coats to completely cover all the markings.
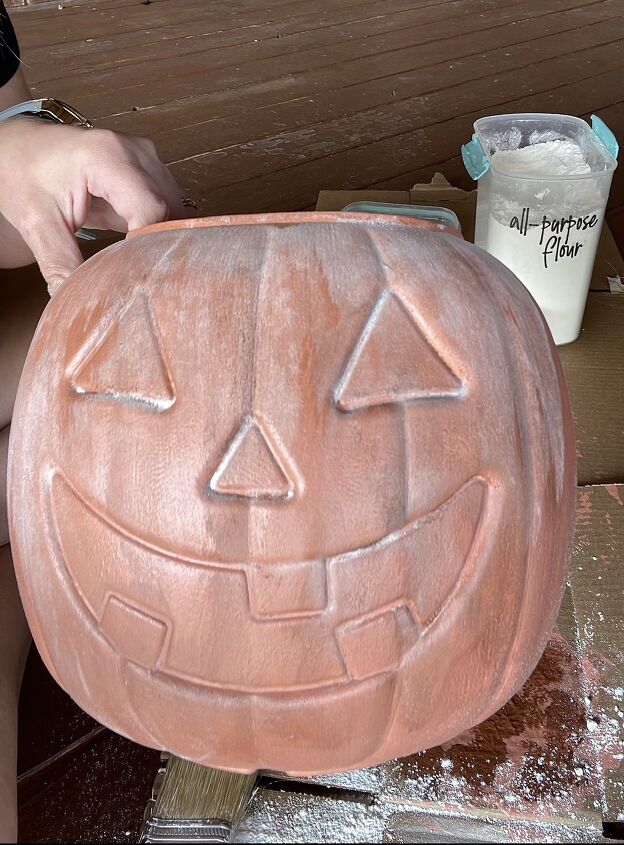
While the top coat is still damp, pour some flour or baking soda on top. Use a dry paintbrush to gently brush off the excess powder. I wanted mine to have a very powdery finish so I did this a couple times--you can make yours to your personal preference!
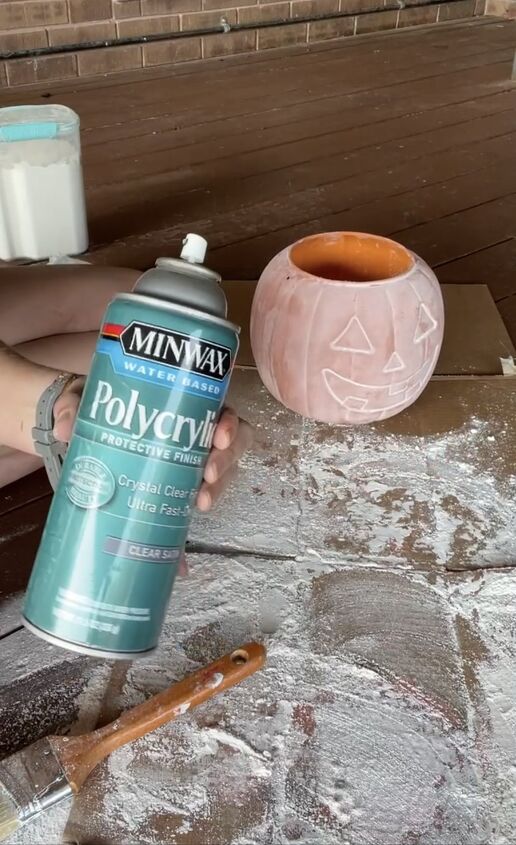
This is optional, but I wanted my pumpkin to last next year as well so I gave it a light spray of polycrylic to seal it all in.
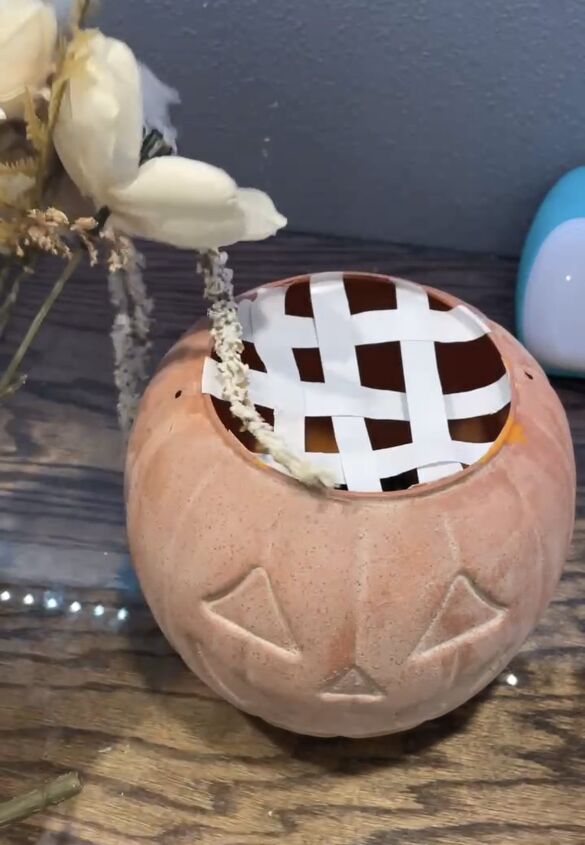
Now comes the twist! Insert some floral foam or tape around the top and then add decorative floral picks.
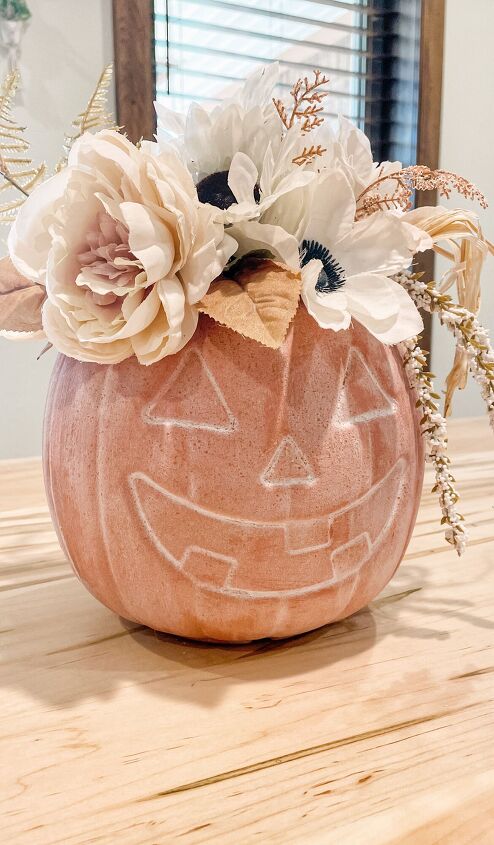
Add to your dining table and you have yourself a beautiful fall centerpiece! I love that this will last through the years and the finish is so beautiful, you would have no idea there's just a plastic pumpkin underneath!


Frequently asked questions
Have a question about this project?