


How to Make a DIY Cake Stand - Impressive Pottery Barn Dupe!

In this tutorial, I'll guide you through the process of creating a DIY cake stand that's both budget-friendly and customizable to your taste.
Inspired by a pricey Pottery Barn cake stand, I opted for a wood charger and a terracotta pot to craft a stunning dupe. With just a few supplies and a bit of creativity, you'll have a beautiful cake stand ready to showcase your baked creations in no time!
Tools and materials
- Wood charger (desired size and shape)
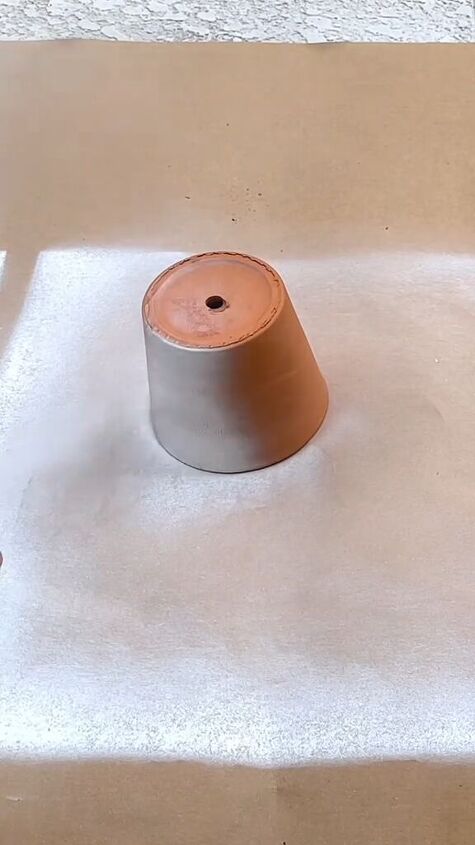
- Terracotta pot
- White spray paint
- E6000 adhesive
- Newspaper or cardboard (to protect your work surface)
Step 1: Prepare Your Supplies
Gather all your supplies in one place to ensure a smooth crafting process. Lay down newspaper or cardboard to protect your work surface from paint spills or adhesive drips.
Step 2: Spray Paint the Wood Charger and Terracotta Pot
Take your wood charger and terracotta pot outdoors or to a well-ventilated area. Holding the spray can about 6-8 inches away from the surfaces, apply an even coat of paint to both the wood charger and the terracotta pot.
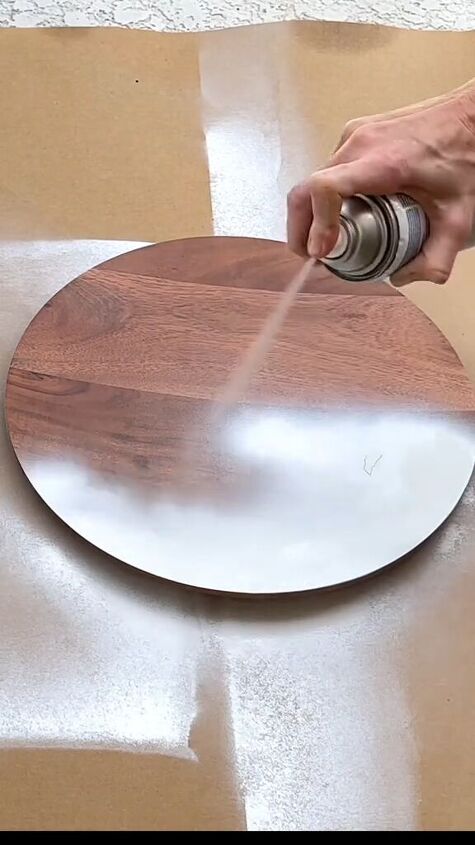
Ensure thorough coverage and let the paint dry for approximately two hours.
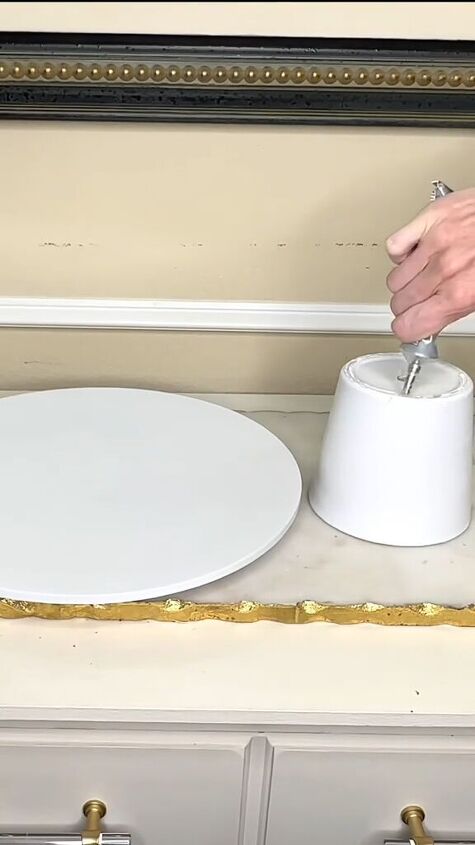
Step 3: Adhere the Pieces Together
Once the paint is completely dry, it's time to assemble your cake stand. Apply a generous amount of E6000 adhesive to the bottom of the terracotta pot. Carefully place the wood charger at its center on the pot, pressing down gently to secure it in place. Ensure that the surfaces are aligned properly.
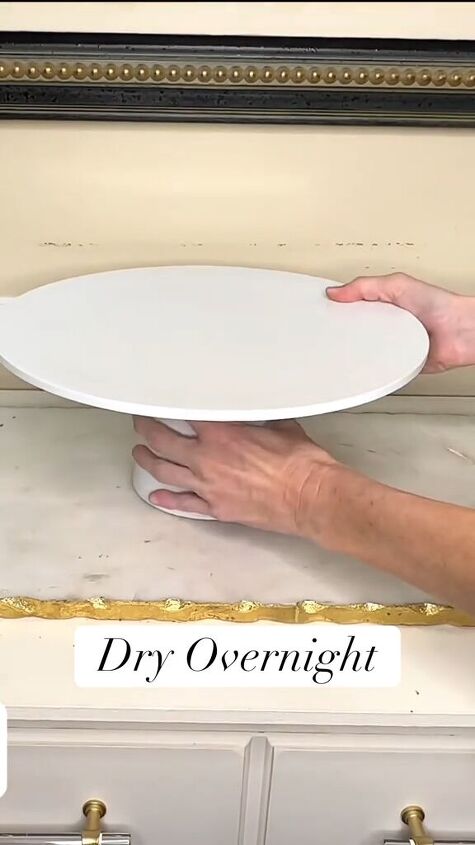
Step 4: Allow the Adhesive to Cure
With the wood charger securely attached to the terracotta pot, let the adhesive dry overnight. This will ensure a strong and durable bond between the two pieces. Once the adhesive has fully cured, your DIY cake stand is ready to use!
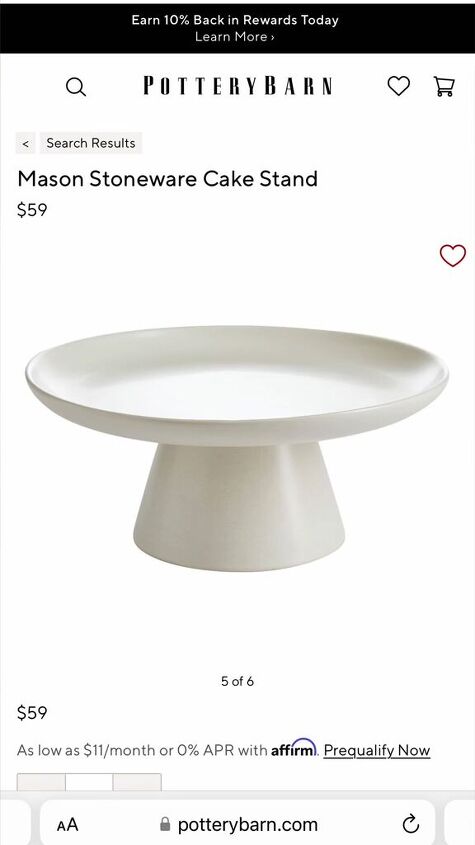
Inspiration piece:
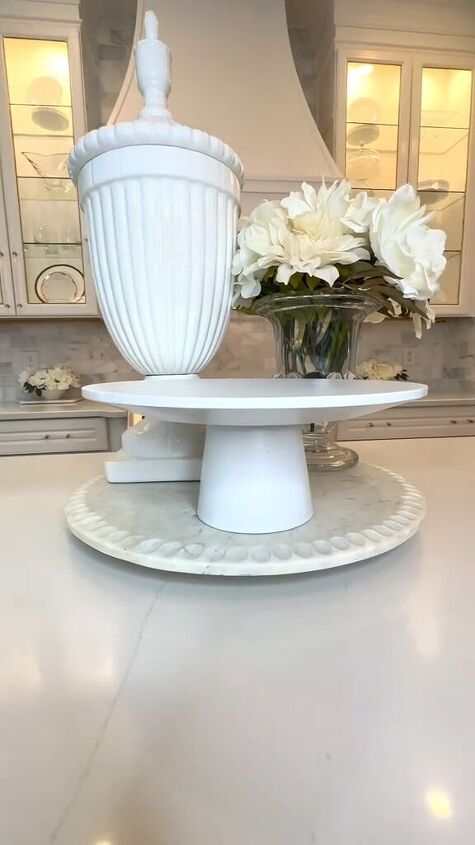
Dupe:
I hope you enjoyed learning how to make a cake stand. This project is not only fun and rewarding but also a practical way to save money while adding a personal touch to your kitchen decor.
With just a few basic supplies and a little creativity, you can replicate the look of expensive cake stands at a fraction of the cost. Don’t forget to leave me a comment to let me know how your DIY cake stand came out.
Follow @lisa_burningham on TikTok for more DIY ideas.
Comments
Join the conversation
-
I like yours better! 👏🏻👏🏻👏🏻💖


Frequently asked questions
Have a question about this project?