


How to Craft Stunning DIY Poinsettia Decor
Today, I am going to take you on a crafting adventure transforming humble foil pans into gorgeous DIY poinsettias.
These faux flowers are perfect for a holiday porch project and are really quick and easy to make.
This post was transcribed by a member of the Hometalk editorial team from the original HometalkTV episode.
Tools and Materials:
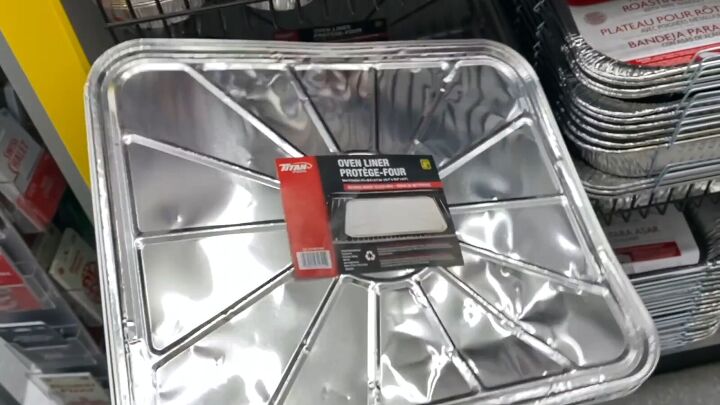
- Foil trays
- Plain paper
- Cardboard
- Scissors
- Hot glue gun and glue sticks
- Sharpie marker
- Paint
- Salt wash (for texture)
- Paintbrushes
Hometalk may receive a small affiliate commission from purchases made via Amazon links in this article but at no cost to you.
1. Creating Petal Patterns
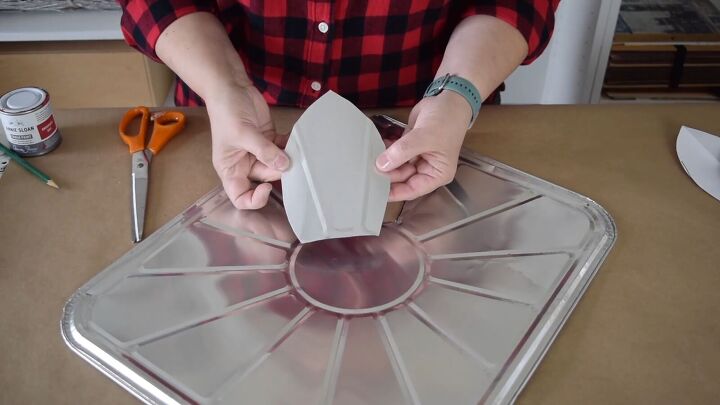
Begin by creating patterns for the poinsettia petals.
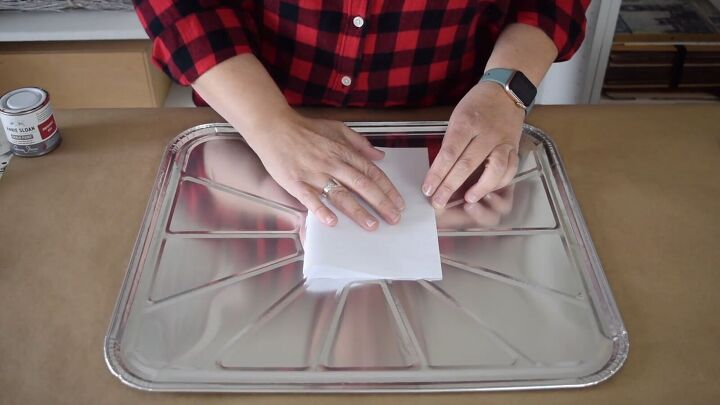
Take a sheet of plain paper and fold it in half.
This will ensure that the petals are of the same shape and size on both sides.
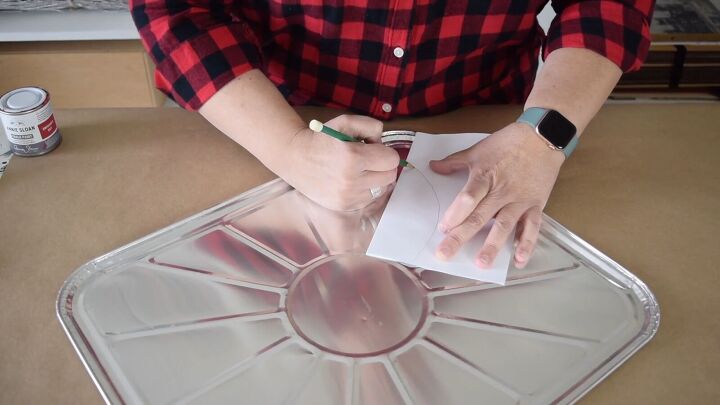
Now draw the shape of one side of a petal.
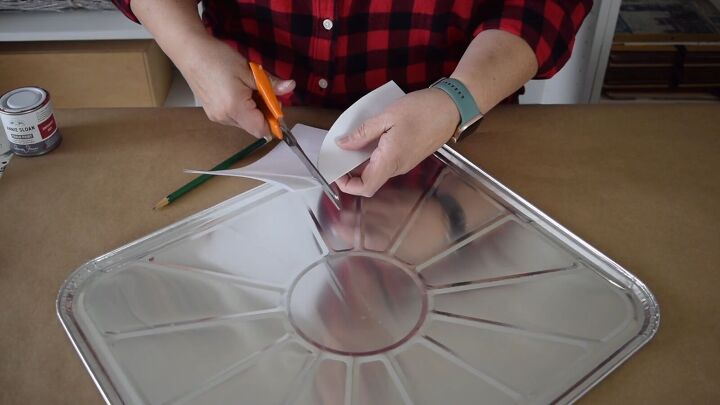
Cut out the petal shape, keeping it symmetrical.
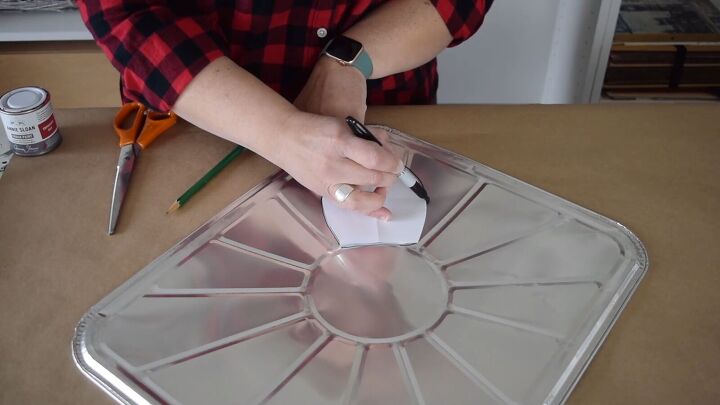
Use the template to draw the shape of the petal onto the foil tray.

Cut out the shape from the tray.
You'll need eight of these petals for each DIY poinsettia flower.
2. Crafting the Flower's Center
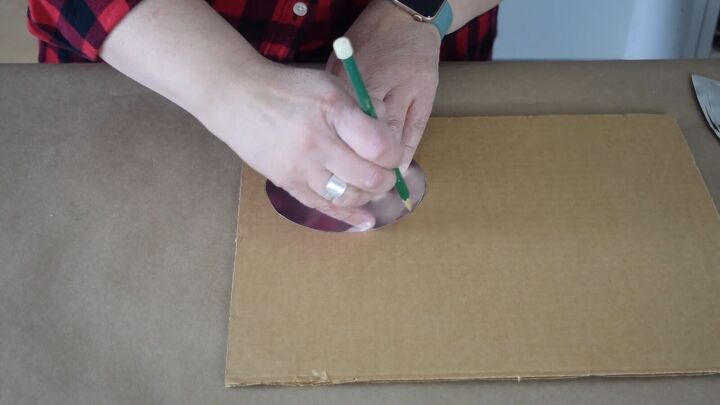
Cut a round circle out of one of the foil trays. This will serve as the center of your poinsettia.
For added sturdiness, cut a corresponding circle from cardboard to use as the base.
3. Attaching the Petals
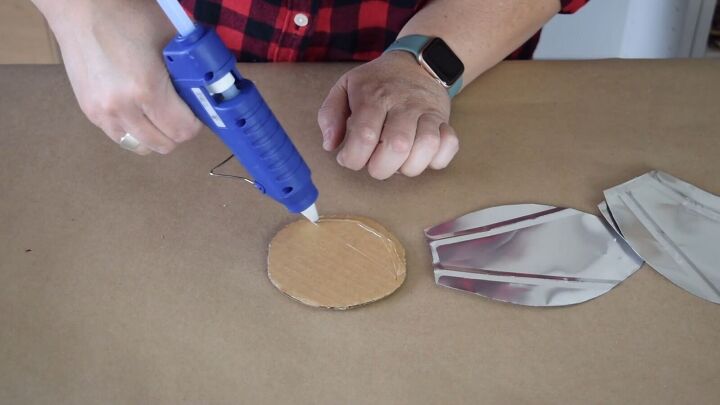
Using a hot glue gun, carefully adhere four of the foil petals to the cardboard circle.
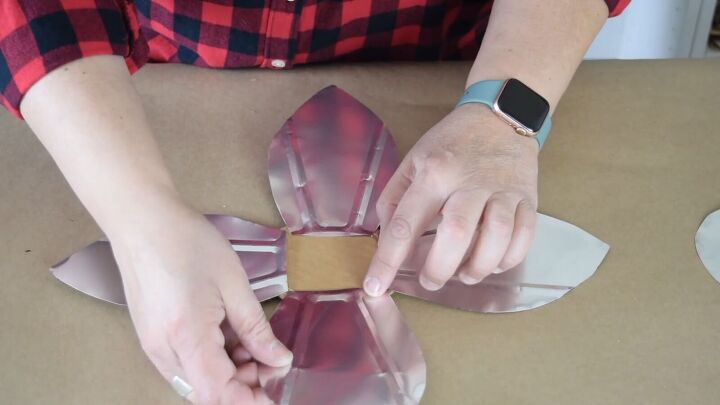
The foil adheres easily to the cardboard, and the hot glue ensures a secure bond.
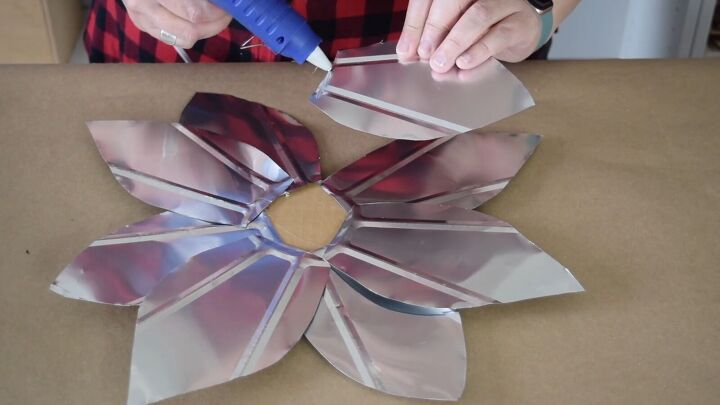
Carry on adding another four petals on top of the original ones.
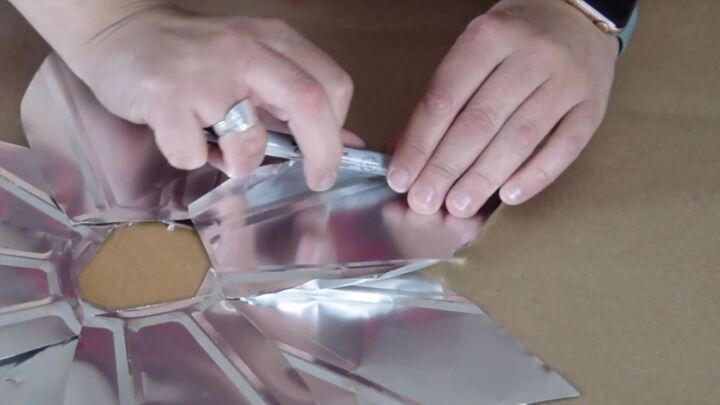
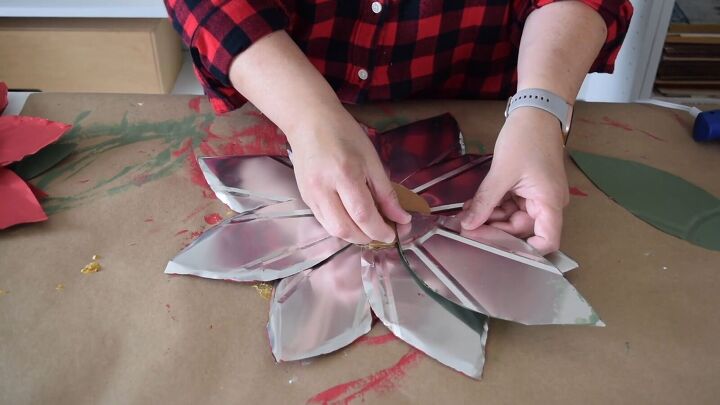
4. Adding Dimension
To give your faux flowers a more lifelike appearance, use a Sharpie marker to gently bend up the edges of the foil petals. This will add depth and dimension to your DIY poinsettia.
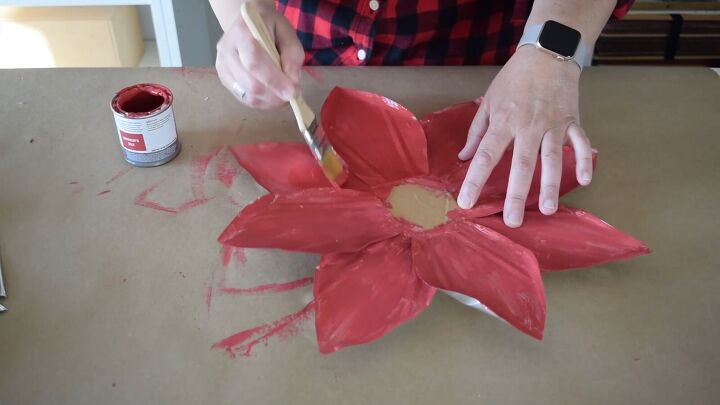
5. Painting the Poinsettias
For a festive holiday feel, paint your poinsettias with bright red paint. Start with the first coat, allowing it to dry completely before applying a second coat for a vibrant finish.
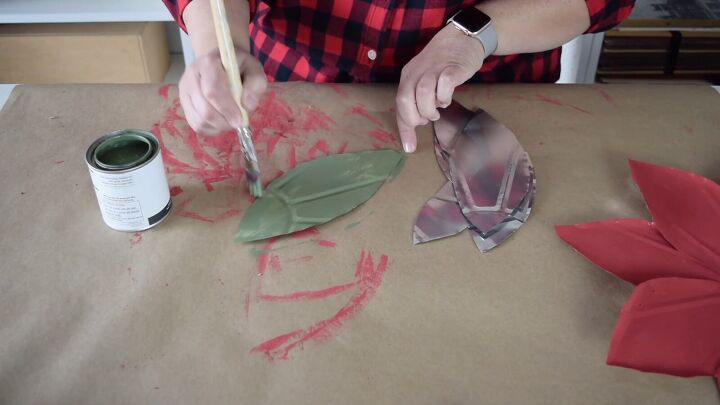
6. Crafting the Leaves
While the paint on your flowers is drying, cut out two leaves for each flower from the remaining foil trays. Give these leaves two coats of beautiful green paint.

7. Adding Texture to the Centers
Now, let's create textured centers for your poinsettias. Choose mustard and cream paint.
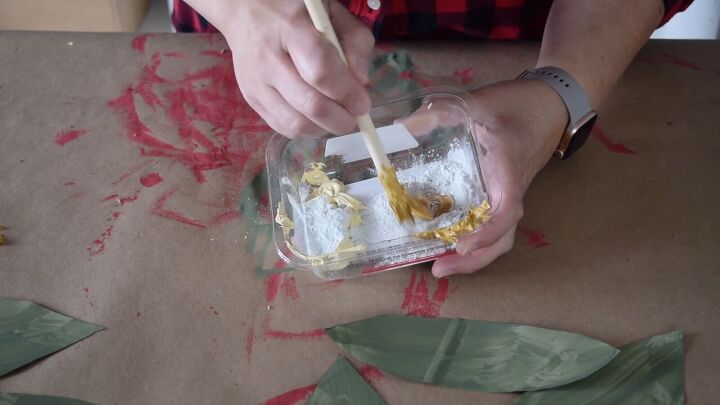
Mix each color with salt.
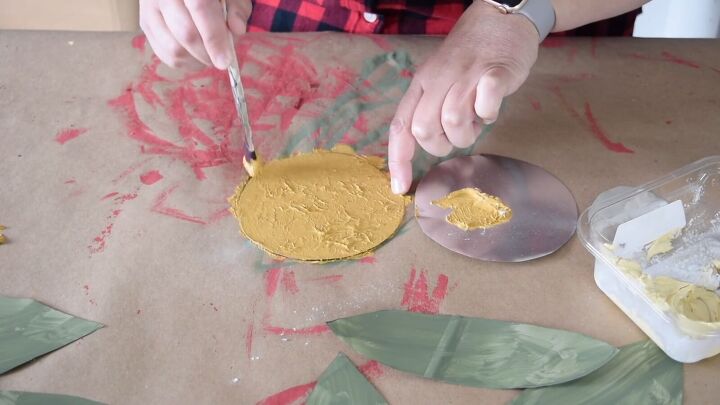
Dab this mustard colour all over the foil circle
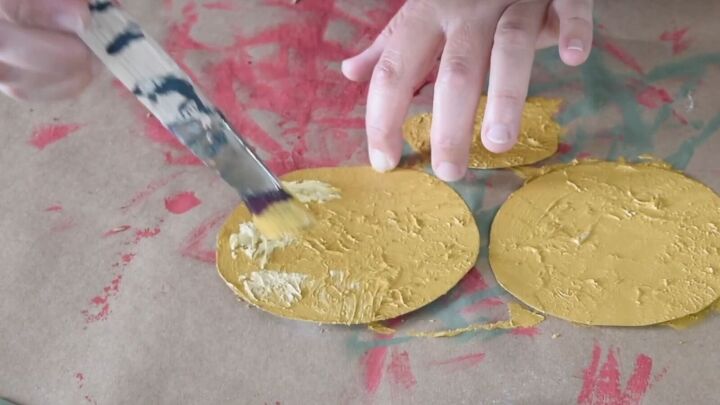
Add dimension by dabbing the cream over the mustard.
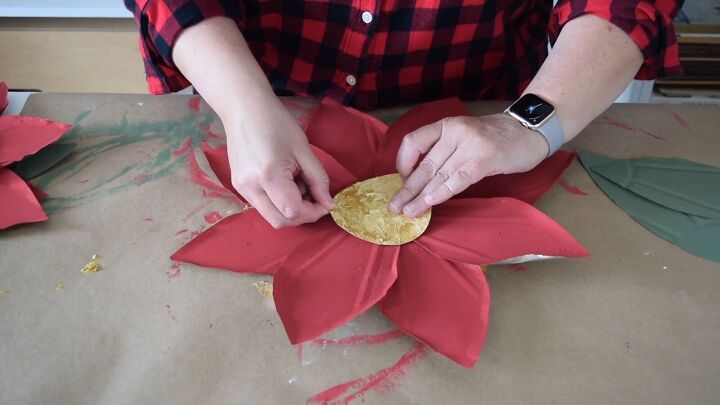
8. Completing Your DIY Poinsettia Flowers
Attach the painted leaves and textured centers using hot glue.
Secure the leaves to the back of the DIY flowers.
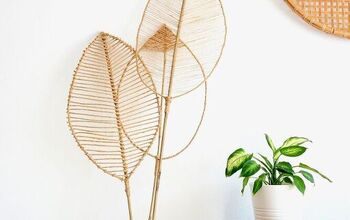
More Flower Crafts
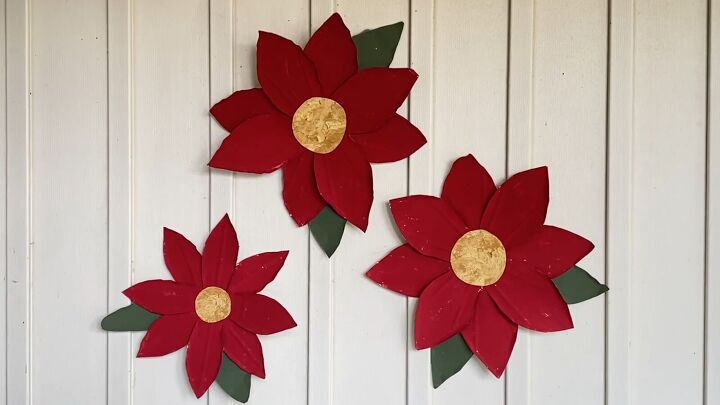
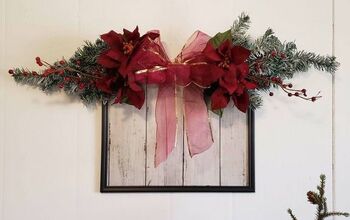
DIY Poinsettia Project
I've had a blast crafting these festive DIY poinsettia flowers. They really brighten up the porch and add a festive pop of color.
If you are inspired to make your own poinsettia DIY, make sure to snap a picture, leave a comment and share your gorgeous creation with the community! let's celebrate the art of poinsettia DIY together.


Frequently asked questions
Have a question about this project?