


How to Easily Make a DIY Textured Vase With Joint Compound

I'm excited to share how I gave a plain $3 vase a stunning DIY textured makeover. With just a few simple steps, we'll turn this inexpensive find into a unique decor piece. It’s one of the easiest vase makeover ideas I’ve ever seen.
Tools and materials
- Inexpensive vase
- Joint compound
- Sandpaper (medium grit)
- Paint (base coat color and top coat color)
- Paintbrushes
- Cloth or sponge
- Gloves (optional for protection)
Steps
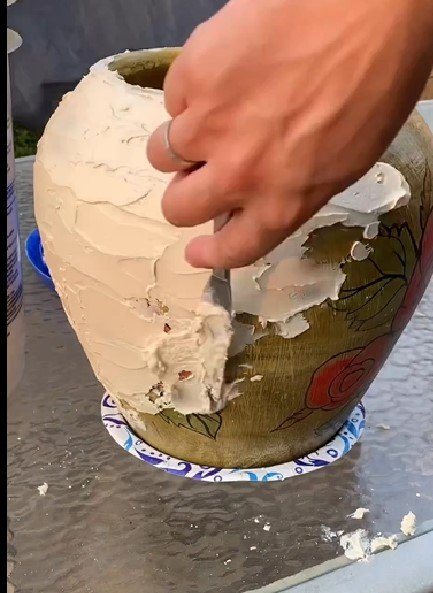
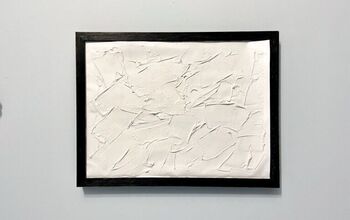
1. Applying joint compound
Using a putty knife or your fingers, spread a thin layer of joint compound onto the surface of the vase.
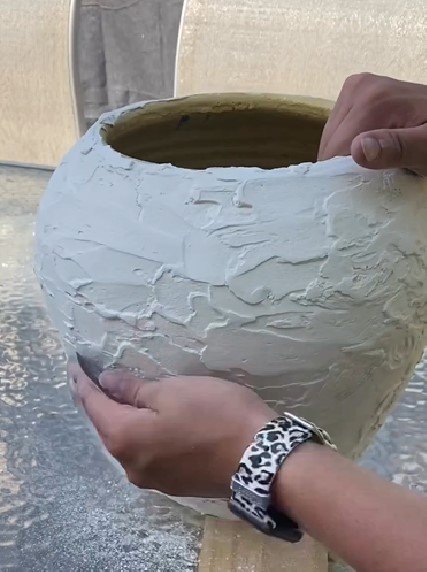
2. Sanding rough spots
Once the joint compound is dry, use medium-grit sandpaper to gently sand the rough spots. Sanding will create a smoother texture while preserving the textured effect you've created.
Wipe off any dust with a cloth or sponge.

3. Applying the base coat
Apply a base coat of paint to the vase. Choose a color that complements your decor and personal style. Use a paintbrush to evenly cover the surface.
Allow the base coat to dry completely before moving on to the next step.
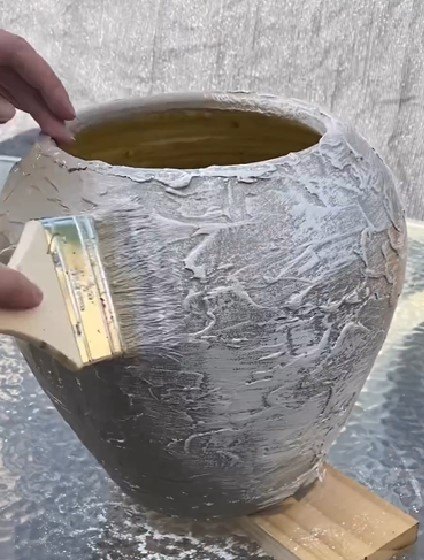
4. Adding a rough top coat
For a rustic and aged look, it's time to apply a rough top coat. Choose a contrasting paint color that will highlight the textured areas. Using a different paintbrush, apply the top coat in a haphazard manner. Don't worry about precision–the goal is to enhance the textured effect.
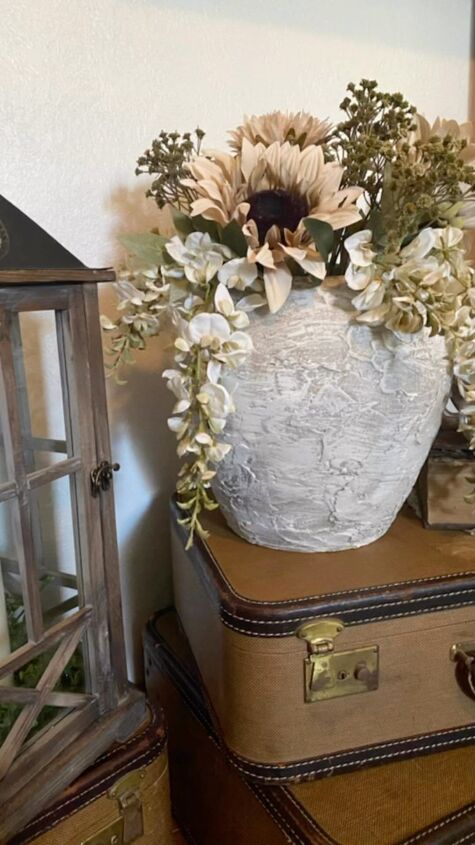
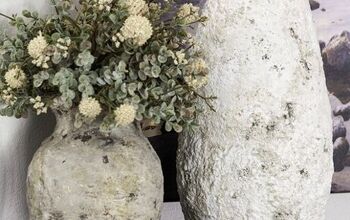
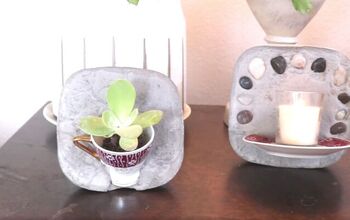
DIY textured vase
The joint compound gives this vase a beautiful textured look. I hope you had as much fun following this DIY journey as I did. If you have any questions or want to share your own vase makeovers, feel free to leave a comment below.
Follow @wilsonfarmandhome on Instagram for more DIY ideas.


Frequently asked questions
Have a question about this project?