


How to Create Easy, Beautiful & Unique Hydro-Dipped Wall Art

Today, I'm going to guide you through the process of creating stunning hydro-dipped art that will not only spruce up your space but also add a touch of uniqueness to your decor.
This step-by-step tutorial requires a bit of creativity and a handful of supplies. So, let's dive right into the world of hydro-dipping and transform eight five-by-seven canvases into a beautiful, one-of-a-kind masterpiece!
Tools and materials
- Eight 5x7 canvases
- Garbage can
- Garbage bag
- Water
- Black, silver, and gold spray paint
- Protective gloves
- Black and gold gift bag
- Scissors
- Hot glue gun
- Frame and frame mat
How to Create Hydro-Dipped Art
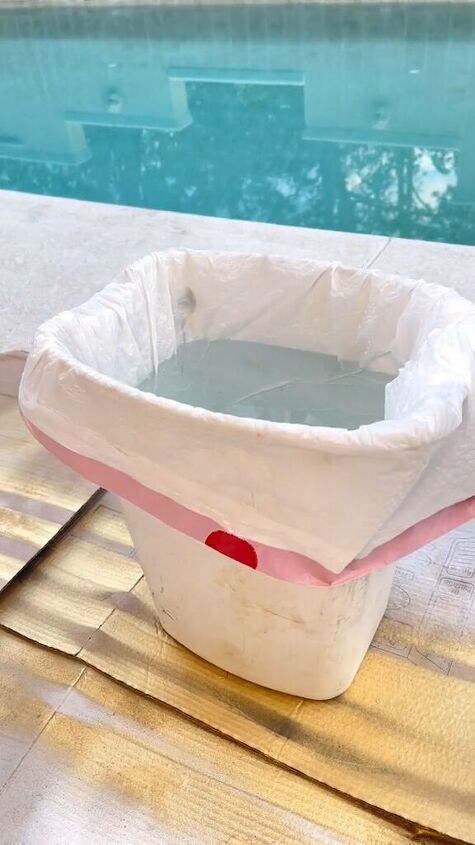
Step 1: Setting up the Hydro-Dipping Station
To begin, place a garbage bag inside a garbage can and fill it to the top with water. This will be our canvas-dipping station.
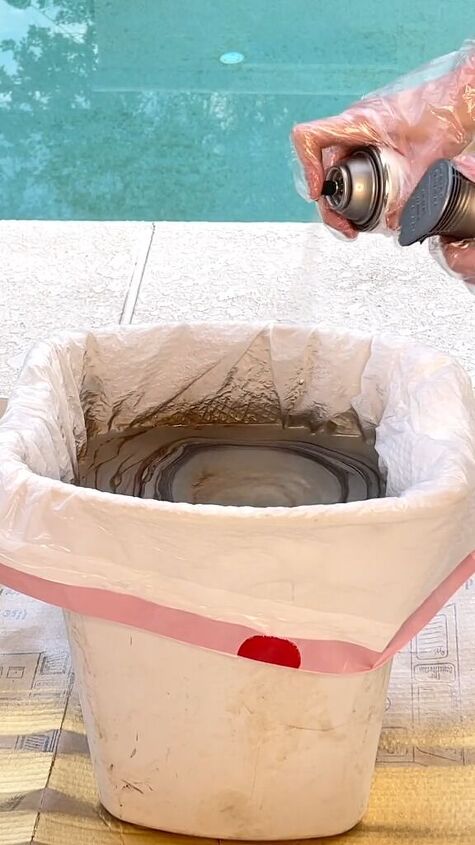
Step 2: Creating the Paint Design
Take your black, silver, and gold spray paints. Hold them above the water and alternate spraying them to create a captivating bullseye effect on the water's surface. The colors will mix and form a unique pattern.
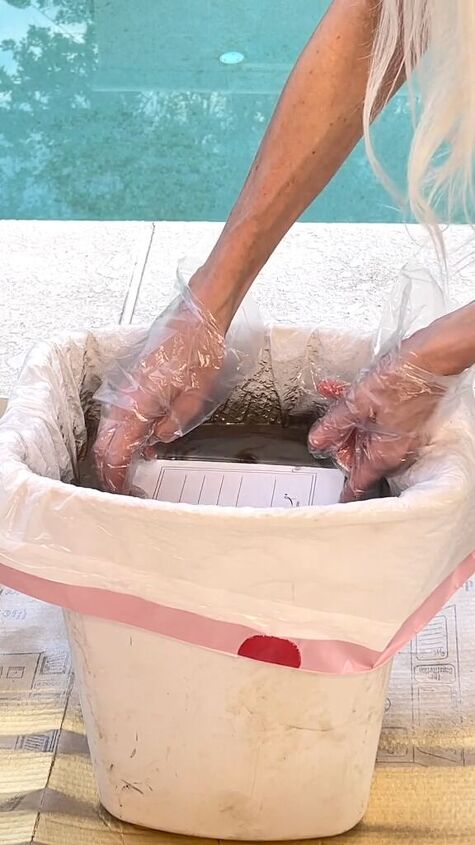
Step 3: Dipping the Canvases
Grab your first canvas and carefully dip it into the painted water surface.
Repeat this process with each canvas, but remember, you might need to spray more paint into the water between each canvas dip. Be sure to wear protective gloves to keep your hands clean.
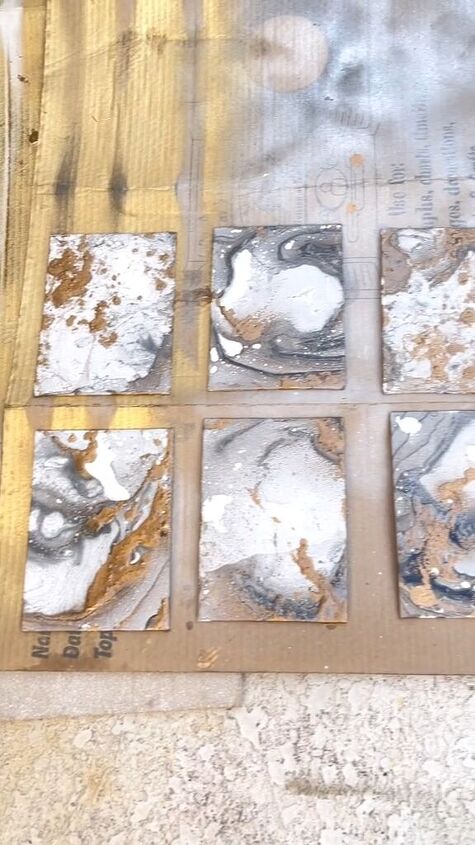
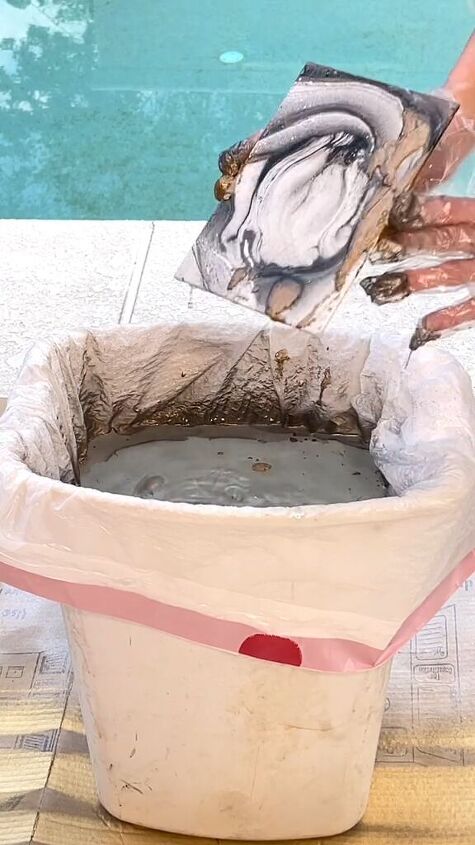
Step 4: Drying the Canvases
Once you've dipped all eight canvases, lay them flat to dry for approximately three hours. This ensures the paint sets properly, giving your artwork a vibrant and long-lasting finish.
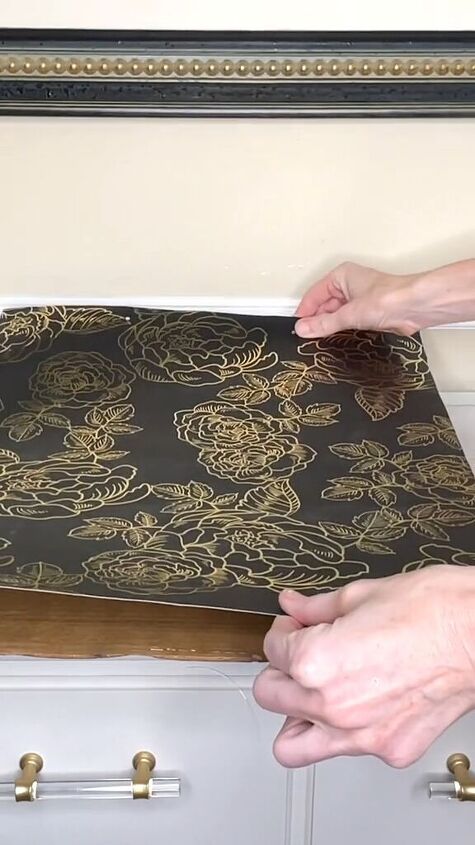
Step 5: Preparing the Frame
Now, let's move on to the framing process. Cut the black and gold gift bag to fit the size of the back of the frame. I used the gift bag because I had it lying around the house and thought it would work well with this project. If you don’t have a gift bag you want to use you can pick up some decorative paper. Use a hot glue gun to secure it in place.
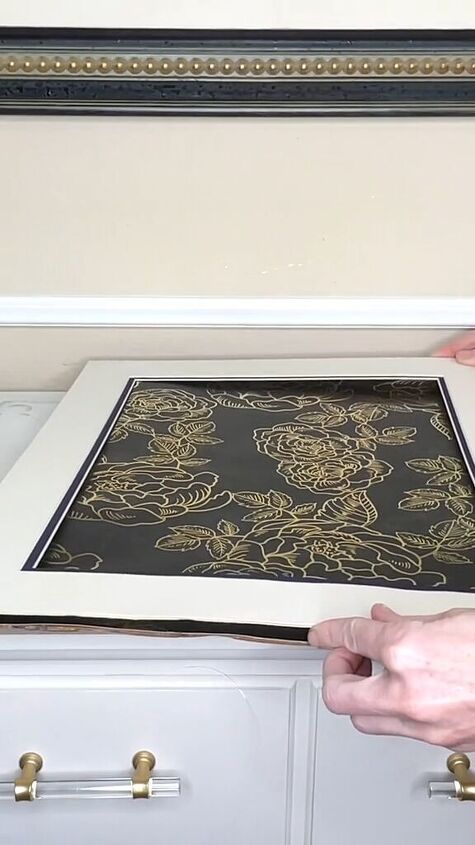
Then, hot glue the frame mat on top of the gift bag for a polished look.
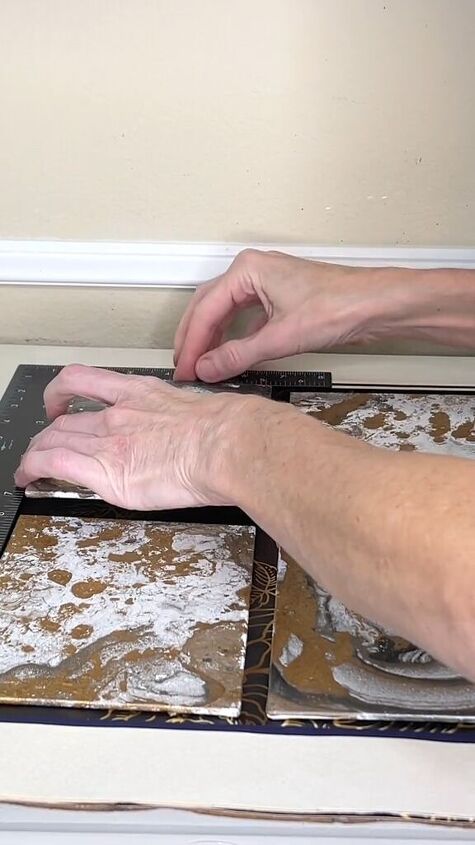
Step 6: Assembling the Wall Art
Apply hot glue to the back of each canvas and carefully press them onto the prepared gift bag surface within the frame. Ensure they align seamlessly. Once all canvases are in place, reassemble the frame.
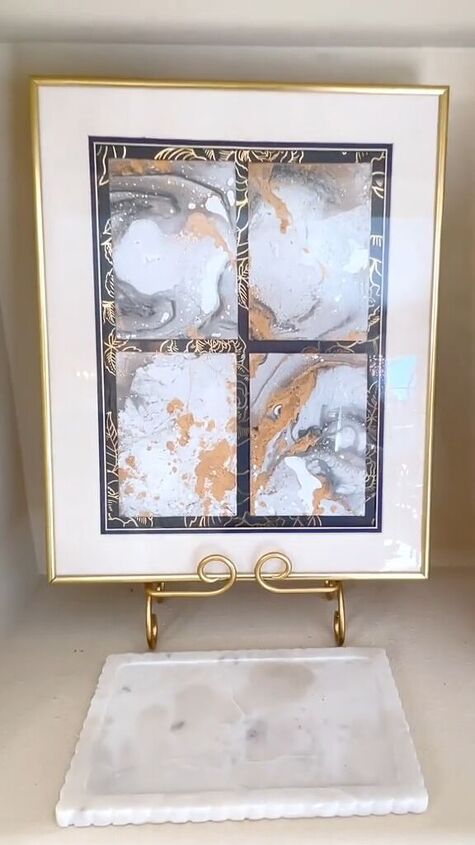
And there you have it – your very own hydro-dipped wall art that's not only visually stunning but also adds a touch of elegance to any space.
Hydro-dipped wall art
Hydro-dipping is a simple yet creative DIY project that allows you to explore your artistic side and create high-end home decor that's truly one of a kind. Enjoy your newfound masterpiece! Leave me a comment and let me know how it came out.
Follow @lisa_burningham on TikTok for more DIY ideas.
Comments
Join the conversation
-
Very beautiful, each one so different!! Thank you for sharing!
-
I want to try this with primary colors….


Frequently asked questions
Have a question about this project?