


Mudroom Makeover: How to Update & Organize a Mudroom

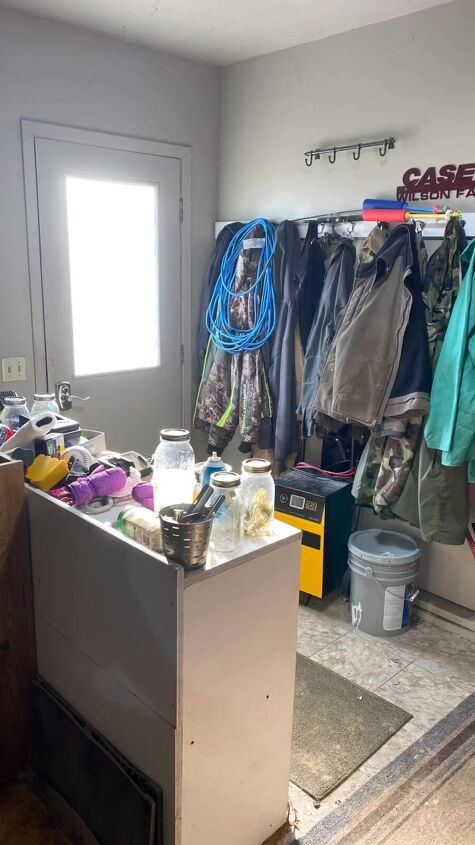
This entry used to be a truly cluttered mess. So we did a complete DIY mudroom makeover! Our mudroom makeover was so much fun and easier than we thought. To update mudroom dinginess, we changed the walls and floors and built a bench, which also helped to better organize the space. Here’s how we did it!
Tools and materials
- Measuring tape
- Stud finder
- Level
- Pencil
- Screwdriver
- Beadboard paneling
- Nails or adhesive
- Hammer
- Plywood or lumber for the bench
- Saw
- Wood screws
- Paint and paintbrush
- Royal Design Studio stencil
- Paint roller and tray
- Whitewash (for aged look on floor)
- Floor paint (for fake brick pattern)
- Beadboard (for covering peeling paint)
- Sandpaper
- Wood filler
- Decorative items (calendar, hooks, baskets, etc.)
- Glowforge laser machine (or a custom sign-making tool)
Mudroom makeover
Step 1: Prepare the space
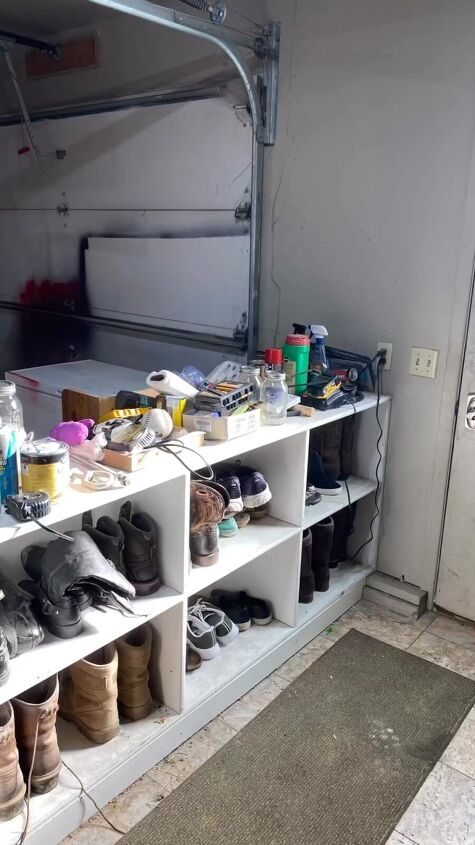
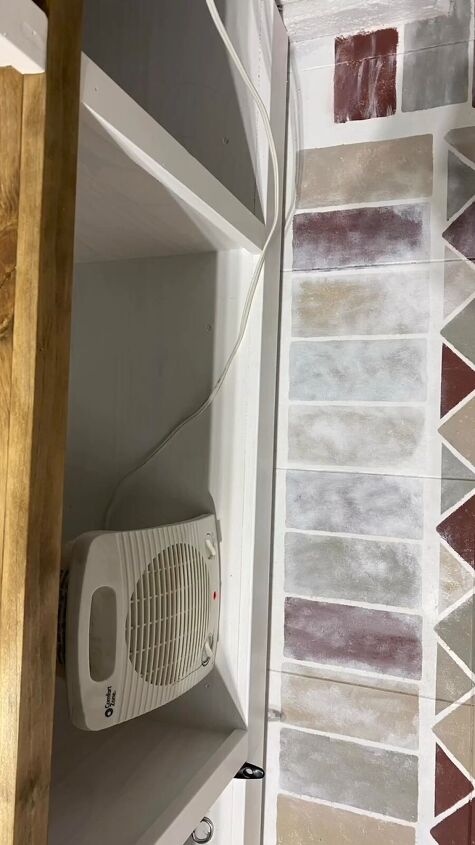
Begin by clearing out the clutter from your mudroom and separating it from the garage. Remove any items that are not needed in the mudroom to create a clean slate.
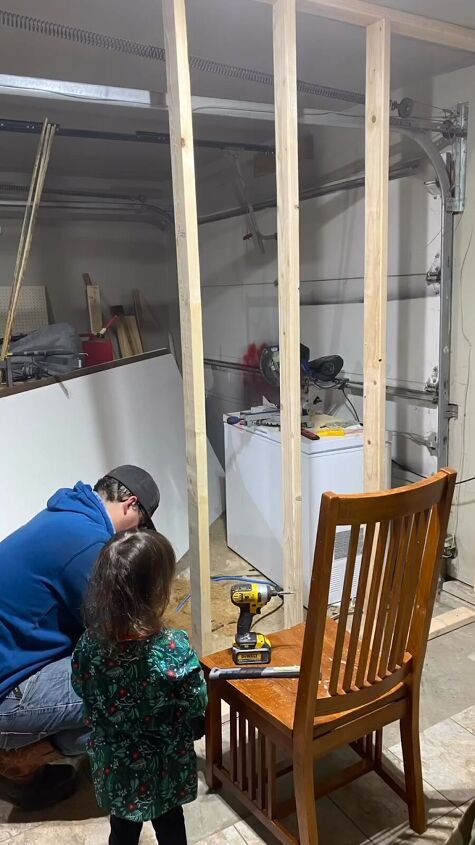
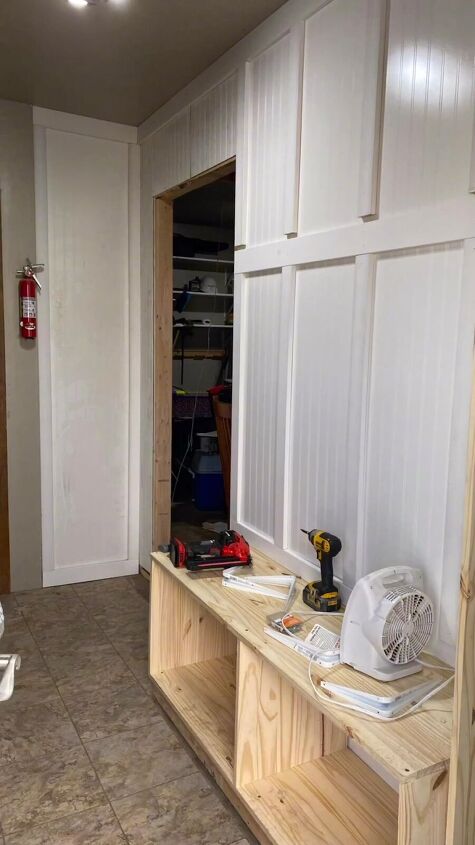
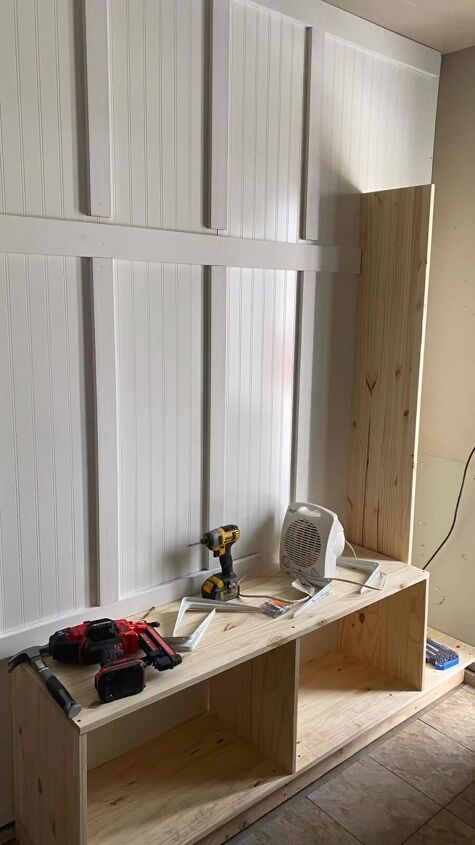
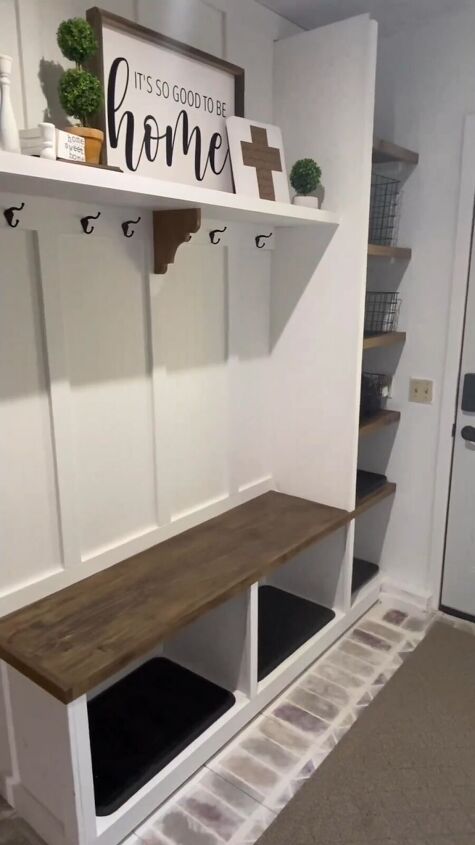
Step 2: Build the new wall, bench, and shelving unit
We built a partial wall to separate the space and to place the bench and shelf we built. Measure and cut plywood or lumber to create a bench that fits your mudroom.
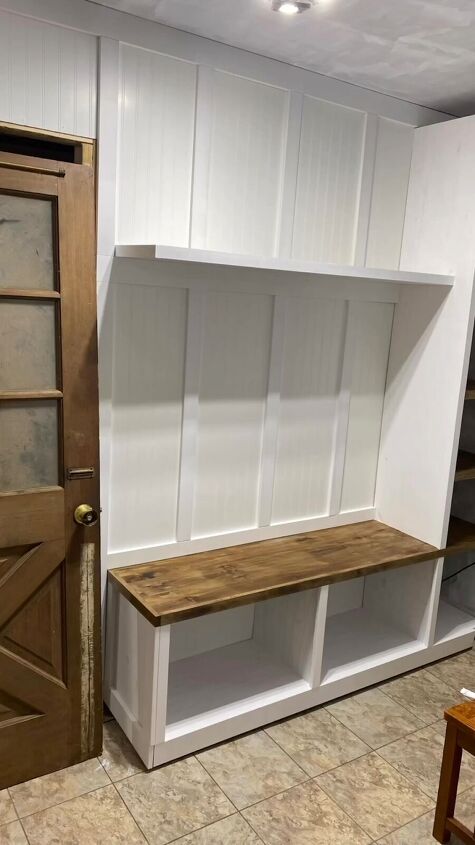
Assemble the bench by attaching the pieces together with wood screws. We installed beadboard and put the bench against the wall.
For shelving, we measured and cut a shelf from the same materials and attached it securely to the wall above the bench.

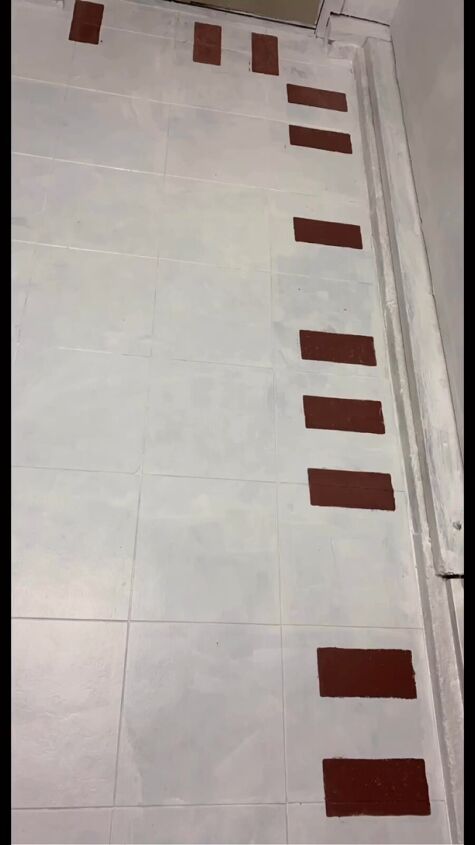
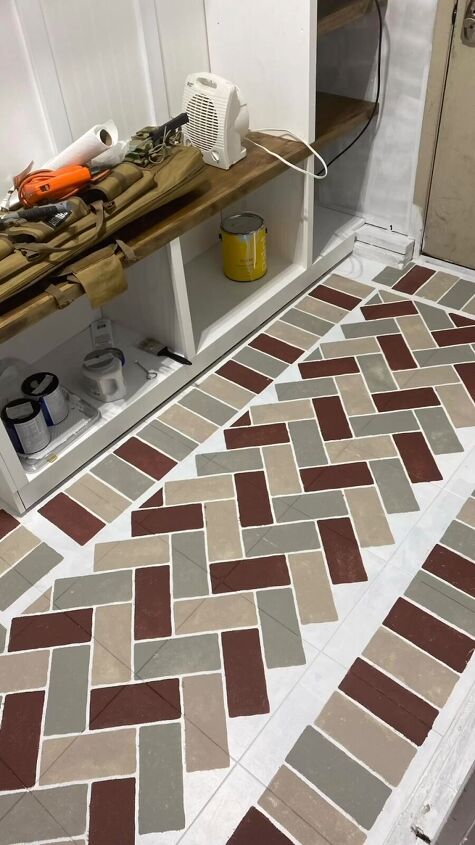
Step 3: Update the floor
If your floor needs a makeover, consider painting a fake brick pattern using a Royal Design Studio stencil. Clean the floor thoroughly.
We painted a white base underneath the stencil to make it look aged. Then we applied the stencil using a paint roller and tray. We added some more “whitewash” paint to the stencil to further age the look. Be sure to allow the paint to dry completely.
Step 4: Cover peeling paint with beadboard
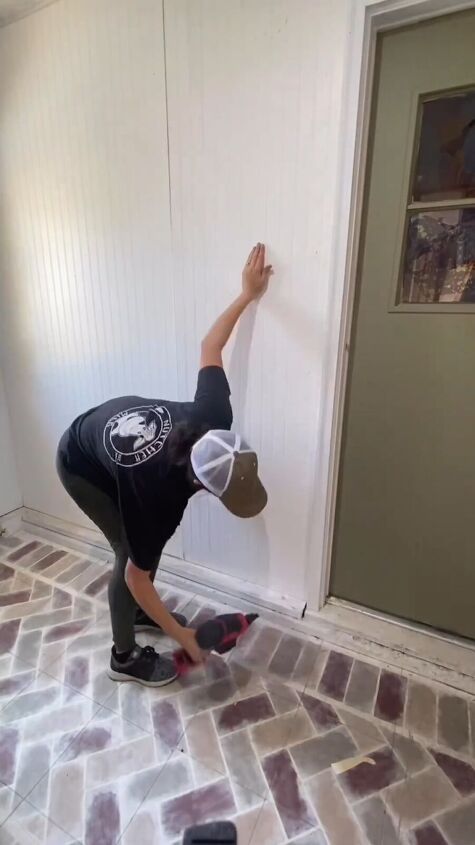
To address any peeling paint on the opposite wall, measure and cut beadboard to cover the damaged area. Measure the height of the walls and cut the beadboard paneling to the appropriate size.
Using a stud finder, locate the wall studs and mark them with a pencil. Place the beadboard against the wall and attach it to the studs using nails or adhesive.
Ensure it's level and securely in place. Sand any rough edges, fill gaps with wood filler, and paint it to match the rest of the mudroom.
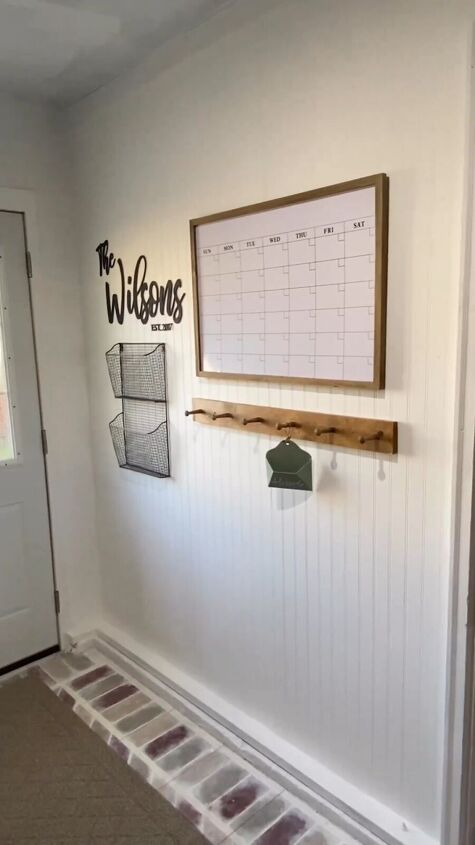
Step 5: Finish and Decorate
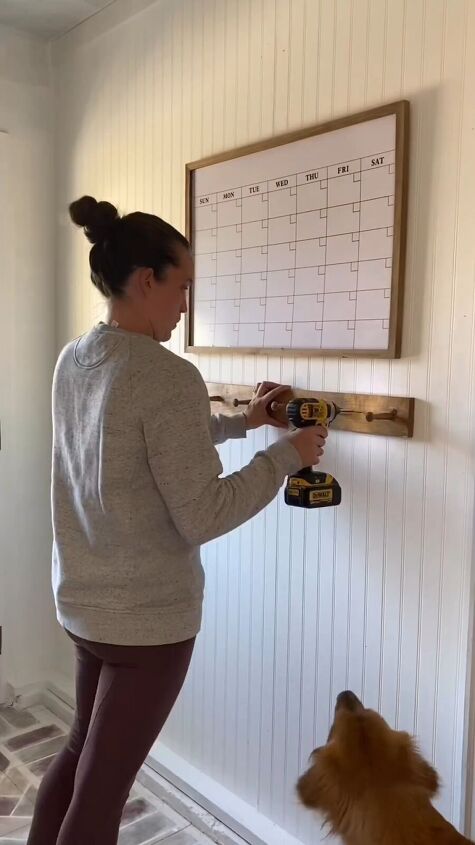
Take your time to touch up any finish work, fill holes, and paint any remaining areas that need attention. Once everything is dry, it's time to add some decor.
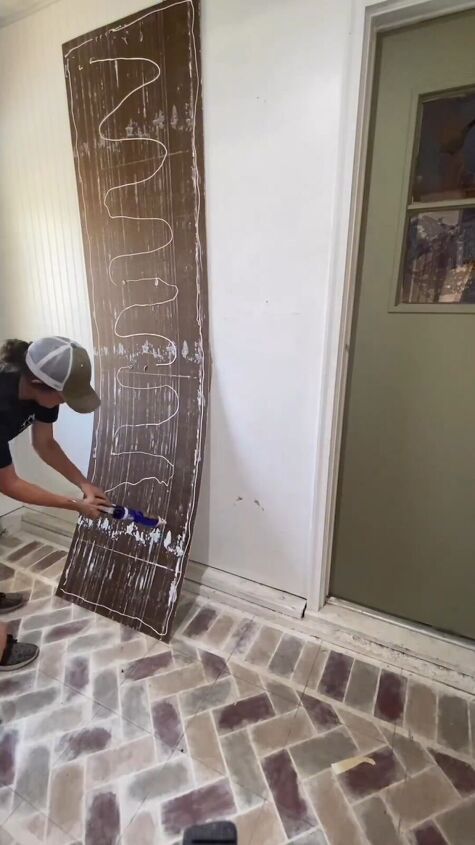
Get creative with your personal touch, such as creating a custom last name sign using a tool like a Glowforge. Hang or place decorative items and make the space feel warm and inviting.
Mudroom makeover
We’ve come a long way in transforming our mudroom into an organized space. It feels so nice to have it organized and welcoming. Though this mudroom makeover was a lot of fun, we aren’t done yet!
Next, I’ll be adding an accent to the ceiling. Can you guess what it will be? Let me know what you think in the comments.
Follow @wilsonfarmandhome on Instagram for more DIY ideas.


Frequently asked questions
Have a question about this project?