


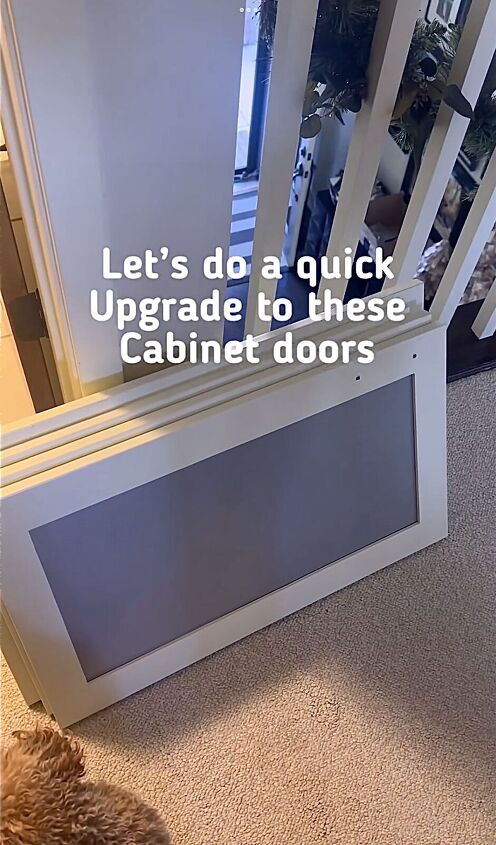
How to Do a DIY Cabinet Door Upgrade in a Few Simple Steps

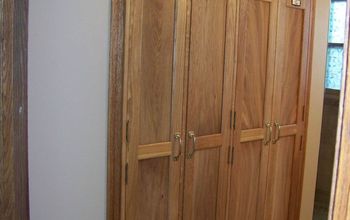
I want to share a simple way to give your cabinet doors a fresh look. We're going to use a technique involving fluted cabinet doors to add a unique touch. Let's get started!
Tools and Materials Needed:
- Pole wrap
- Utility knife
- Wood glue
- Pin nails
- Primer
- Paint
- New hardware (optional)
Table of contents

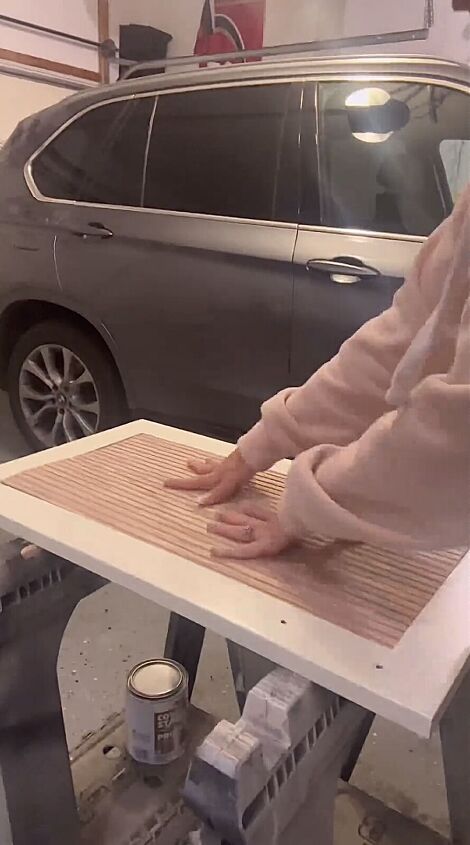
Step 1: Preparing the Inserts
We begin by cutting the pole wrap down to size. This will serve as our inserts for the cabinet doors. Using a utility knife, carefully trim the pole wrap to fit the dimensions of your cabinet doors.
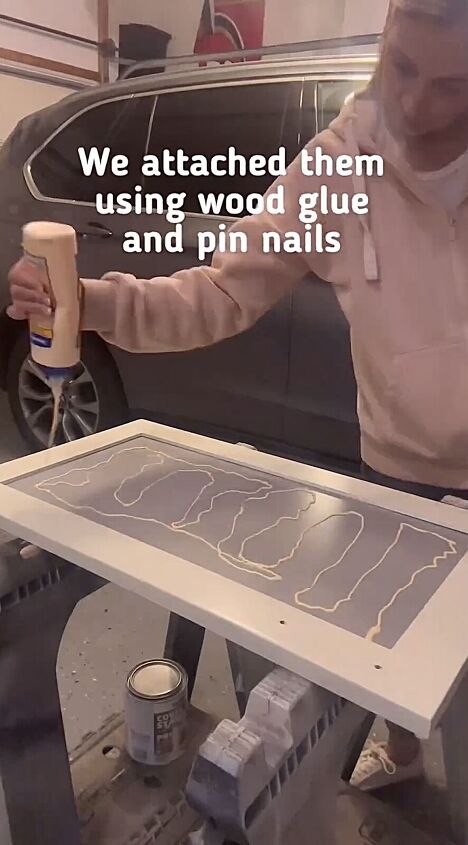
Step 2: Attaching the Inserts
With the inserts ready, it's time to attach them to the cabinet doors.
Apply wood glue along the edges of the inserts and carefully position them on the doors.
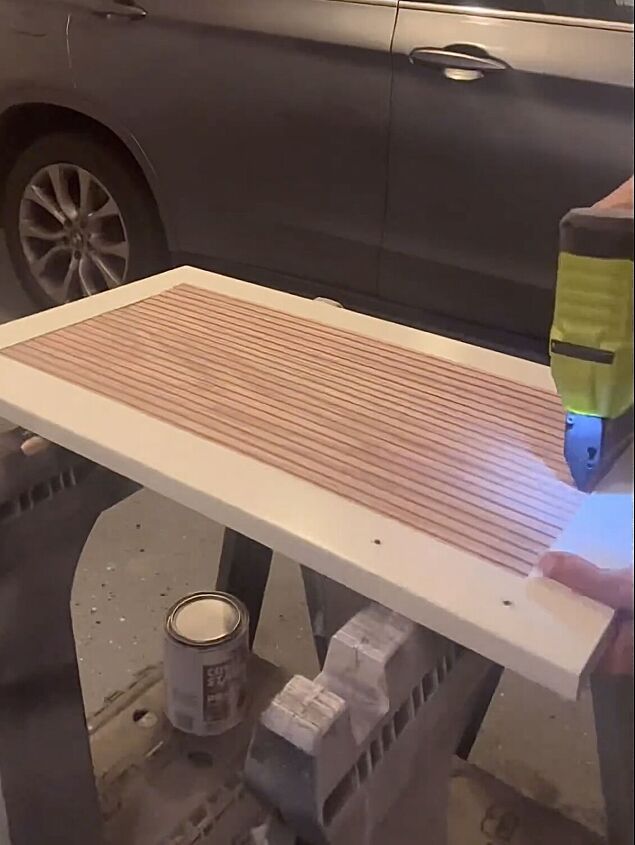
Secure them in place using pin nails to ensure they stay put.
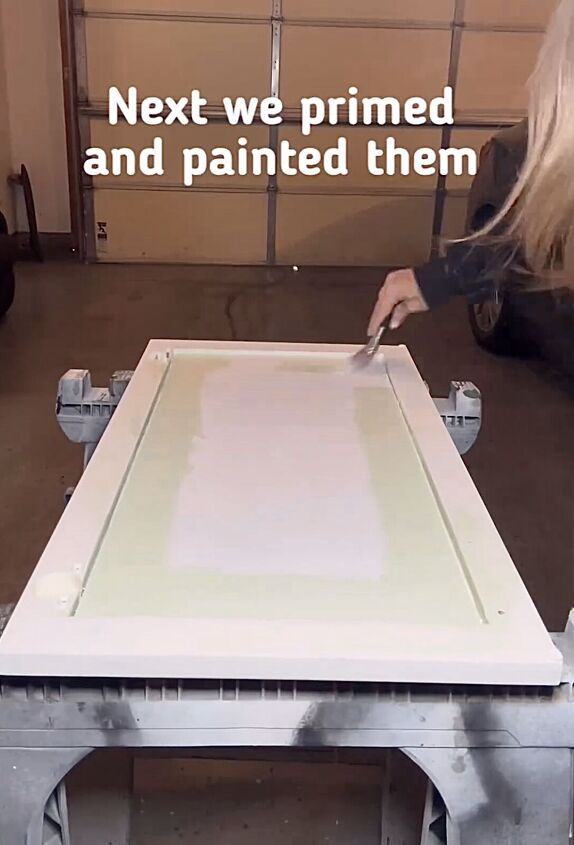
Step 3: Priming and Painting
Once the inserts are securely attached, it's time to prime and paint the cabinet doors. This step is crucial for achieving a professional-looking finish.
Apply a coat of primer to the doors and inserts, allowing it to dry completely before moving on to the next step.
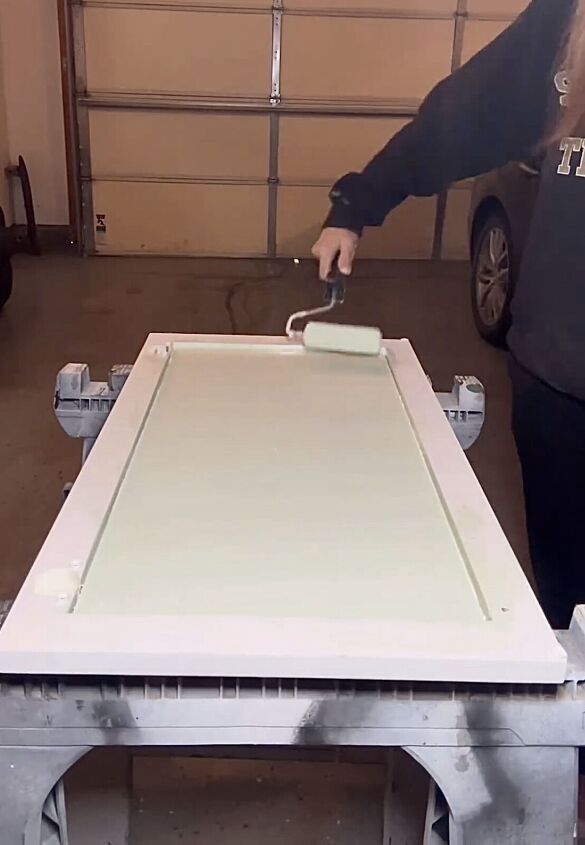
Then, choose your desired paint color and apply it evenly to the doors and inserts. Let the paint dry completely before proceeding.

Step 4: Adding New Hardware
To complete the look, consider adding new hardware to your cabinet doors.
Whether you prefer knobs or handles, choosing hardware that complements your newly painted doors can make a big difference in the overall aesthetic.

Upgrading your cabinet doors doesn't have to be complicated or expensive. With just a few simple steps and some basic materials, you can give your kitchen or any room a fresh new look.
Have you upgraded your cabinets? Share your ideas and projects in the comments below.


Frequently asked questions
Have a question about this project?