


Hanging Wisteria Ball
Grab a summer ball and some faux flowers for this beautiful project perfect for your summer garden.
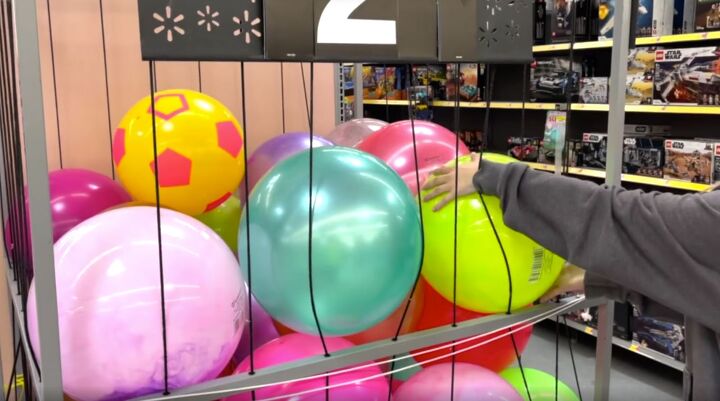
To start this project you will need a kid’s summer ball. In years prior I used a much smaller ball but today I found one of these larger ones for $2.50. These last a pretty long time so will work well.
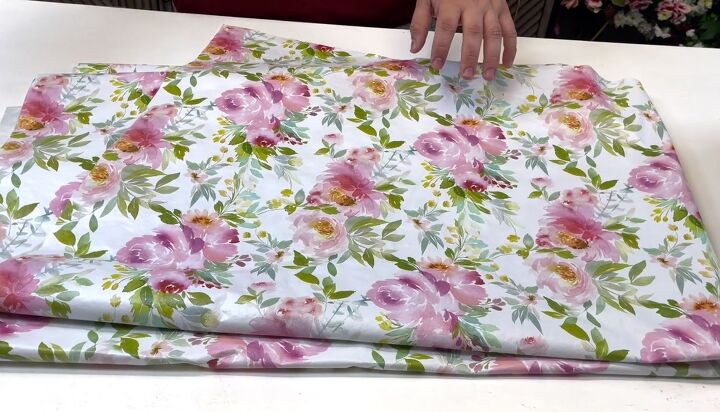
I also picked up a beautiful vinyl tablecloth from Walmart. The reason for the vinyl is that the typical fabric is not going to cover it in one quick pass. It's about 6ft across and by being vinyl or plastic material will hold up to the UV rays and the inclement weather outside really nicely.
Open up the tablecloth and lay it out. Whatever you don’t use, you can always save for other craft projects.
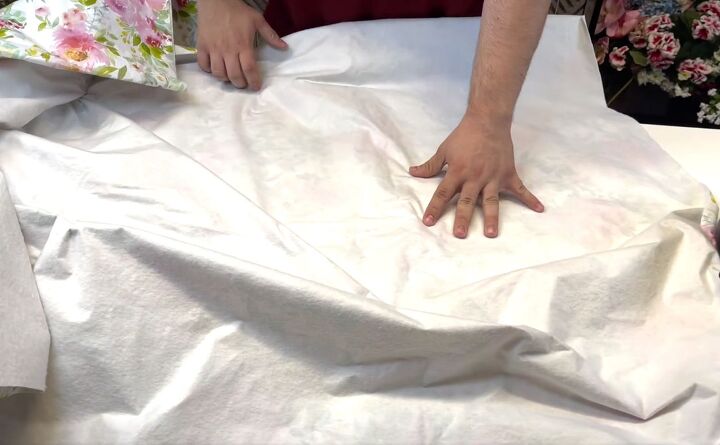
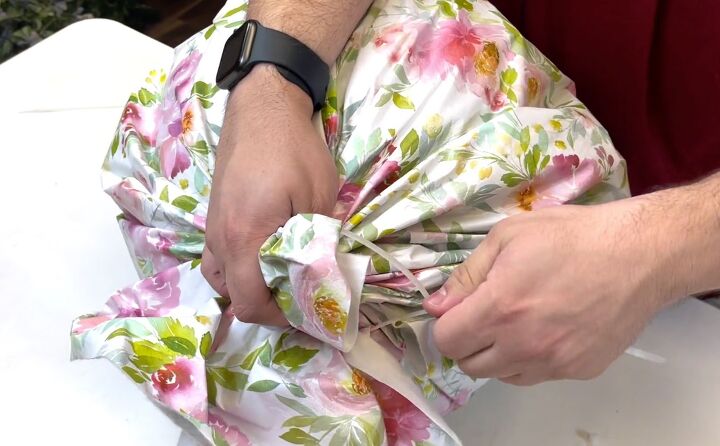
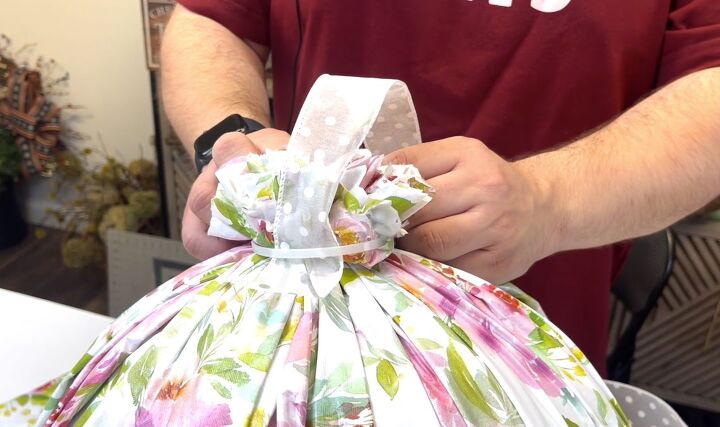
Once your tablecloth is opened, you want to gather up our fabric around the ball, keeping it in the middle. Make sure to keep the hole in the ball near the top in case you ever need to fill it.
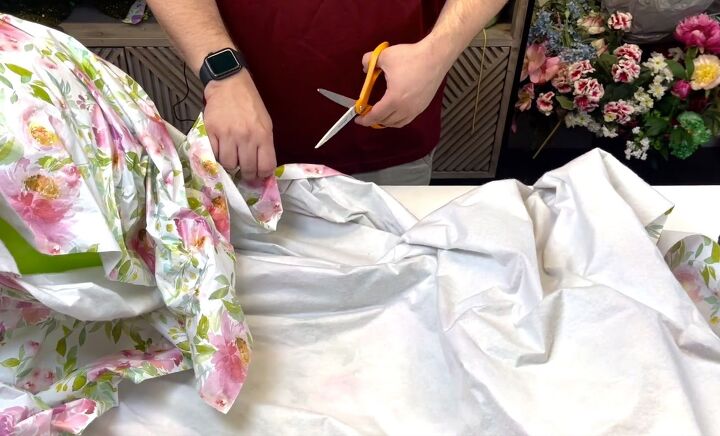
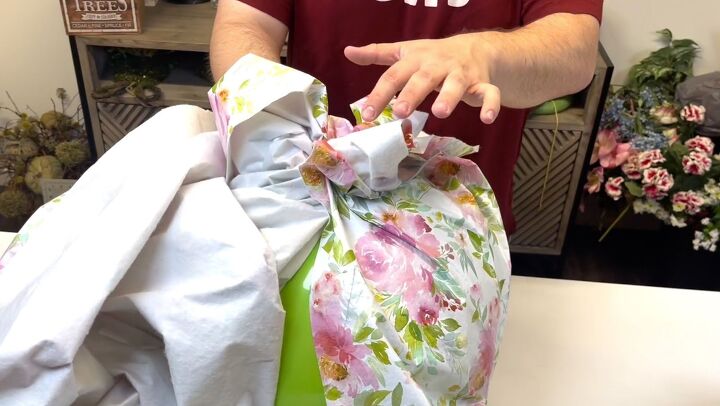
With the ball covered, leave a little bit of excess because the top portion is where we're going to secure our blooms. You want to make sure that you have enough fabric to be able to create a knot up top and secure the hanger. Cut off any excess.
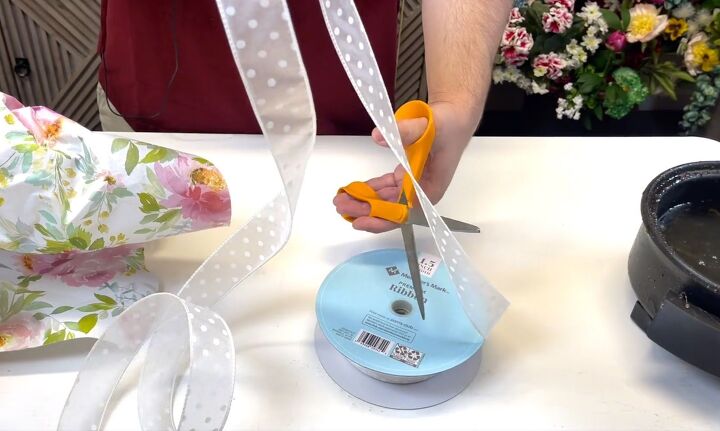
Now you can take some ribbon and cut a length of it. This is going to be your means of securing it to a tree, a lamppost, or to an arbor.
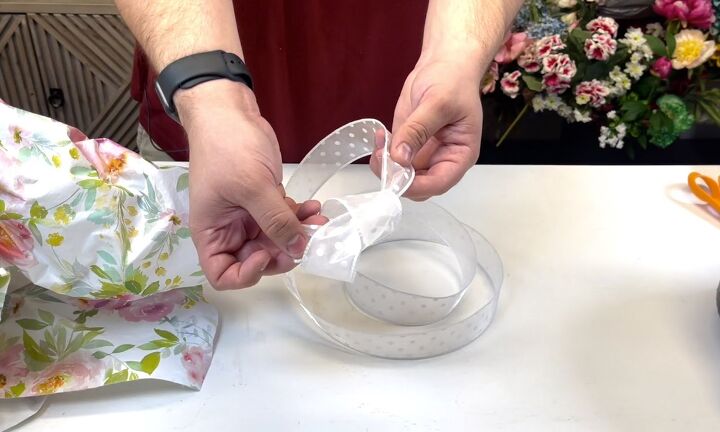
To secure the ball when you are done, take the ribbon and create a knot on the surface, and then tie it to whatever you want. Then, when you go to take it down you can just snip off the knot.
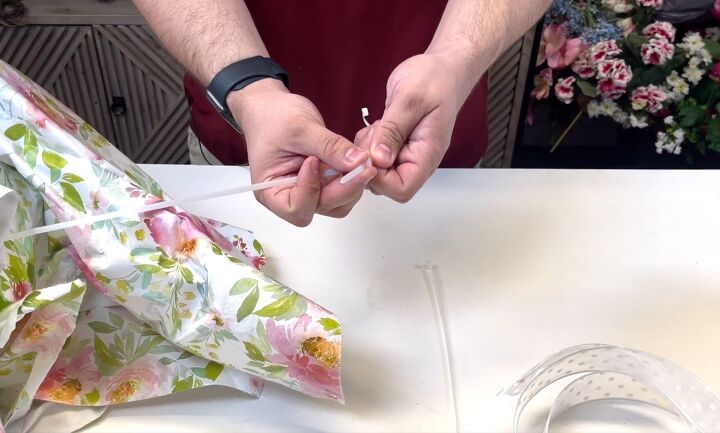
Next, you want to secure the tablecloth around the ball with zip ties. I zipped two together to make sure it was long enough.
Make sure to gather all of the ends at the top of the ball before tightening the tie.
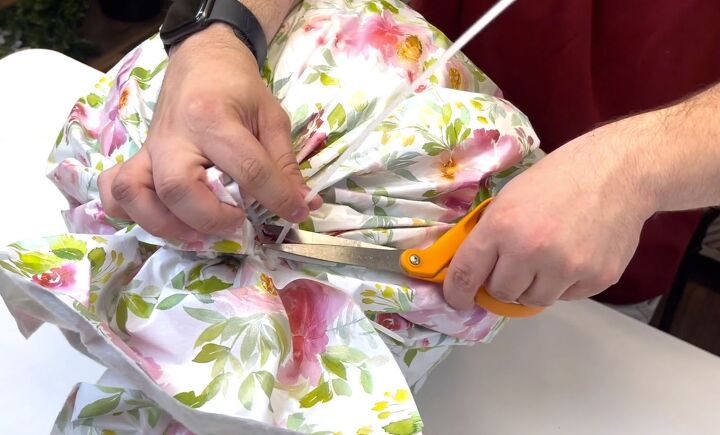
Once the fabric is secured, you snip off the excess.
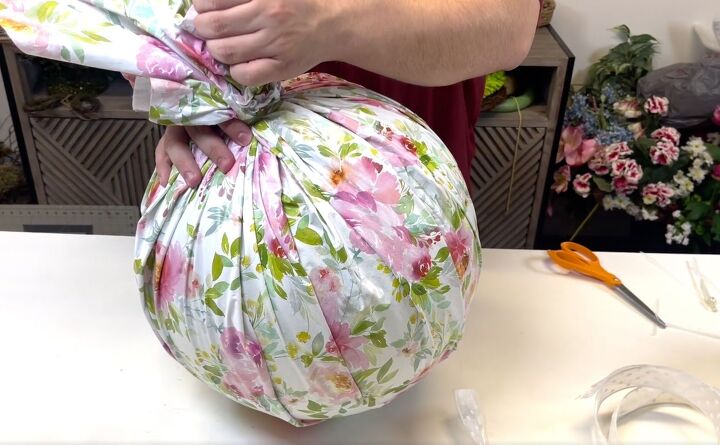
To make the pleating look really good, work your way around the ball pulling at the tablecloth to make it tight.
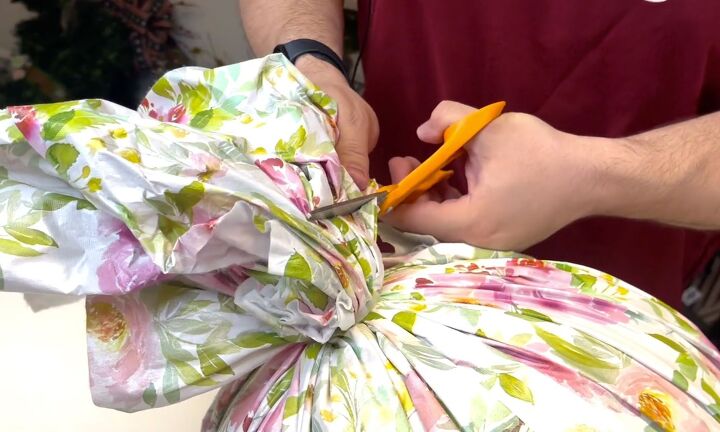
You can trim off any excess fabric once it is all nice and tight.
Before adding the flowers and greenery, you want to secure the ribbon. I just hold the end of the ribbon against the zip ties I already put in place and then add another to hold the ribbon. Don’t forget to trim the ends of your zip ties.
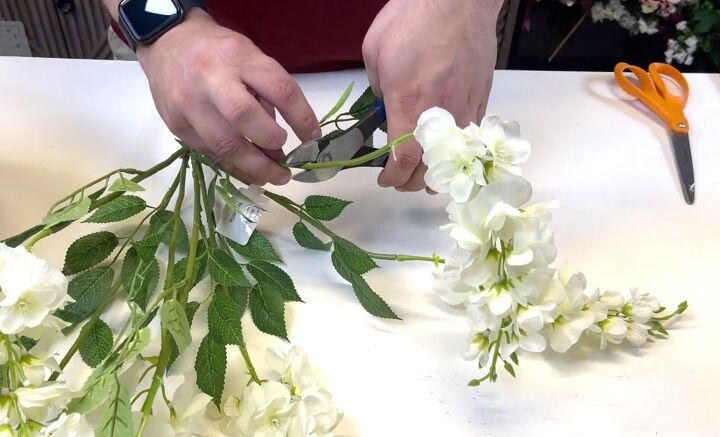
Now, it’s time to add the flowers. I started with wisteria so that it would hang down the sides of the ball.
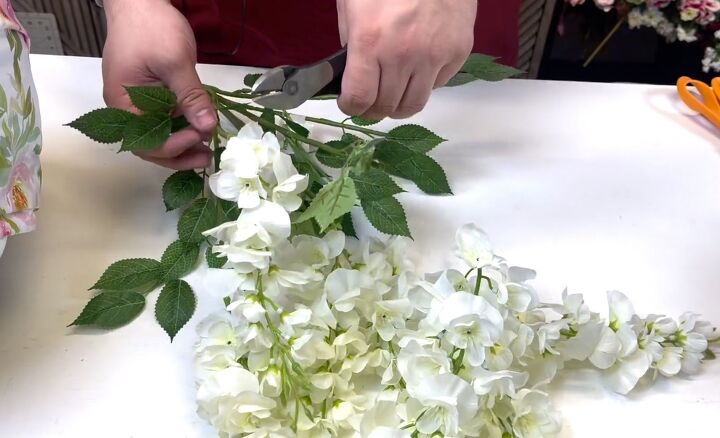
I snipped the blooms off so I could work with them individually.
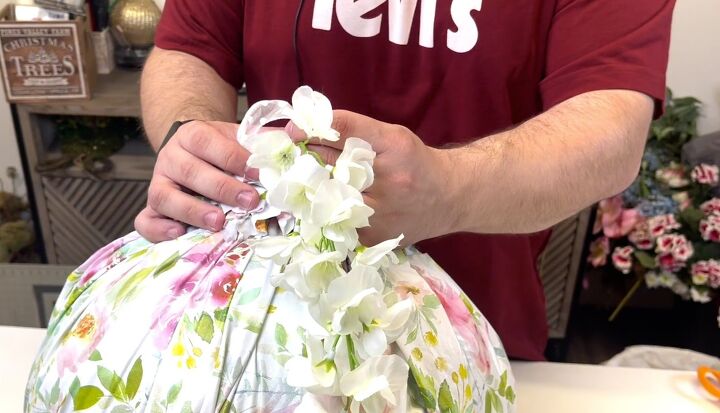
Once they were removed, I added lots of hot glue and then placed them around the top of the ball. I placed the ends inside of the tablecloth top so that they were hidden.
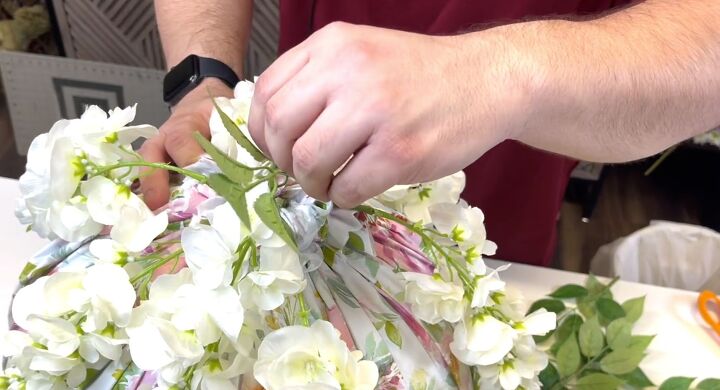
With the wisteria in place, I added some of the leaves I had previously cut off.

Finally, I added roses from three stems in the same way. My placement was kind of sporadic but I like it that way. I think if you create that rounded effect, no matter what the flowers look like, your creation will look great.
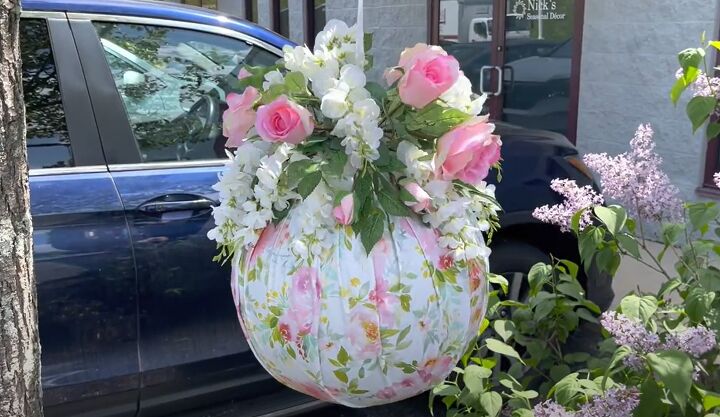
Here is the finished ball. I decided against adding any other flowers or greenery. I think it looks really pretty all on its own next to this beautiful lilac bush in front of my office.
Resources for this project:
See all materials


Comments
Join the conversation
-
Love this! I agree, great idea for a bridal shower.
-
Nice!😊


Frequently asked questions
Have a question about this project?