


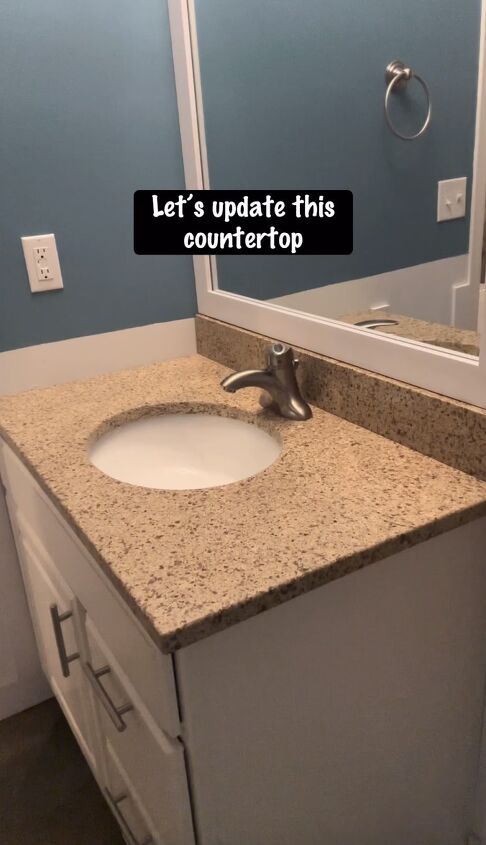
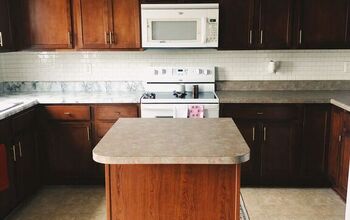
How to Make a DIY Epoxy Marble Countertop in a Few Simple Steps

Transforming your countertops has never been easier than using a kit for DIY epoxy marble countertops. I used a Gianni Marble Epoxy Countertop Kit.
In this step-by-step tutorial, I'll guide you through the process of creating stunning marble-like surfaces using simple techniques and the right materials. Let's dive in!
Tools and materials
- Gianni Marble Epoxy Countertop Kit
- Paint for veins (color of your choice)
- Water spray bottle
- Brush
- White highlight paint
- Sponge
- Epoxy resin
- Epoxy activator
- Foam roller
- Heat gun
- Painter's tape
- New faucet
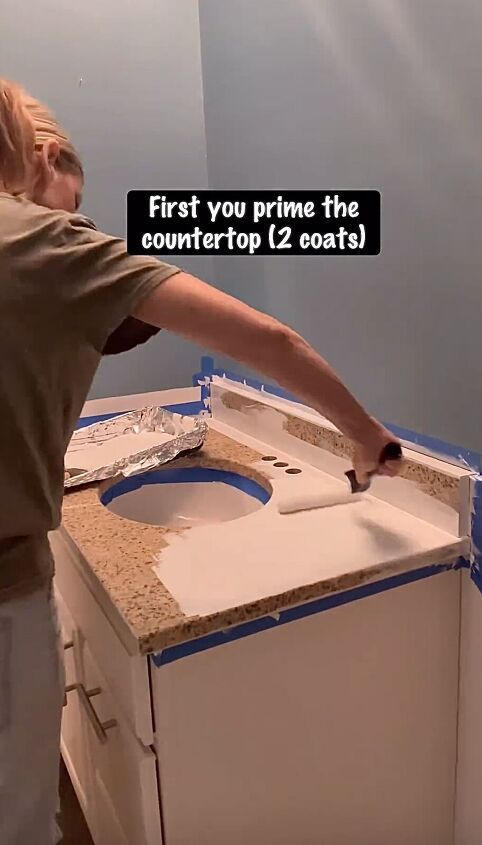
Step 1: Prep and Paint Veins
Start by preparing your countertop surface by priming it. Choose the paint color for your veins.
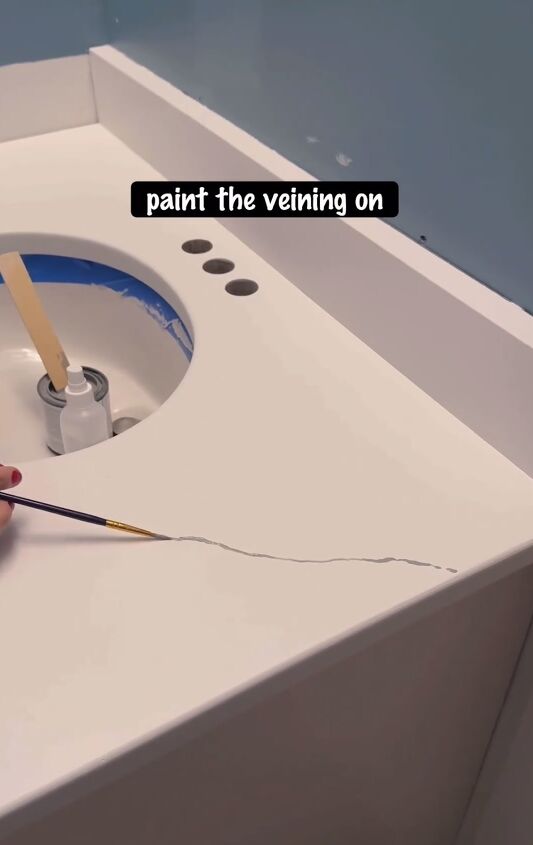
Paint the veins onto the countertop, creating a pattern that suits your style.
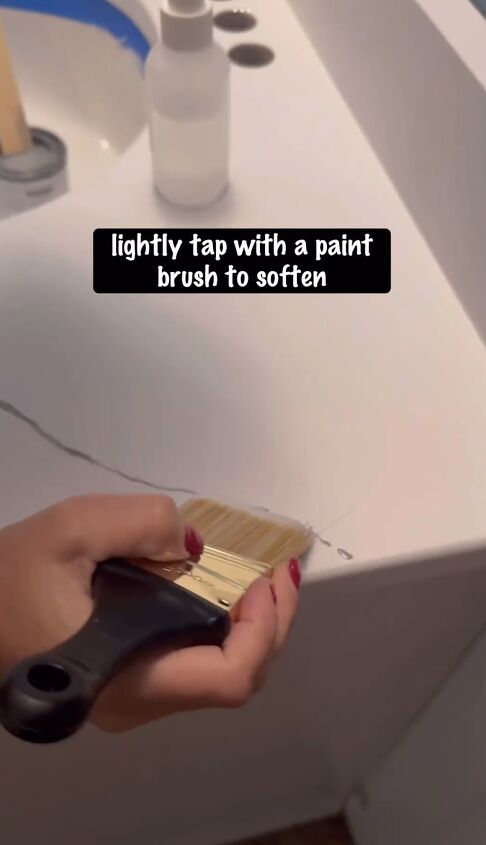
Once painted, use a water spray bottle to lightly mist each vein and then use a brush to soften each one up, achieving a natural look. Do one vein at a time.
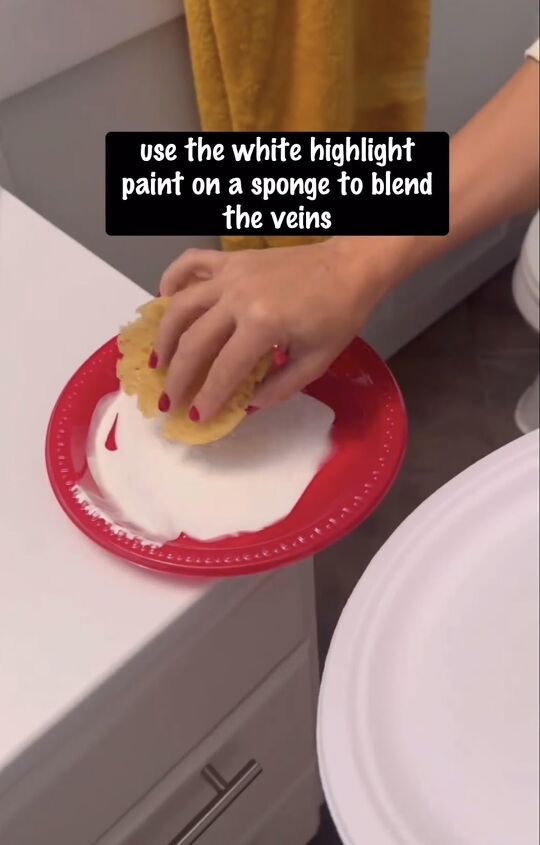
Step 2: White Highlight Paint
Take the white highlight paint and sponge it onto the painted veins. This step is crucial for blending everything together and creating a realistic marble appearance. Be strategic with the application, focusing on the lines you've painted.
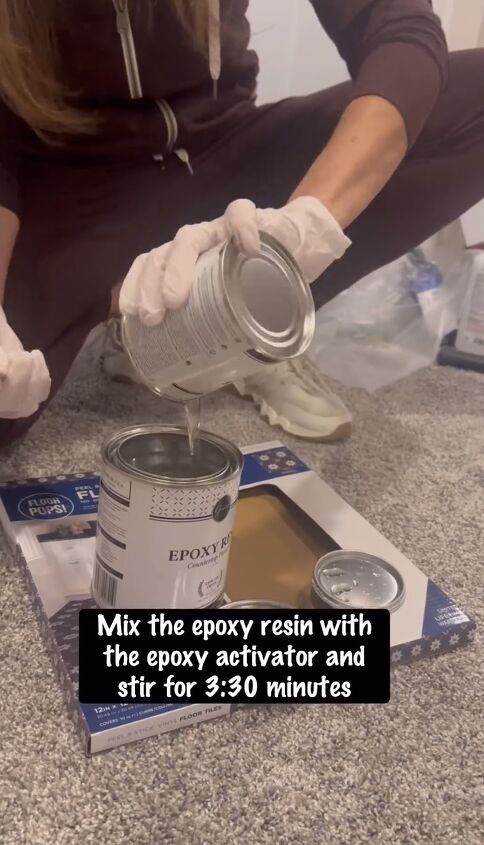
Step 3: Mix and Apply Epoxy Resin
Now, it's time to mix the epoxy resin with the epoxy activator. Ensure a thorough mix to activate the resin properly. Spread the mixture evenly across your countertop surface.
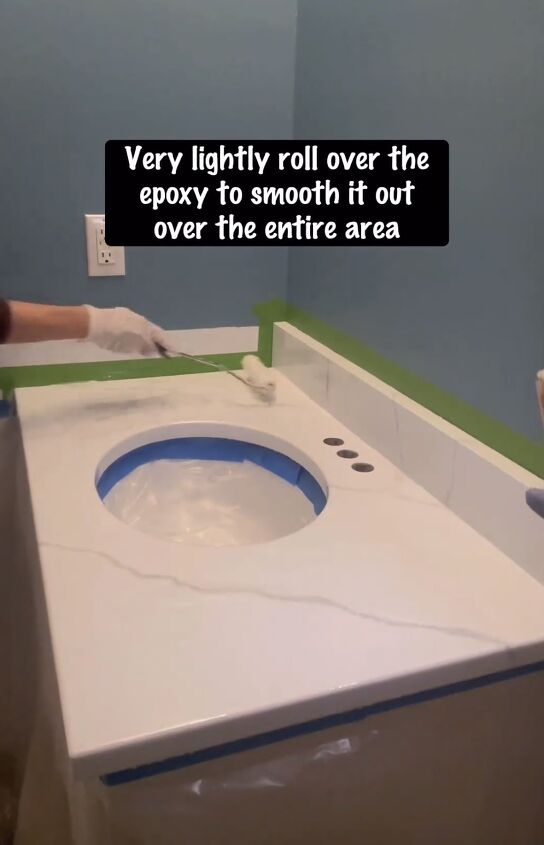
Use a foam roller to lightly spread the epoxy, ensuring complete coverage.
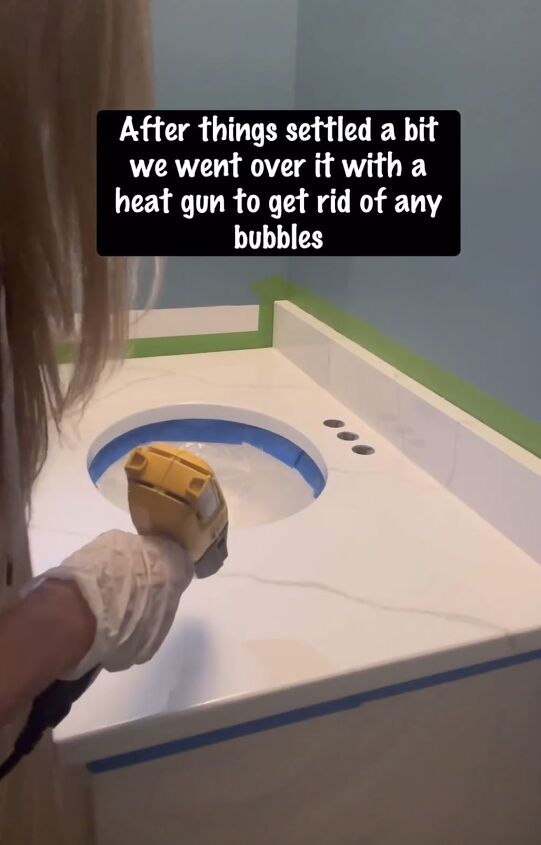
Step 4: Remove Bubbles with Heat Gun
After applying the epoxy, use a heat gun to eliminate any bubbles that may have surfaced during the process. Keep the heat gun at a safe distance and move it evenly across the countertop to achieve a smooth finish.
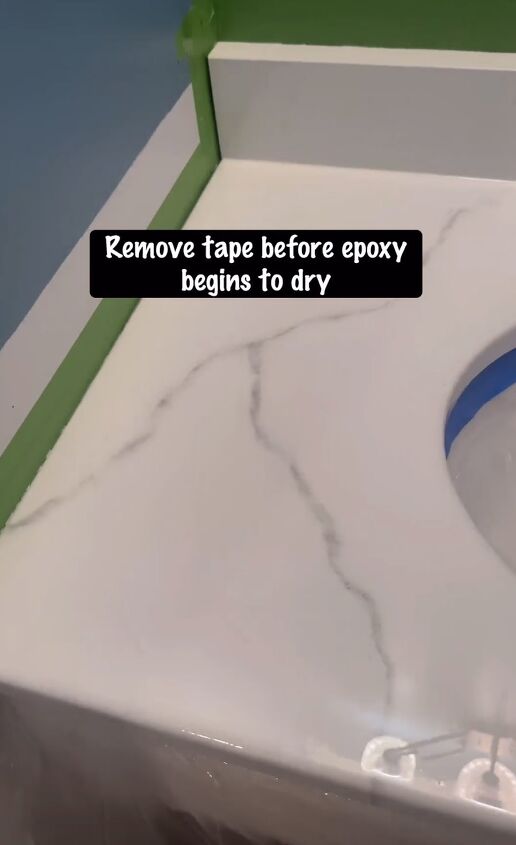
Step 5: Remove Tape
Within 40 minutes of pouring the epoxy, carefully remove the painter's tape. This timing is crucial to ensure clean lines and edges. Exercise patience during this step to avoid any smudging or unintended blending.
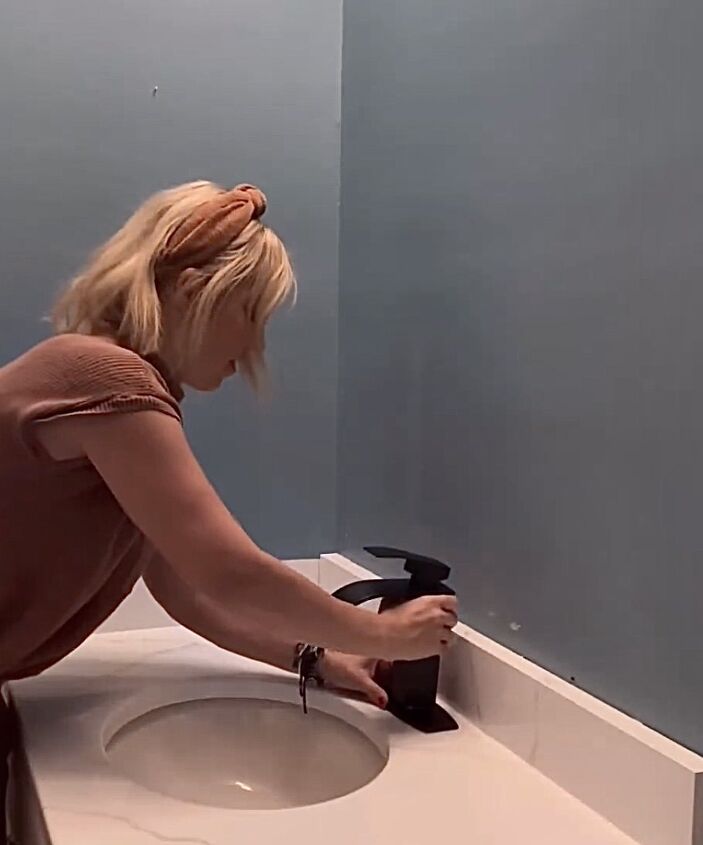
Step 6: Let it Dry and Install Faucet
Allow the epoxy to dry completely. Once dry, install a new faucet to give your countertop a refreshed and polished look. The drying time may vary, so follow the kit instructions for the best results.
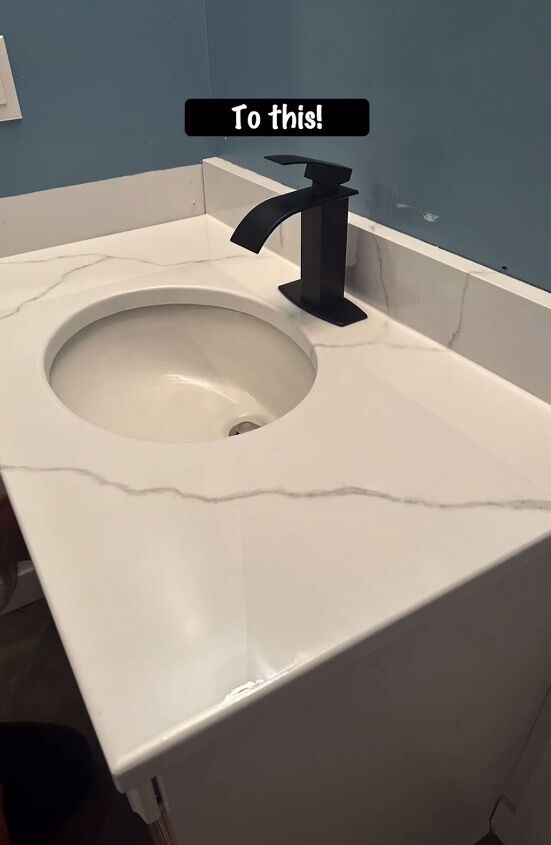
You've successfully transformed your countertop by using the kit for DIY epoxy marble countertops.
DIY epoxy marble countertop
You now have a stunning marble-like surface without the hefty price tag of real marble countertops. Have you done DIY epoxy countertops? Share your experience in the comments below.
Follow @a_bit_unexpected_diy on Instagram for more DIY ideas.
Comments
Join the conversation
-
I did it on an outdoor deck about 5 years ago Had an old piece of granite and was going to toss it. Tried the epoxy kit and it worked great and lasted.
-
I'm real curious about this product myself. I don't remember where it came up but within the past couple of days there was a conversation in a Facebook group about refinishing countertops. And it was about 50/50 of having positive outcomes with this product versus appliance paint. So now I am still in a quandary about what to do on my own.


Frequently asked questions
Have a question about this project?