


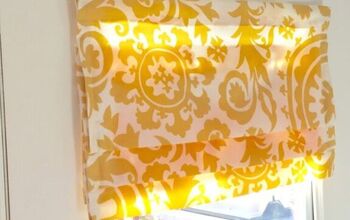
How to Make Roman Shades for Doors: The Quick Simple No-Sew Way

Are you looking to enhance the appearance of your doors while ensuring privacy? DIY Roman shades are an excellent solution.
In this guide, I'll walk you through the process of creating Roman shades for doors using simple materials and easy-to-follow steps.
Not only will this project add charm to your space, but it's also a practical way to maintain privacy.
This post was transcribed by a member of the Hometalk editorial team from the original HometalkTV episode.
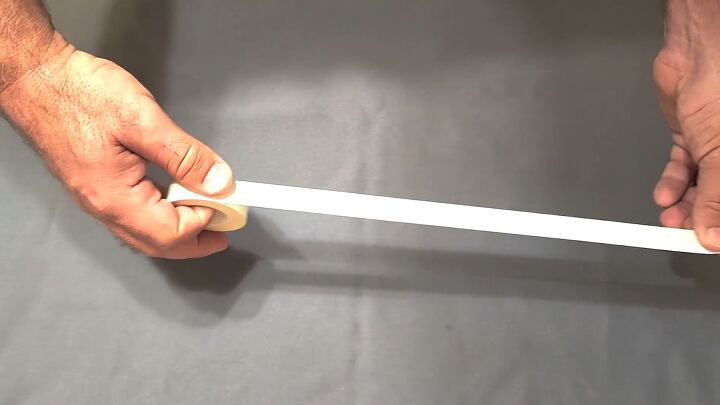
Best double sided tape!
Tools and Materials:
- Fabric of choice
- Two-sided binding tape
- Blinds
- Scissors
- Marker
- Iron
- Safety pins
- Hot glue gun
Hometalk may receive a small affiliate commission from purchases made via Amazon links in this article but at no cost to you.
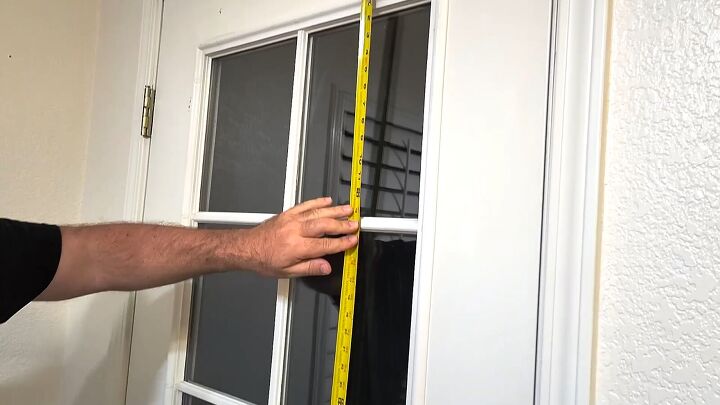
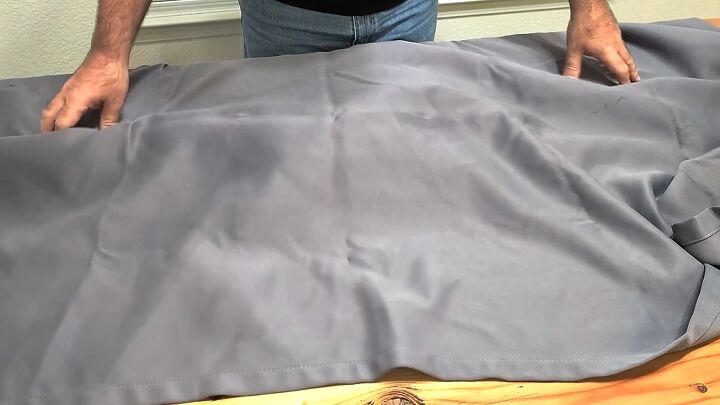
1. Measure and Cut Fabric
Begin by measuring the dimensions of your door.
Add three inches to the width to ensure proper coverage.
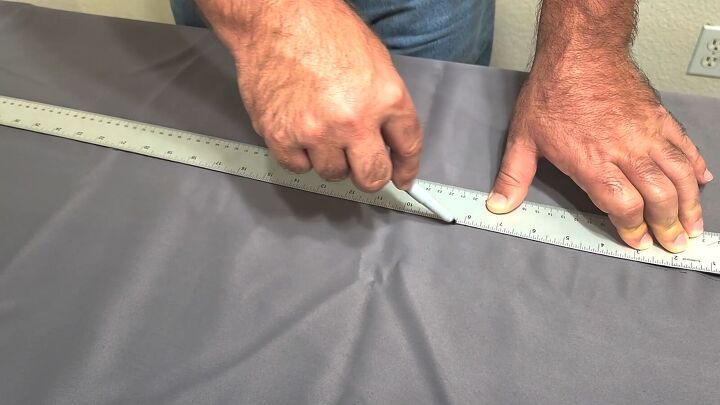
Lay out your chosen fabric and mark it according to your measurements.
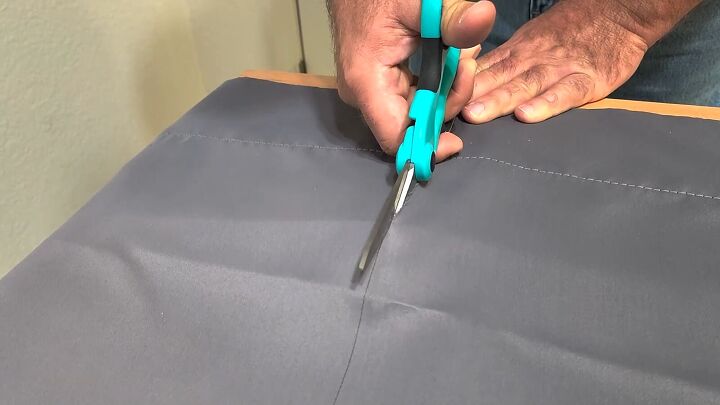
Cut along the marked lines to create the fabric panel.
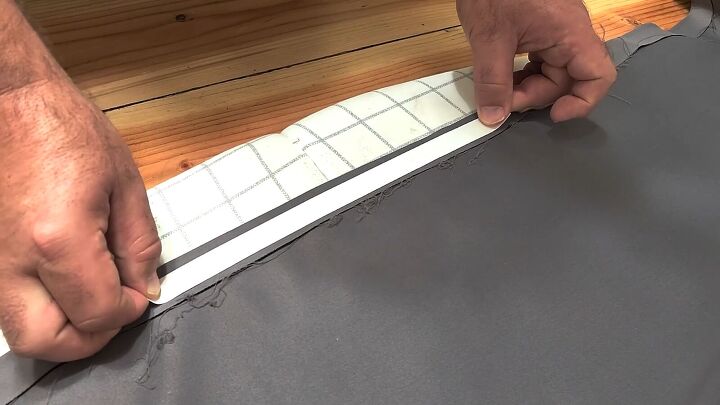
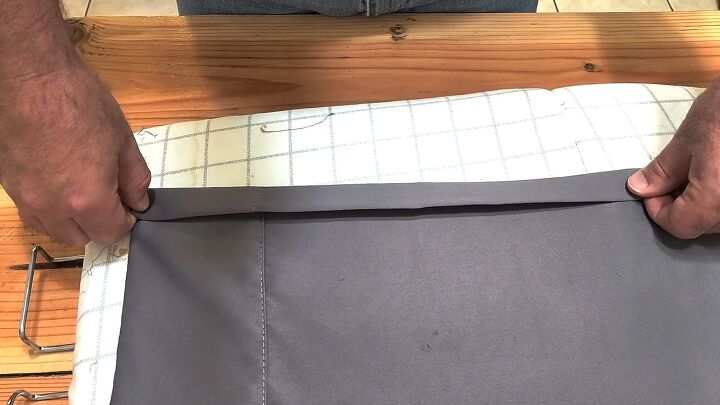
2. Neaten the Edges
To make sure the cut edge looks nice and neat, we'll need some two-sided binding tape.
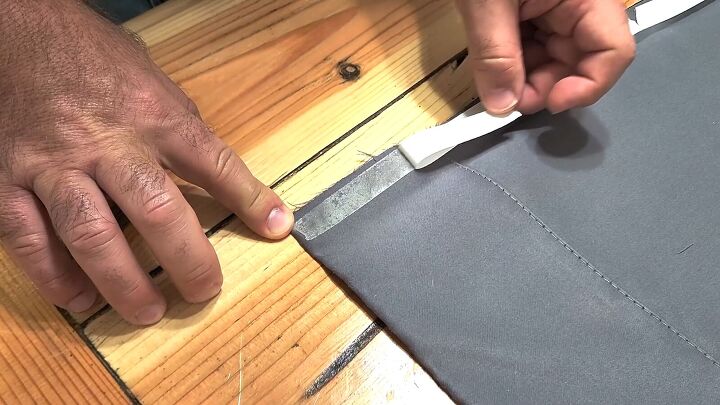
Stick it on the inside of the fabric, then fold it over.
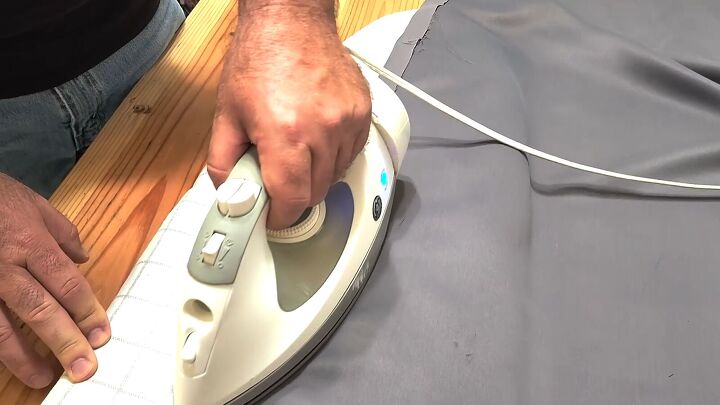
Press it down with an iron to ensure the sides stick well and remove messy edges.
To make it even neater, we'll add another layer of tape.
Fold the fabric over and iron it again.
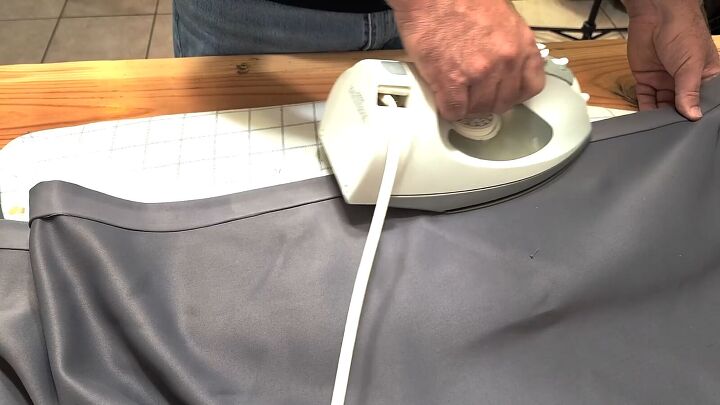
You should now have a nice, clean finish.

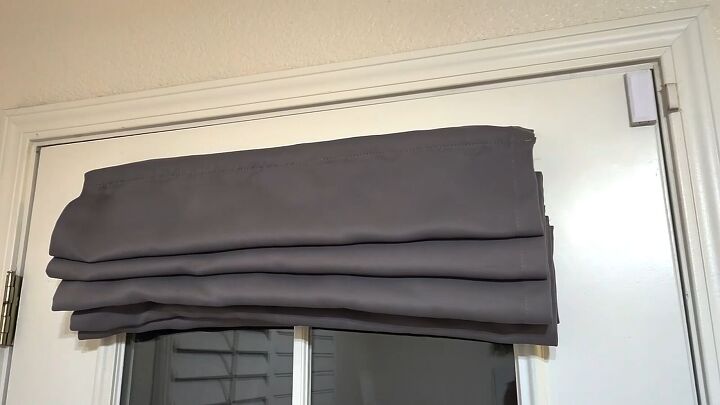
3. Prepare Cordless Mini Blinds
Now that the fabric is sorted, let's move on to the blinds.
Starting from the top of the fabric, extend the blinds all the way down to the bottom.
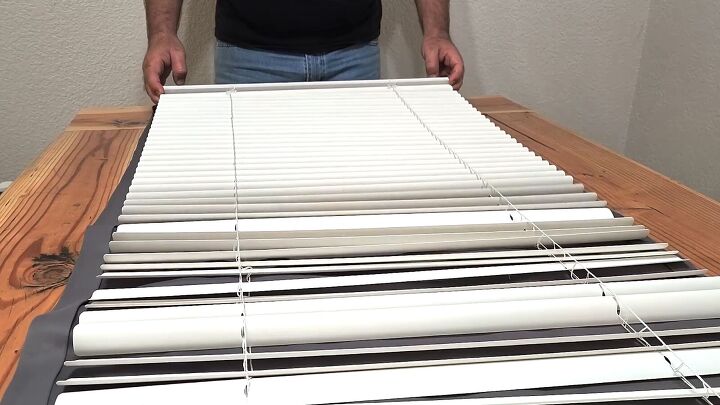
Now, here's where we might encounter a little snag. These blinds usually come with more slats than we need for our shade, so we'll need to trim off the excess.
For the height of my shade, I only needed five slats
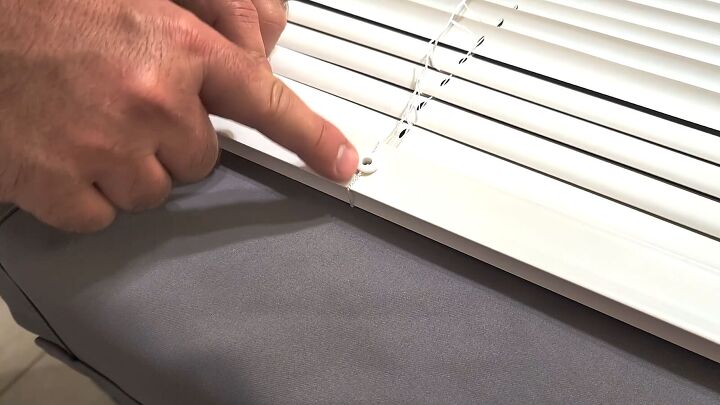
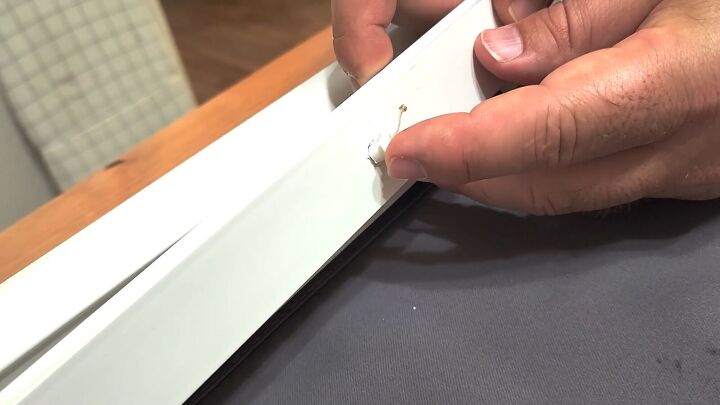
To do this, cut off the button at the bottom of the blinds.
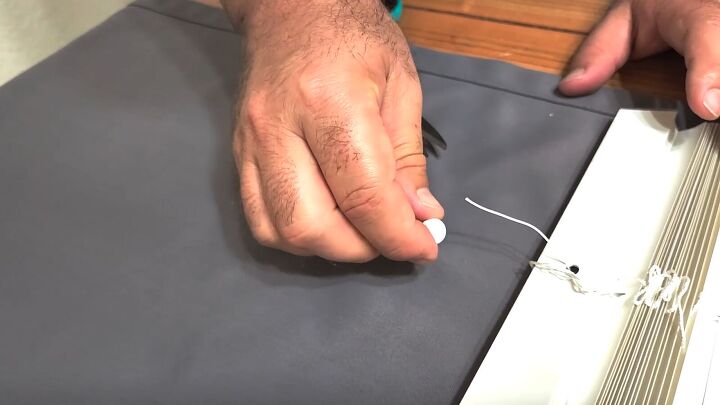
Make sure to keep the button safe, we will need to reattach it.
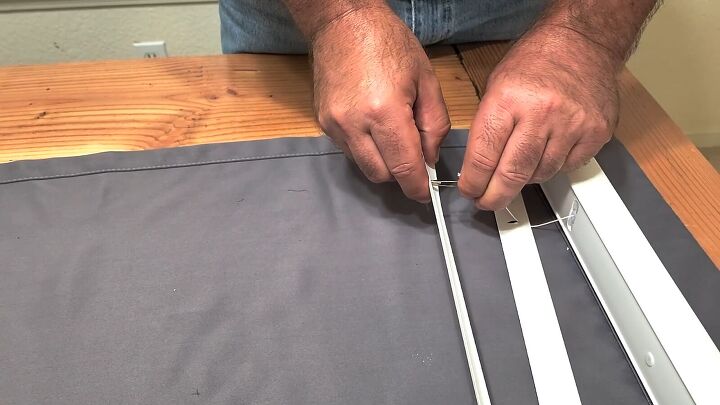
The next step is crucial.
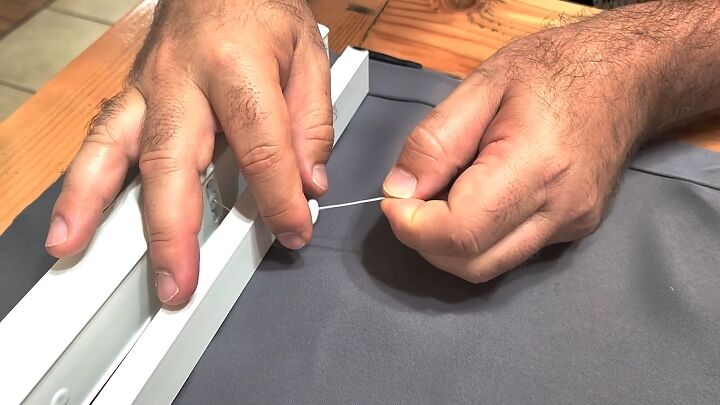
Locate the middle string and carefully pull it all the way through. Take care not to lose this string; it's essential for reattaching the slats.
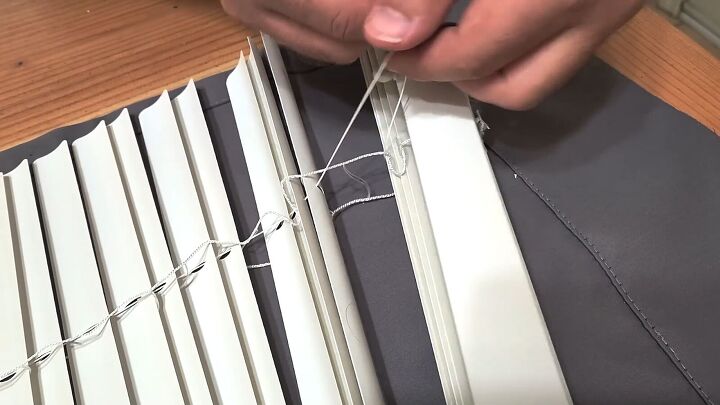
Once the string is out, we can go ahead and trim off the extra slats.
Just keep the amount of slats you need for the height of your shade.
To reattach these slats, I'll attach a safety pin to the bottom of the string, which will help guide the slats back into place.
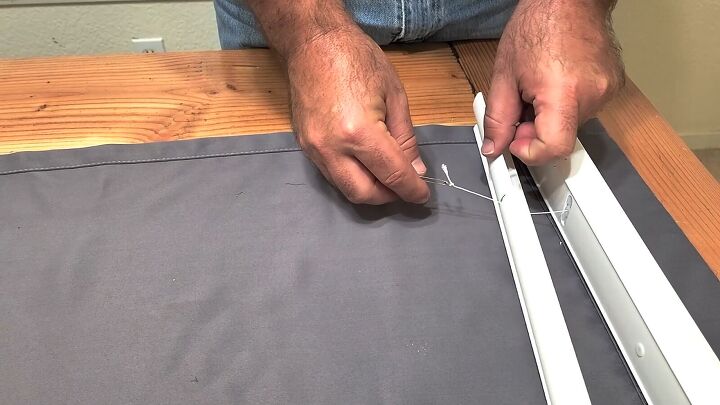
I slid my five slats onto the string, ensuring they were evenly spaced.
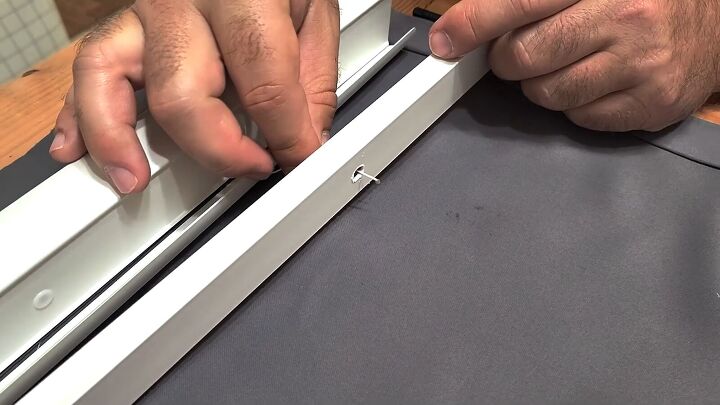
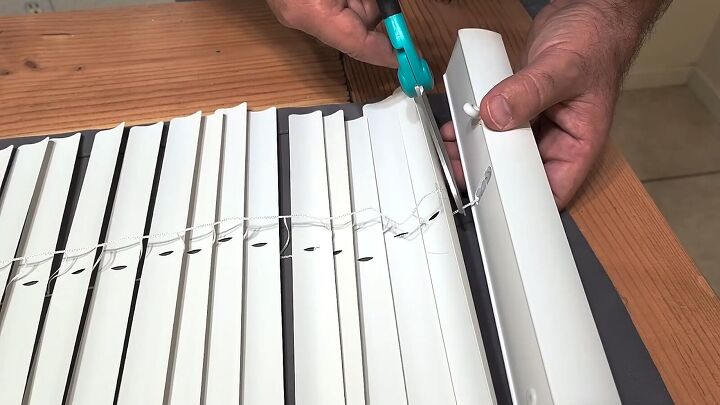
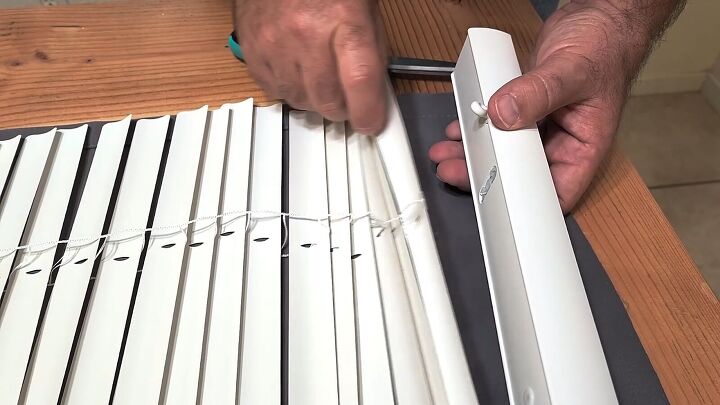
Once they're in place, guide the string back through the bottom and reattach the button.
However, before putting the button back on, tie a few knots to ensure it stays put.
Once that's done, securely push the button back into the blinds.
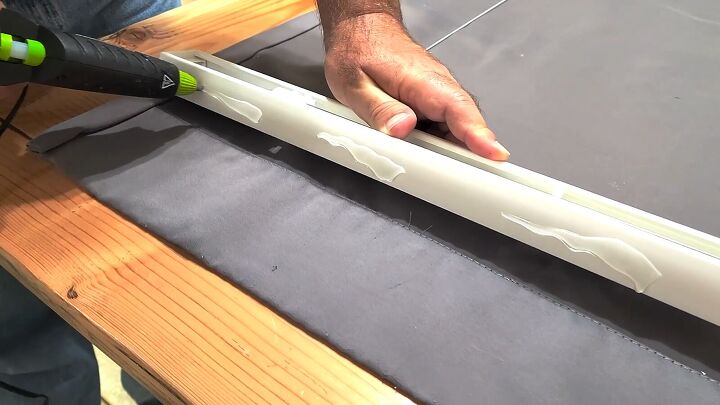
4. Adhere the Fabric to the Blind
Now, let's move on to attaching the top and bottom railings of the mini blind to the fabric.
You have a couple of options here – you can use fabric glue for a secure hold, or opt for a generous amount of hot glue.
Once you've chosen your adhesive, apply it to the railing and carefully roll it over the fabric, ensuring it's firmly in place.
Hold it there for a moment to allow the glue to set.
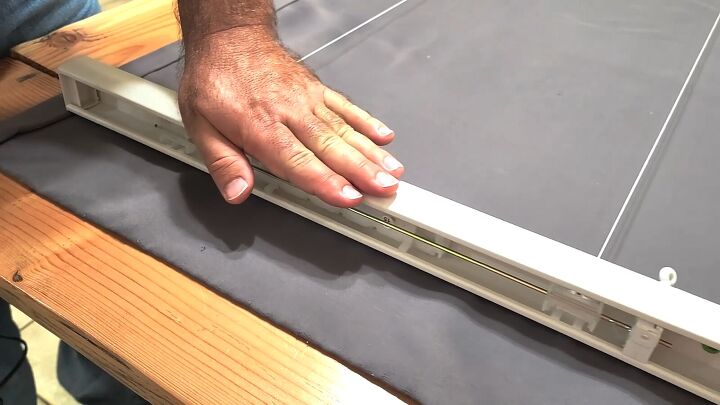
Repeat this process for the bottom railing, making sure it's securely attached. This step adds the finishing touch to our Roman shade, ensuring it hangs beautifully over the door.
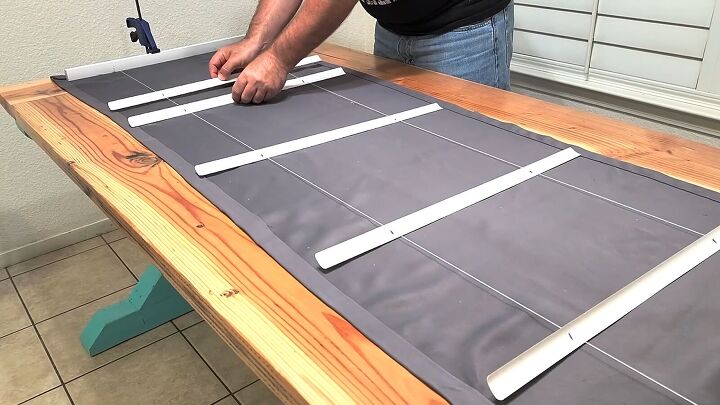
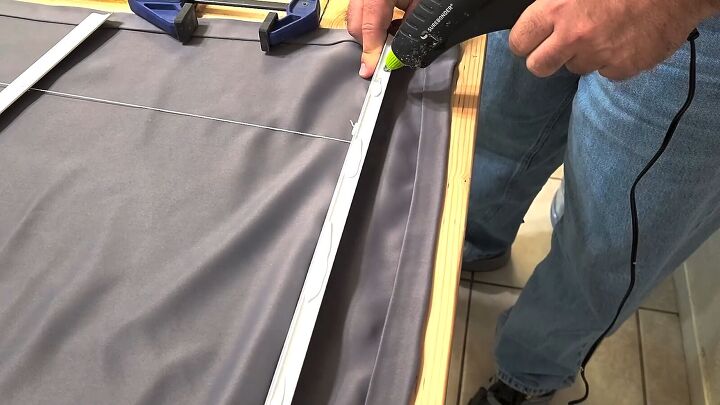
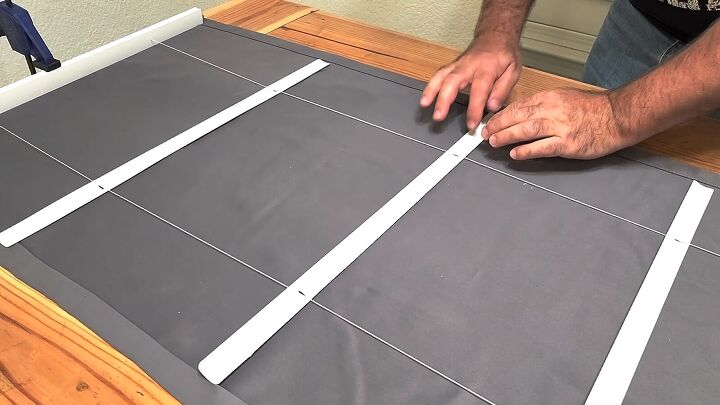
5. Attach Slats to Fabric
Position the slats evenly along the fabric panel.
Secure them in place using hot glue or fabric glue.
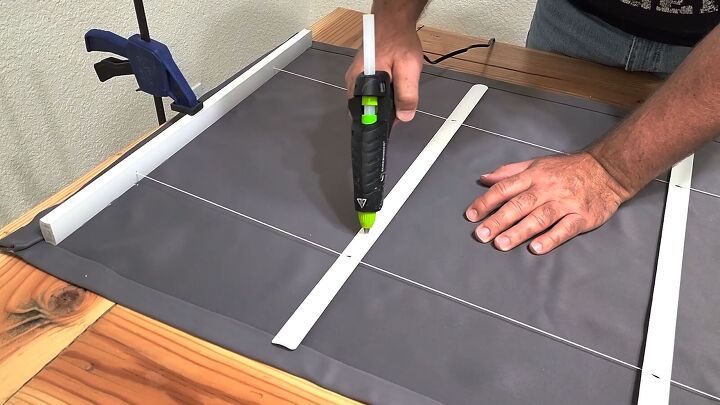
Be cautious not to apply glue to the cord.
Flip the panel over and allow the glue to set.
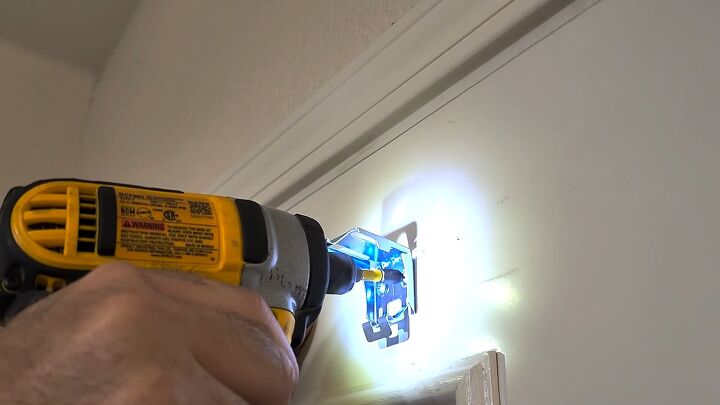
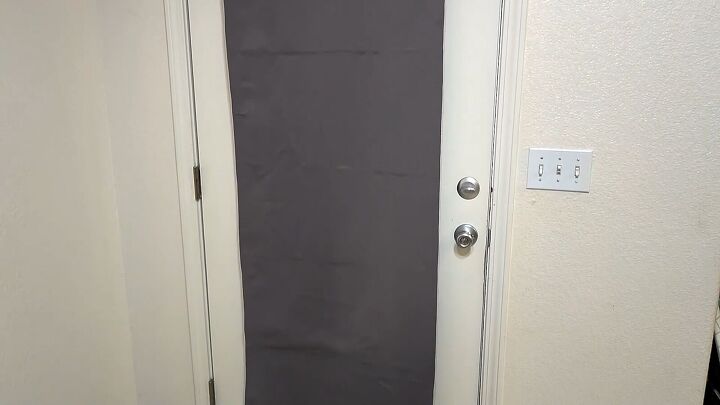
6. Mount the Roman Shade
Install the provided brackets above the door or window frame.

Once securely in place, insert the cordless mini blinds into the brackets.
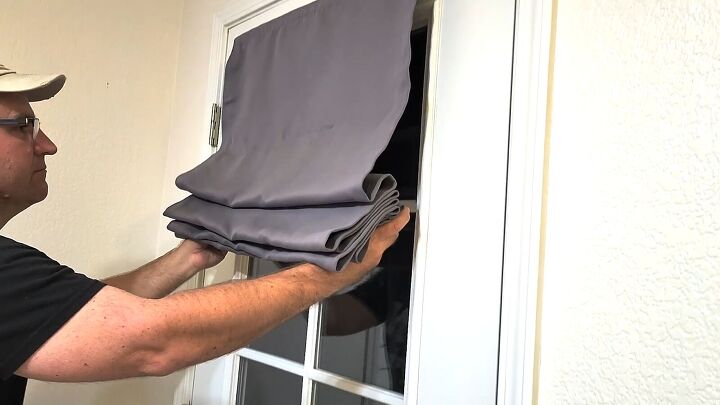
Ensure the shade operates smoothly before finishing the installation.
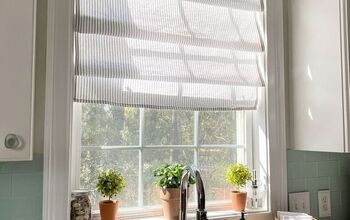
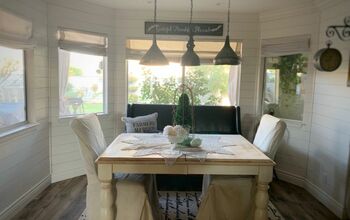
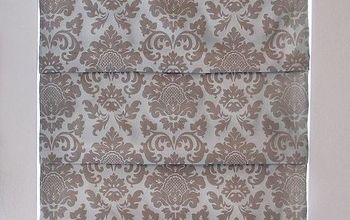
More Roman Shade Projects
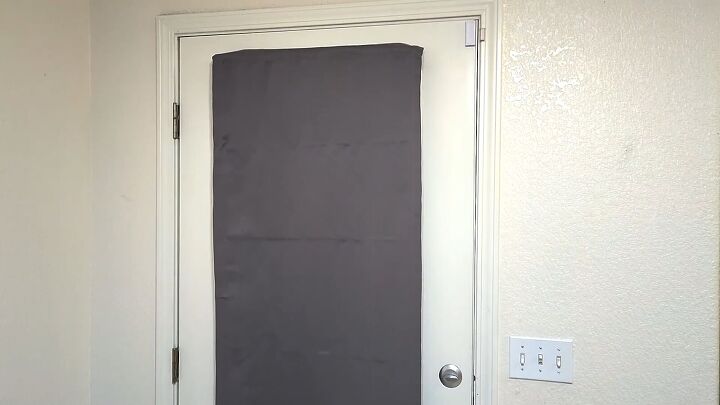
Your doors are now adorned with stylish and practical window treatments, perfect for adding a touch of charm and privacy to any room.
I hope this guide has inspired you to embark on more creative endeavors. Remember, the possibilities are endless when it comes to home improvement projects.
Feel free to share your thoughts and ideas in the comments below.
Comments
Join the conversation
-
it's nice to to know the "Mechanicas" of how things work. Personally I think this is too time consuming & cheaper to just buy a roman shade. Nice tutorial even so.
-
Great video, thank you. I have a window I think I'm going to do this to. Thank you! You make it look so easy!


Frequently asked questions
Have a question about this project?