


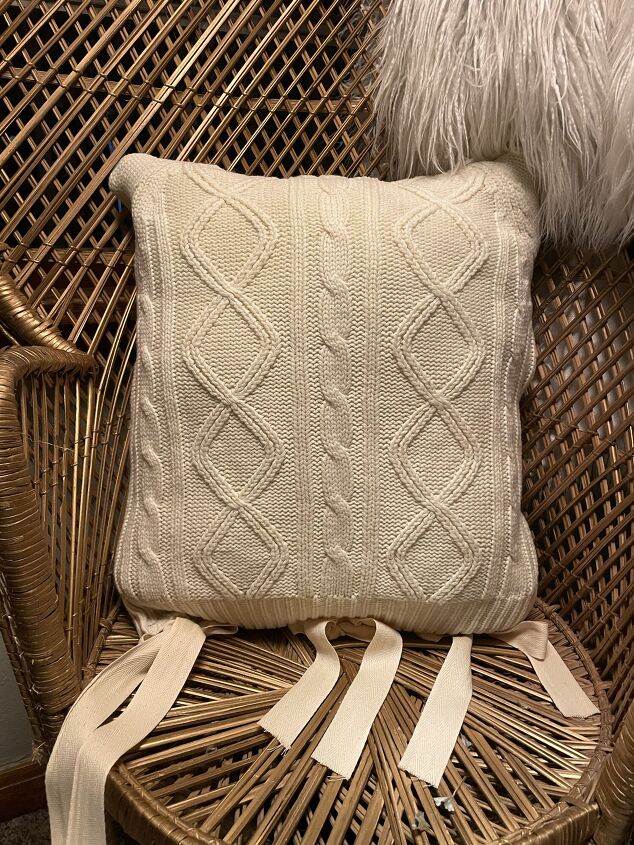
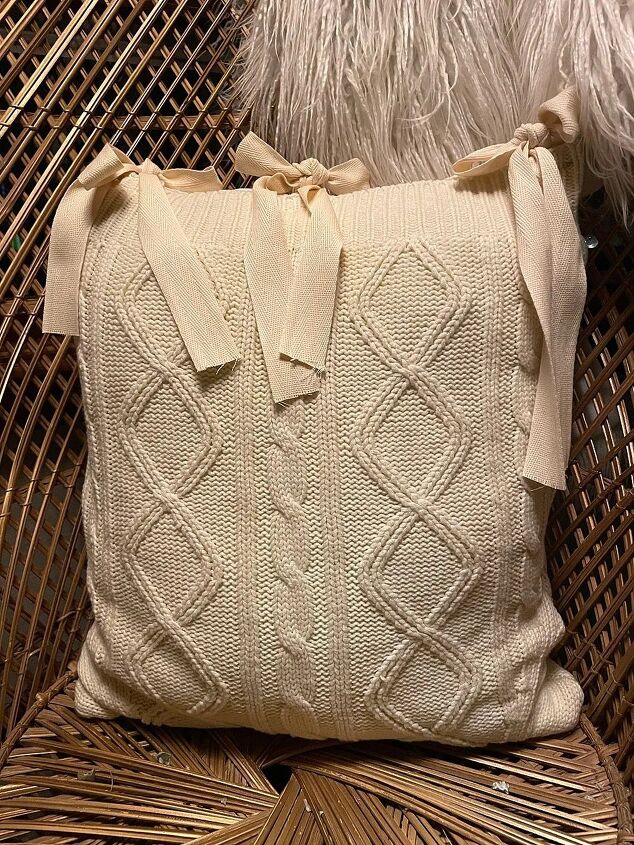
How to Make a Simple DIY Sweater Pillow for the Holidays

Welcome! This DIY sweater pillow cover was so easy, and I loved how festive it was for the holidays. Yet it was neutral enough to keep up all year long if wanted.
It requires basic sewing skills…. no zippers or fancy stuff. Let's dive in!
Tools and materials
- One sweater - I found mine at a thrift store. I liked that it had a pattern on both sides of it.
- Cotton stuffing and white cotton material - or a pillow insert.
- Scissors
- A sewing machine and thread in a color that matches
- String/ribbon for the closures

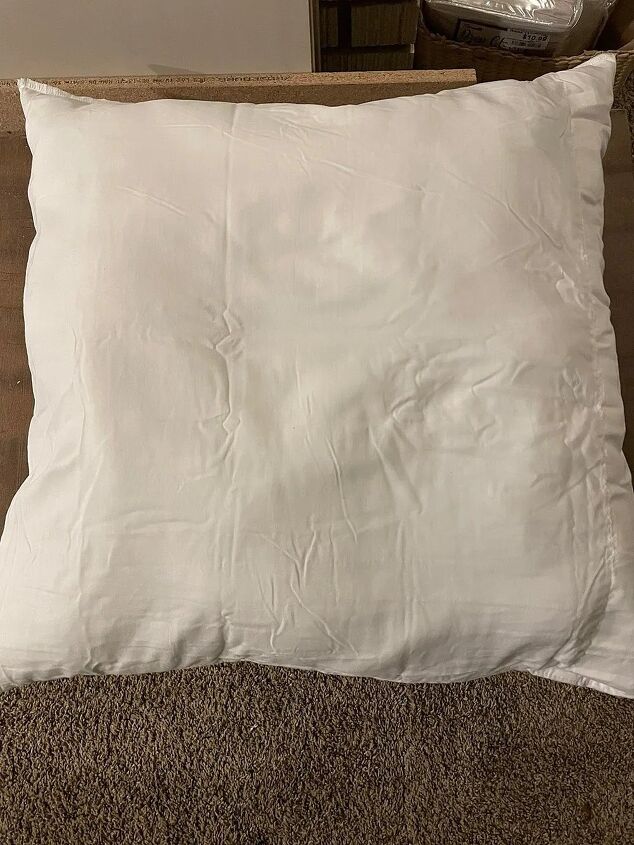
1. Make the pillow insert
If you choose to make a pillow insert, then follow this step. If not, and you just decided to buy a pillow insert, skip this step and head to the next one.
I started with some plain cotton fabric I had lying around. It is a remnant of a plain white cotton sheet.
I cut it into two square shapes roughly 14″ x 14″. Then I sewed around the outside edges of 3.5 of the sides of the square leaving a small opening to stuff in the filling.
I filled it with the cotton filling. Once full, I sewed along the open edge securing all of the cotton filling inside.
It doesn’t have to be pretty since a pillow cover is just going to go over it anyway. You want it full, as most pillows get limp over time.
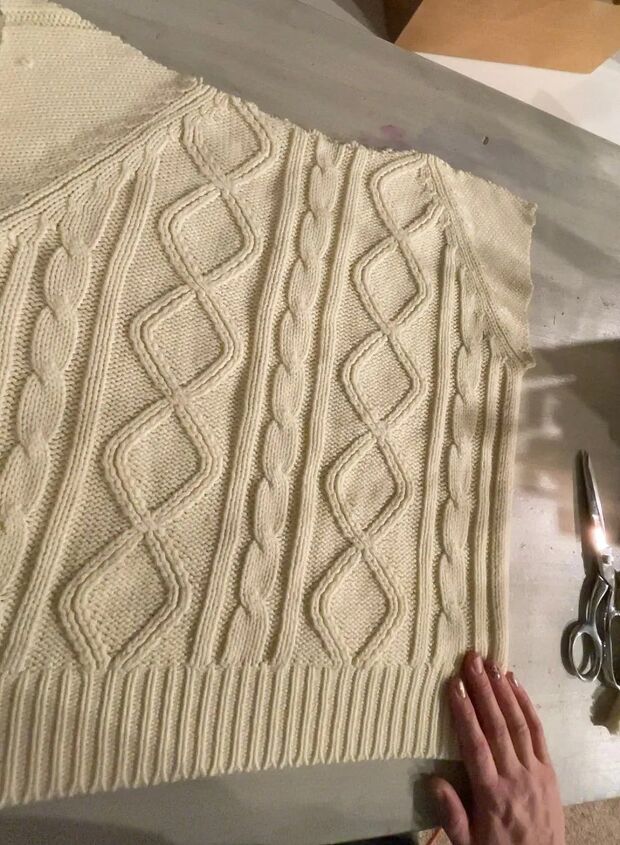
2. Cutting the sweater
Next, it's time to cut the sweater. Using scissors, I cut both sleeves off my sweater opting to leave the cute border at the bottom.
Some sweaters may be better cut in other ways depending on your design. Look at the details of your sweater and decide where you want to cut it.
In the end, you are trying to create a square chunk of material, with two pieces, top and bottom.
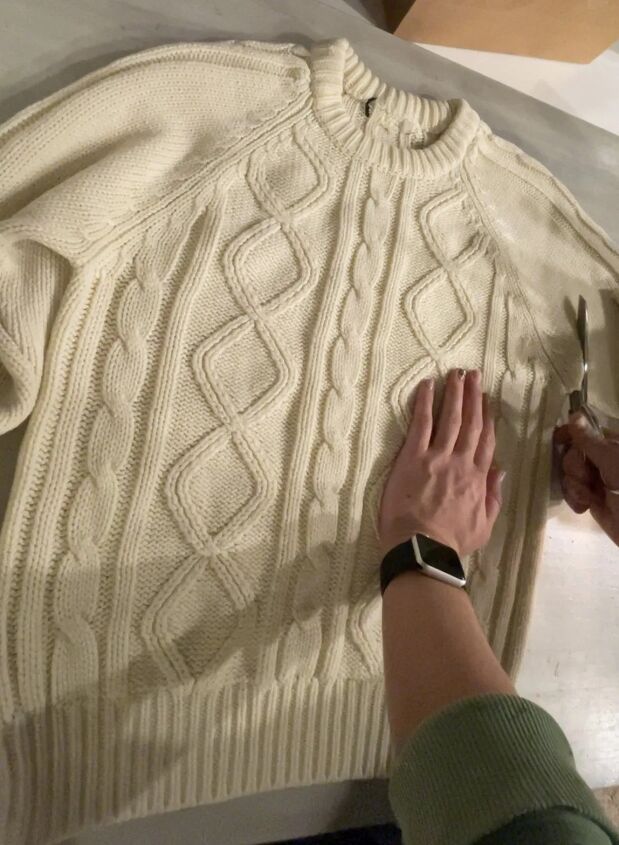
I cut the sleeve straight up trying to line up the line with the sides of the sweater to give it a square shape.
Cut off the neckline to create a flat top line for the top of the pillow.
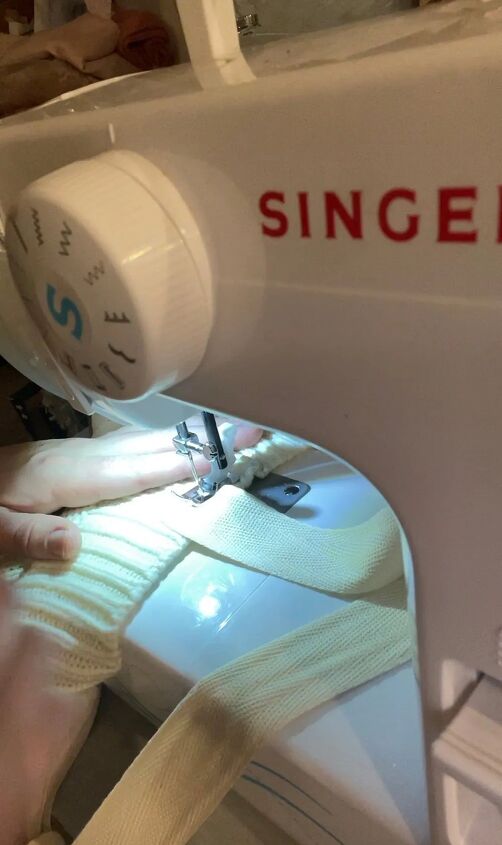
3. Sewing the edges
In this step, you will need to put the outside edges of the sweater together to sew it. Basically, you are flipping the sweater inside out.
There should be openings across the top where you cut the neckline and each armhole. The bottom part will also be open, but it will stay open if you are making a removable pillow cover.
The sides of the sweater should still be closed as they were when you first got it before cutting.
Place the correct sides together, place the edges under your sewing machine, and stitch together. I used a cotton thread, and a serger to sew ming. You could also use cotton thread and a zig-zag stitch if the sweater has some stretch to it.
You will sew along the top edge and down both armholes. I started at one armhole, went across the top, and back down the other armhole pivoting at the corners. Leave the bottom of the sweater open.

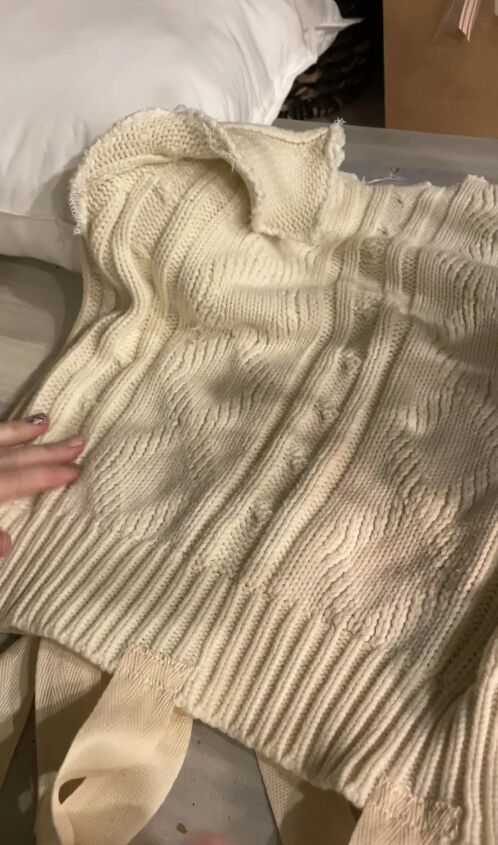
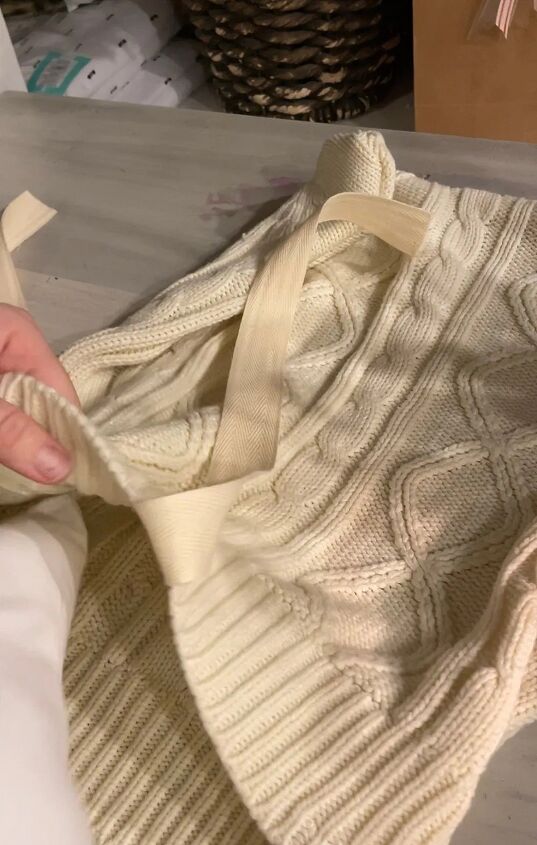
4. Sewing on the ribbon
In this last sewing step, I added ribbons to the bottom opening of the sweater. I wanted to be able to remove it, and thought a ribbon closure would be cute and work well with the stretchy fabric.
I cut the ribbon to length, and then zig-zag stitched along the end to secure it to the inside of the bottom opening so that it would hide the stitches better.
I made a small square out of the zig-zag stitches, making sure there were no loose or fraying ends.
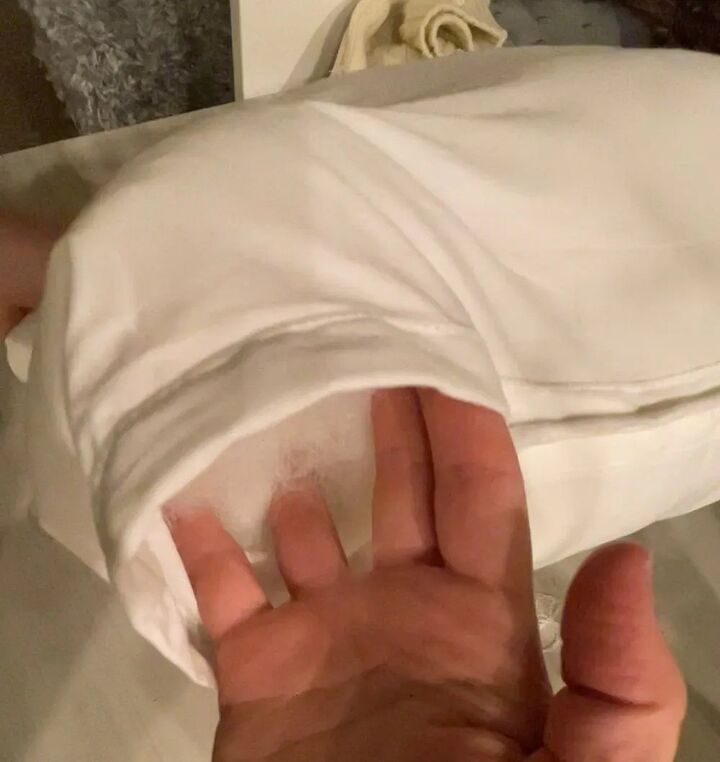
5. Stuffing the pillow cover
In this last step, all you have to do is flip the pillow cover right side out, place all of the newly sewn seams on the inside, and put your pillow insert in.
I then tied cute bows with the ribbon to close it at the bottom edge. That’s it!

This is such an easy and affordable pillowcase cover. I had the stuff to make the insert, but I got the sweater for $6 at a thrift store.


Frequently asked questions
Have a question about this project?